10
position by pulling on the sample holder rod until the holder “click” into place. Be sure
to make note of the readout (or print) for each sample. Remove the sample cuvette(s).
Operational Note:
1. If you are reading 3 or less samples, then place the reference cuvette in the position
nearest you, and the samples in the next available position. This will shorten the time to
read samples and minimize the sample handling (opening and closing the sample
compartment lid, etc.)
2. To save or print the readings please press PRINT/SAVE and follow the instruction on
line 4 of screen.
10. If you are to test the same sample at other wavelengths, repeat steps 2 to 9 for each
wavelength.
11. For each new sample you analyze, repeat steps 3 to 9.
Quantitative Test
Run Test using pre-defined Method
Test method (curve) must be defined and established before quantitative tests can be run.
This instrument has open platform for you to establish your own test methods (curves).
Such established method will be saved as defined test in “All Test List”. Refer to
“Define/Establish Test Method” section in this chapter.
Follow the procedures below to run quantitative test
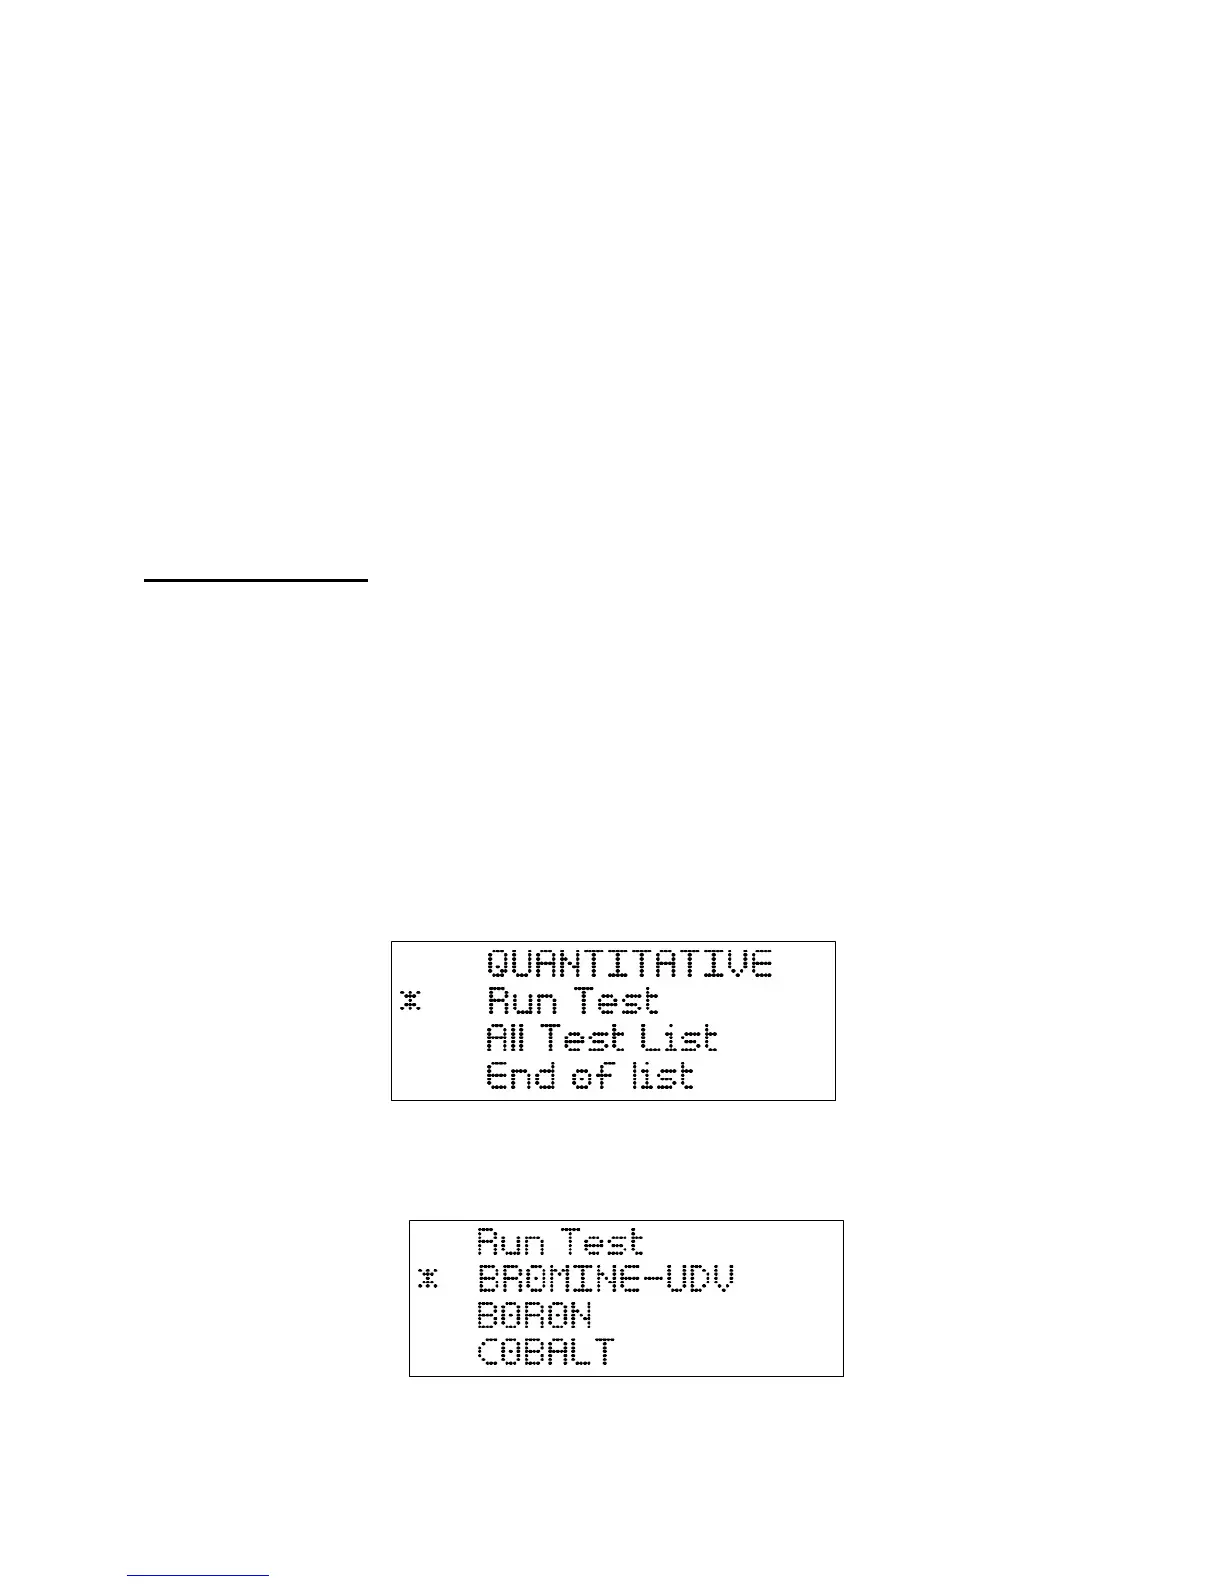
1. At main menu scroll * to Quantitative and then press ENTER to Select Quantitative test
mode.
Fig 11
2.
Select Run Test to run a pre-programmed and saved test. Place reference in the sample
holder and make sure it is in the optical path (working position). Scroll * to the left of the
desired test and then press ENTER to confirm.
Fig 12
 Loading...