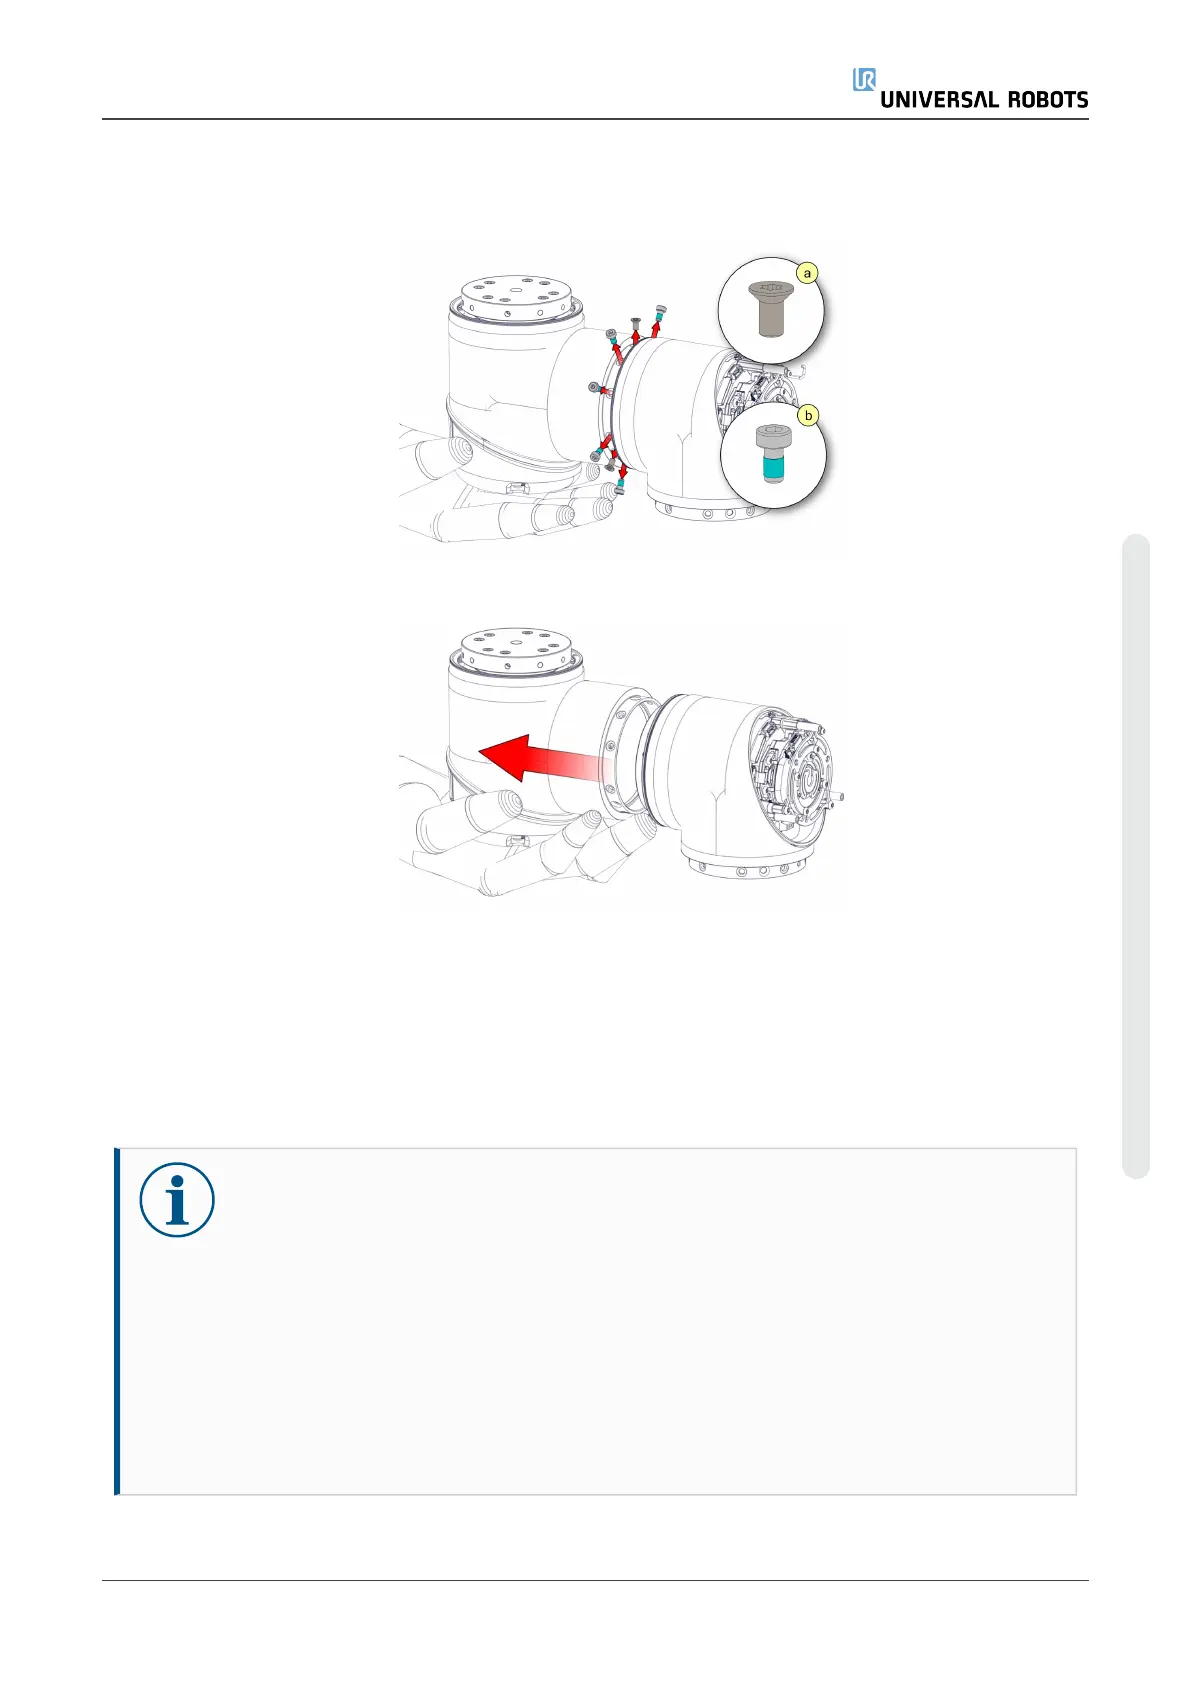
5. First remove the countersunk screws(a) then the remaining(b) screws.
Note: Be very careful when removing the screws. Always use a correct sized, and
undamaged screwdriver. The screw head slots can easily be stripped.
6. The joint is now loose and can be removed. Remember to pull the wires out.
Assemble Screw Connection Joint
The assembly is done in reverse of the disassembly. However, a few things must be noted before
assembly is begun.
NOTICE
Remove old Loctite residue in the screw holes with a roll tap or forming tap (Size 2
M4 the rest M3) for threads before assembling the joint to get the correct torque on
the new screws.
Always use new pre-coated screws when possible. If you must assemble with old
screws, carefully clean the screws and add Loctite 243 to the screws before
assembly.
Always replace the black flexible flat ring with a new one to maintain the IP
classification.
Replace the wear rings if extensive wear or damage is shown
Service Manual 33 e-Series
Copyright © 2009–2024 by UniversalRobotsA/S. All rights reserved.
 Loading...


