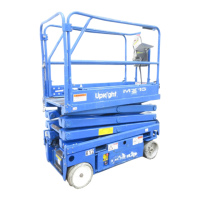
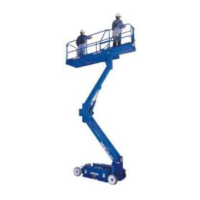
Hydraulic Pressure Settings Section 2 - Service and Repair
Page 2-16 113101-000 MX15 / MX19 | Service Manual
2-7 H
YDRAULIC
P
RESSURE
S
ETTINGS
Check the hydraulic pressures whenever the pump, manifold, or relief valves have been serviced or
replaced.
WARNING
!
!
The hydraulic fluid may be of sufficient temperature to cause burns. Wear safety gloves and safety glasses
when handling hot fluid.
The fluid in the hydraulic system is under very high pressure which can easily cause severe cuts.
Obtain medical assistance immediately if cut by hydraulic fluid.
M
AIN
R
ELIEF
V
ALVE
1. Operate the hydraulic system 10-15 minutes to warm the fluid.
2. Slowly drive the machine to within 8 cm (3 in.) of a solid, immovable brick wall. Ease the machine for-
ward until the front of the chassis is in solid contact with the wall.
3. Remove the test port cap and install a pressure gauge capable or reading up to 250 bar (3500 psi)
onto the test port.
4. Remove the protective end-cap on the Main Relief Valve and turn the adjusting screw counterclockwise
two full turns.
5. Unhook the Platform Controls from the guardrail so that the machine may be operated from the ground.
Slowly push the Control Handle in the direction of the wall.
6. Slowly turn the Main Relief Valve adjusting screw clockwise to increase the pressure until the gauge
reads 207 bar (3000 psi).
7. Replace the protective end-cap on the Main Relief Valve.
8. Remove the pressure gauge and replace the test port cap.
L
IFT
R
ELIEF
V
ALVE
1. Operate the hydraulic system 10-15 minutes to warm the fluid.
2. Remove the protective end-cap on the Lift Relief Valve and turn the adjusting screw counterclockwise
two full turns.
3. Place the maximum rated load on the platform (see the Specifications Table in the
Operator Manual
).
4. Turn and hold the Chassis Key Switch to CHASSIS. Push the Chassis Lift Switch to the UP position and
hold it there.
5. Slowly turn the Lift Relief Valve adjusting screw clockwise to increase the pressure until the platform
just begins to rise.
6. Release the Chassis Lift Switch. Replace the protective end-cap on the Lift Relief Valve.
S
TEERING
R
ELIEF
V
ALVE
1. Operate the machine for 10-15 minutes to bring the hydraulic fluid up to normal operating temperature.
2. Remove the test port cap and install a pressure gauge capable or reading up to 250 bar (3500 psi)
onto the test port.
3. Remove the protective end-cap on the Steering Relief Valve and turn the adjusting screw counterclock-
wise two full turns.
4. While one person holds the Steering Switch to steer to the right or left, slowly turn the Steering Relief
Valve adjusting screw clockwise to increase the pressure until the gauge reads 82,7 bar (1200 psi).
5. Replace the protective end-cap on the Steering Relief Valve cover.
6. Remove the pressure gauge and replace the test port cap.