EasyManuals Logo

Utax 5240L User Manual

Utax 5240L
446 pages
To Next Page IconTo Next Page
To Previous Page IconTo Previous Page
Page #393 background imageLoading...
Page #393 background image
11
11-19
Management
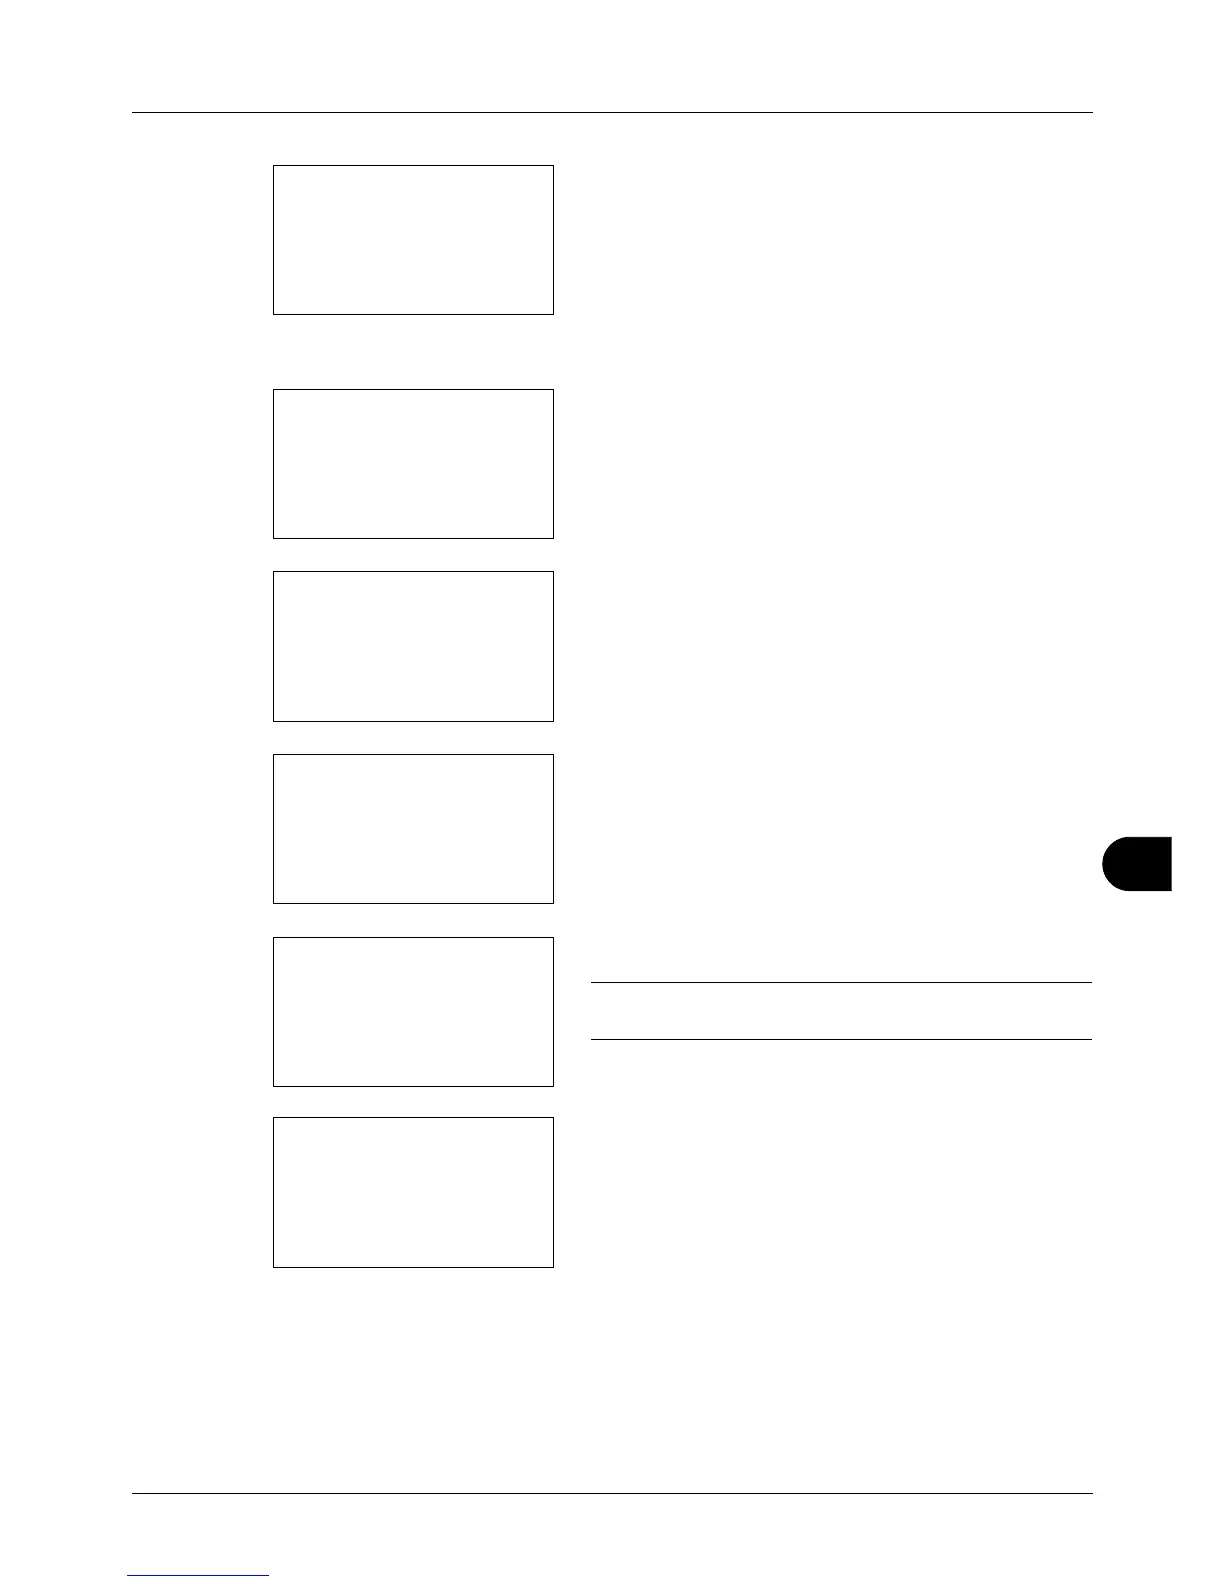
5 Press the OK key. The Job Account. Set. menu appears.
6 Press the U or V key to select [Account. List].
7 Press the OK key. Account. List appears.
8 Press [Menu] (the Right Select key), press the U or V
key to select [Add Account], and then press the OK key.
9 Enter the account name and press the OK key.
10
Enter the account code and press the OK key.
NOTE: Any account ID that has already registered cannot
be used. Enter any other account ID.
11
Press the U or V key to select [Exit] and then press the
OK key.
Select [Detail] and press the OK key to see information
of the registered accounts.
12
Account. List is displayed and the new account is added
to the account list.
Managing Accounts
This changes the registered account information or deletes the account.
Job Account.Set.:
a
b
4
Each Job Account
*********************
6
Default Setting
[ Exit ]
5
Account. List
Account. List:
a
b
*********************
k
GUI Design
k
RD Center
[ Menu ]
k
UI R&D DEP.
Menu:
a
b
1
Detail/Edit
2
Delete
*********************
3
Add Account
Account Name:
T
b
*
S
ABC
[ Text ]
Account ID:
b
*******************
S
k
Dep.01:
a
b
*********************
2
Detail
1
Exit

Table of Contents

Questions and Answers:

Question and Answer IconNeed help?

Do you have a question about the Utax 5240L and is the answer not in the manual?

Utax 5240L Specifications

General IconGeneral
BrandUtax
Model5240L
CategoryAll in One Printer
LanguageEnglish

Related product manuals