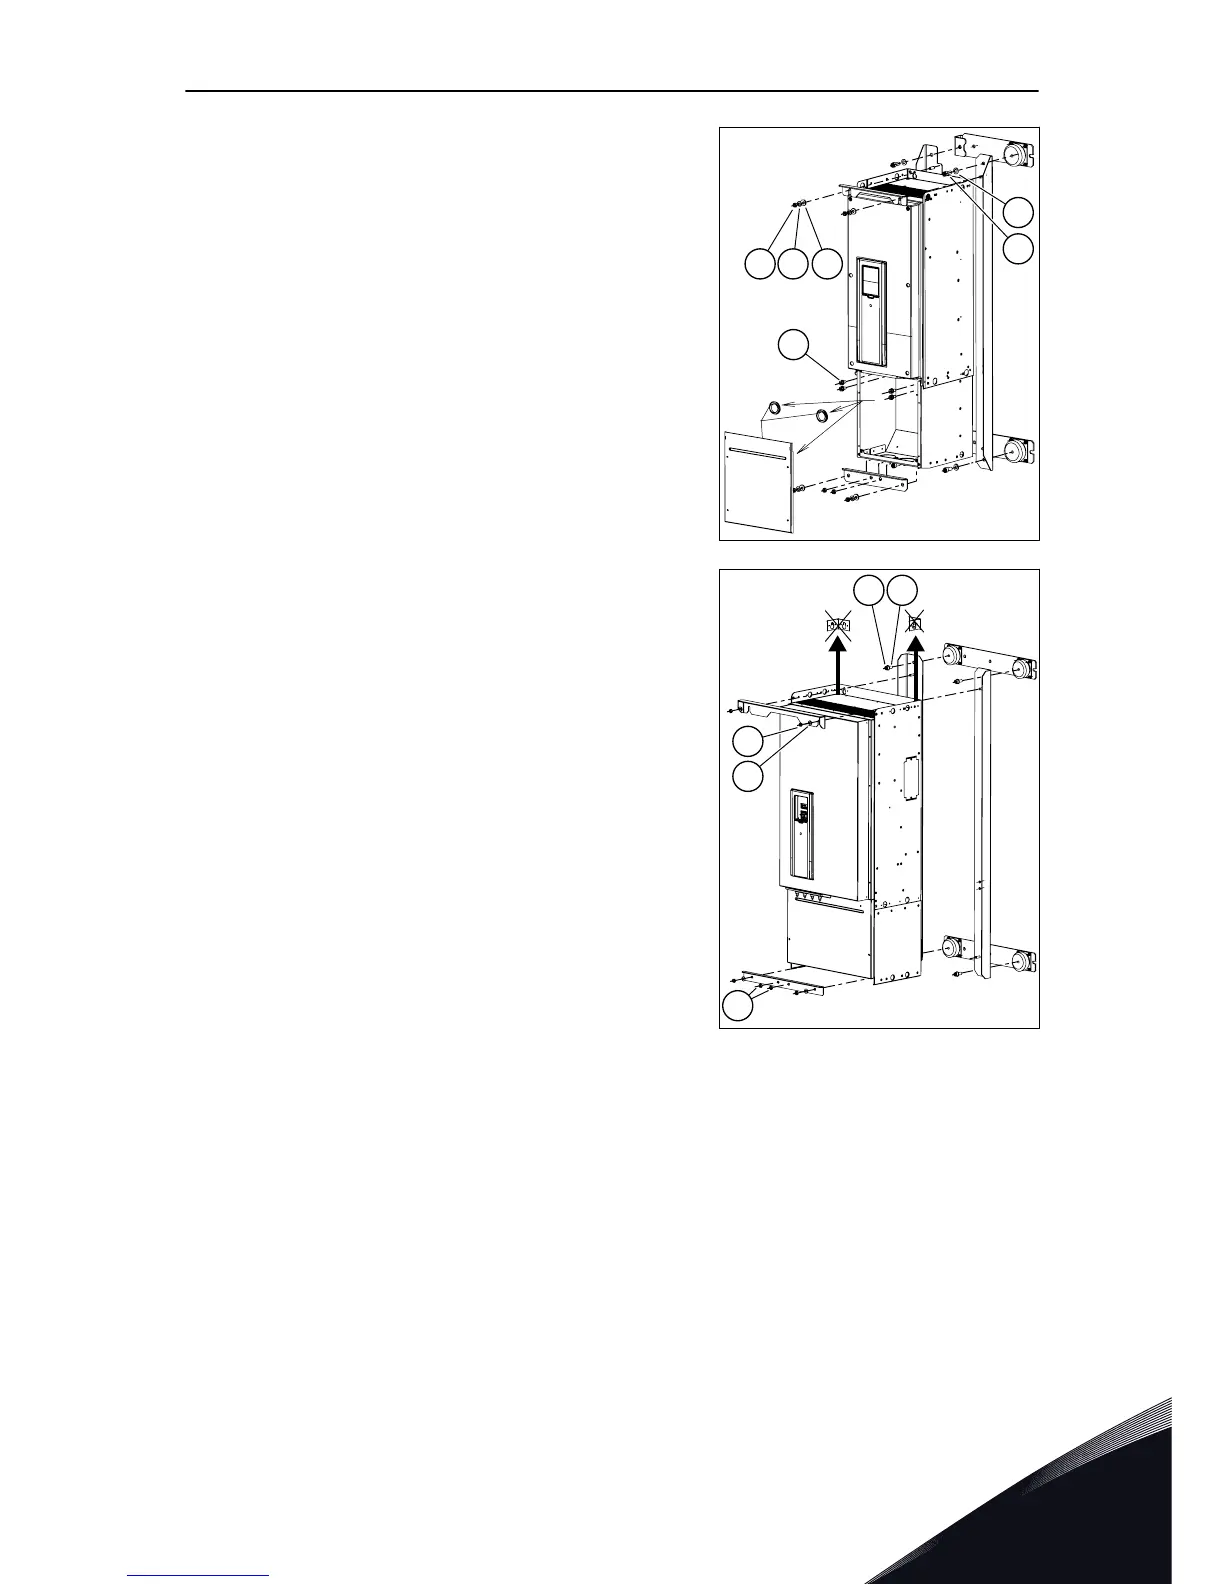
2 MR8: Attach the installation frame to the wall. You
can use screws or welding. Attach the drive to the
installation frame. Use:
A)
6 pcs of M8 nuts tightened to a minimum
torque of 20 Nm
B)
4 pcs of 8 mm spring washers
C)
4 pcs of 8 mm washers
D)
4 pcs of M8 x 20 mm combi screws tightened to
a minimum torque of 20 Nm
E
)
4 pcs of 10 mm washers
F)
4 pcs of M10 x 25 mm screws with a minimum
torque of 40 Nm
To have access to the installation holes, remove the
protective cover.
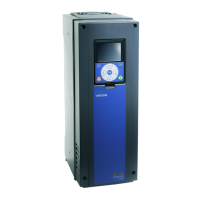
3 MR9: Attach the installation frame to the wall. You
can use screws or welding. Attach the drive to the
installation frame. Use:
A)
4 pcs of M10 x 25 mm screws tightened to a
minimum torque of 40 Nm
B)
4 pcs of 10 mm washers
C)
6 pcs of M8 nuts tightened to a minimum
torque of 20 Nm
D)
4 pcs of 8 mm spring washers
E
)
The plinth of the AC drive
Remove the 2 brackets from the top of the AC drive.
Attach the grounding cables to the plinth of the AC
drive.
4.4.2 INSTALLATION OF ENCLOSED DRIVES IN A MARINE ENVIRONMENT
INSTALLATION PROCEDURE, MR8-MR12
The bottom dampers are installed at the factory. You must install the upper dampers and
plinths on site.
MOUNTING VACON · 25
24-HOUR SUPPORT +358 (0)201 212 575 · EMAIL: VACON@VACON.COM
4