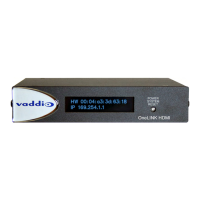
OneLINK For RoboSHOT HDMI Cameras
OneLINK For RoboSHOT HDMI Cameras Page 6 of 20
C
AMERA AND
EZIM
M
OUNTING
I
NSTRUCTIONS
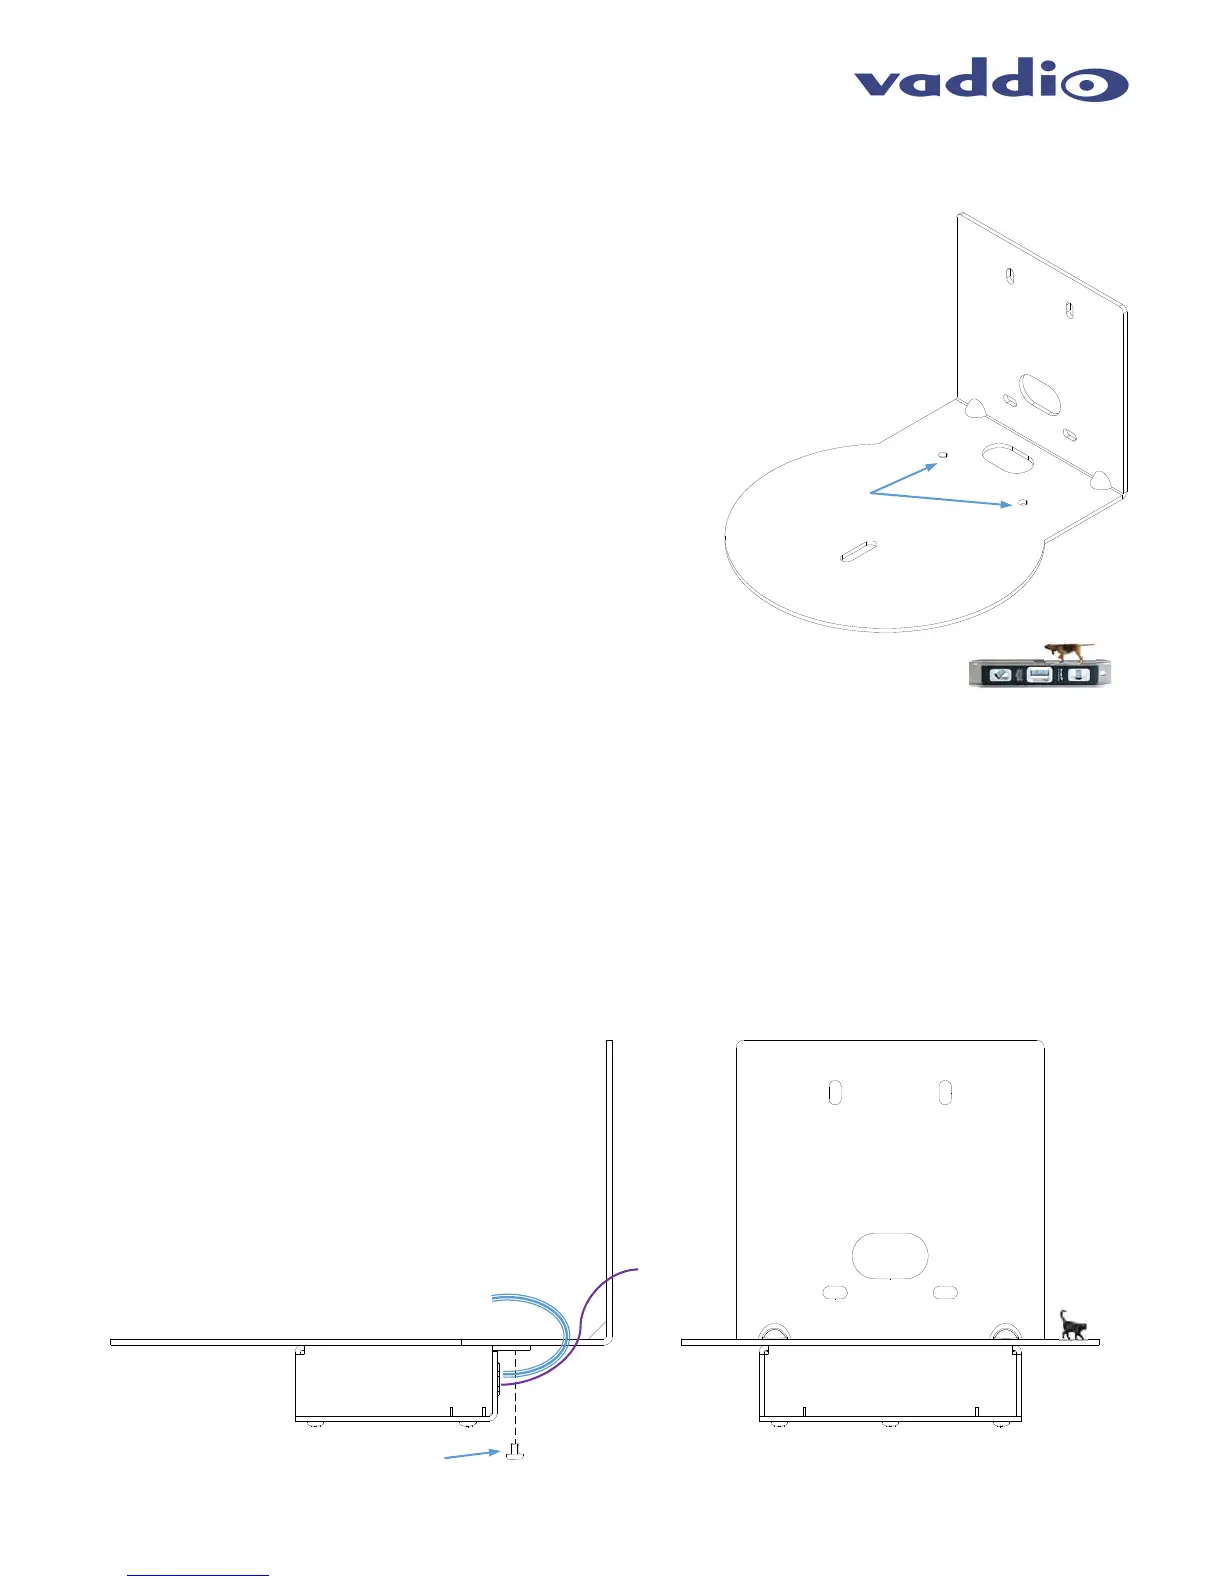
In case you haven’t noticed by now, the RoboSHOT Mount for the
HDMI Cameras has two threaded 6-32 holes in the camera
platform. These holes are for mounting the EZIM inconspicuously
to the bottom of the with the connection panel facing toward the
wall. The cables are connected from the EZIM to the Camera
through the cable pass-through on the mount platform. This mount
is shipped with the RoboSHOT HDMI camera.
Determine Camera Mount Location
When locating the camera, consider viewing angles, lighting
conditions, possible line of site obstructions and check for in-wall
or in-ceiling obstructions where the camera is to be mounted.
Always pick a mounting location to optimize the performance of the
camera. Please locate the camera to enable easy positioning of
the camera body with the ability to point down and away from the
ceiling and a pile of fluorescent lighting cells. Cameras generally
don’t like to be swamped with fluorescent light and nobody sits on
the ceiling anyway.
After determining the optimum location of the camera system, pull
and route the required Cat-6 cable from the Camera/EZIM location
back to the OneLINK Interface Location (head-end).
If the wall mount is to be mounted on a 2-gang wall box, use the screws supplied with the wall box cover plate to
attach Thin Profile Wall Mount Bracket. If mounting to drywall with wall anchors, use the four (4) quality wall anchors
and screws provided with the mount. The Thin Profile Wall Mount Bracket’s mounting holes are slotted and are 90°
opposing to provide easy leveling. Level the mount and place the camera on the mount. Connect the marked and
tested Cat-5e cables to the appropriate RJ-45 jacks. Check the level again to avoid any of those weird Batman-
type camera angles.
The OneLINK Kit for the Vaddio HDMI Cameras comes with two 6-32 x .188” pan head screws. Use these screws
to attach the EZIM to the bottom of the mount.
Use the provided ¼”-20 x .375 mounting screw to attach the camera to the mount. This step is best performed after
the camera and EZIM are cabled (see next page).
Drawing: RoboSHOT HDMI Mount with EZIM Attached
RoboSHOT 12/30 HDMI
Camera Mount
Two 6-32
Threaded
Holes
RoboSHOT 12/30 HDMI
Camera Mount with EZIM
Side View
RoboSHOT 12/30 HDMI
Camera Mount with EZIM
Front View
Use two (2) 6-32 x .188”
pan head screws to attach
the EZIM to the Mount
Short Cables run from
EZIM to Camera
OneLINK
Cable to
Interface