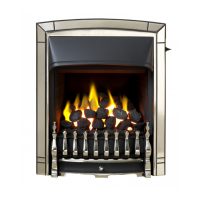
To light the fire.
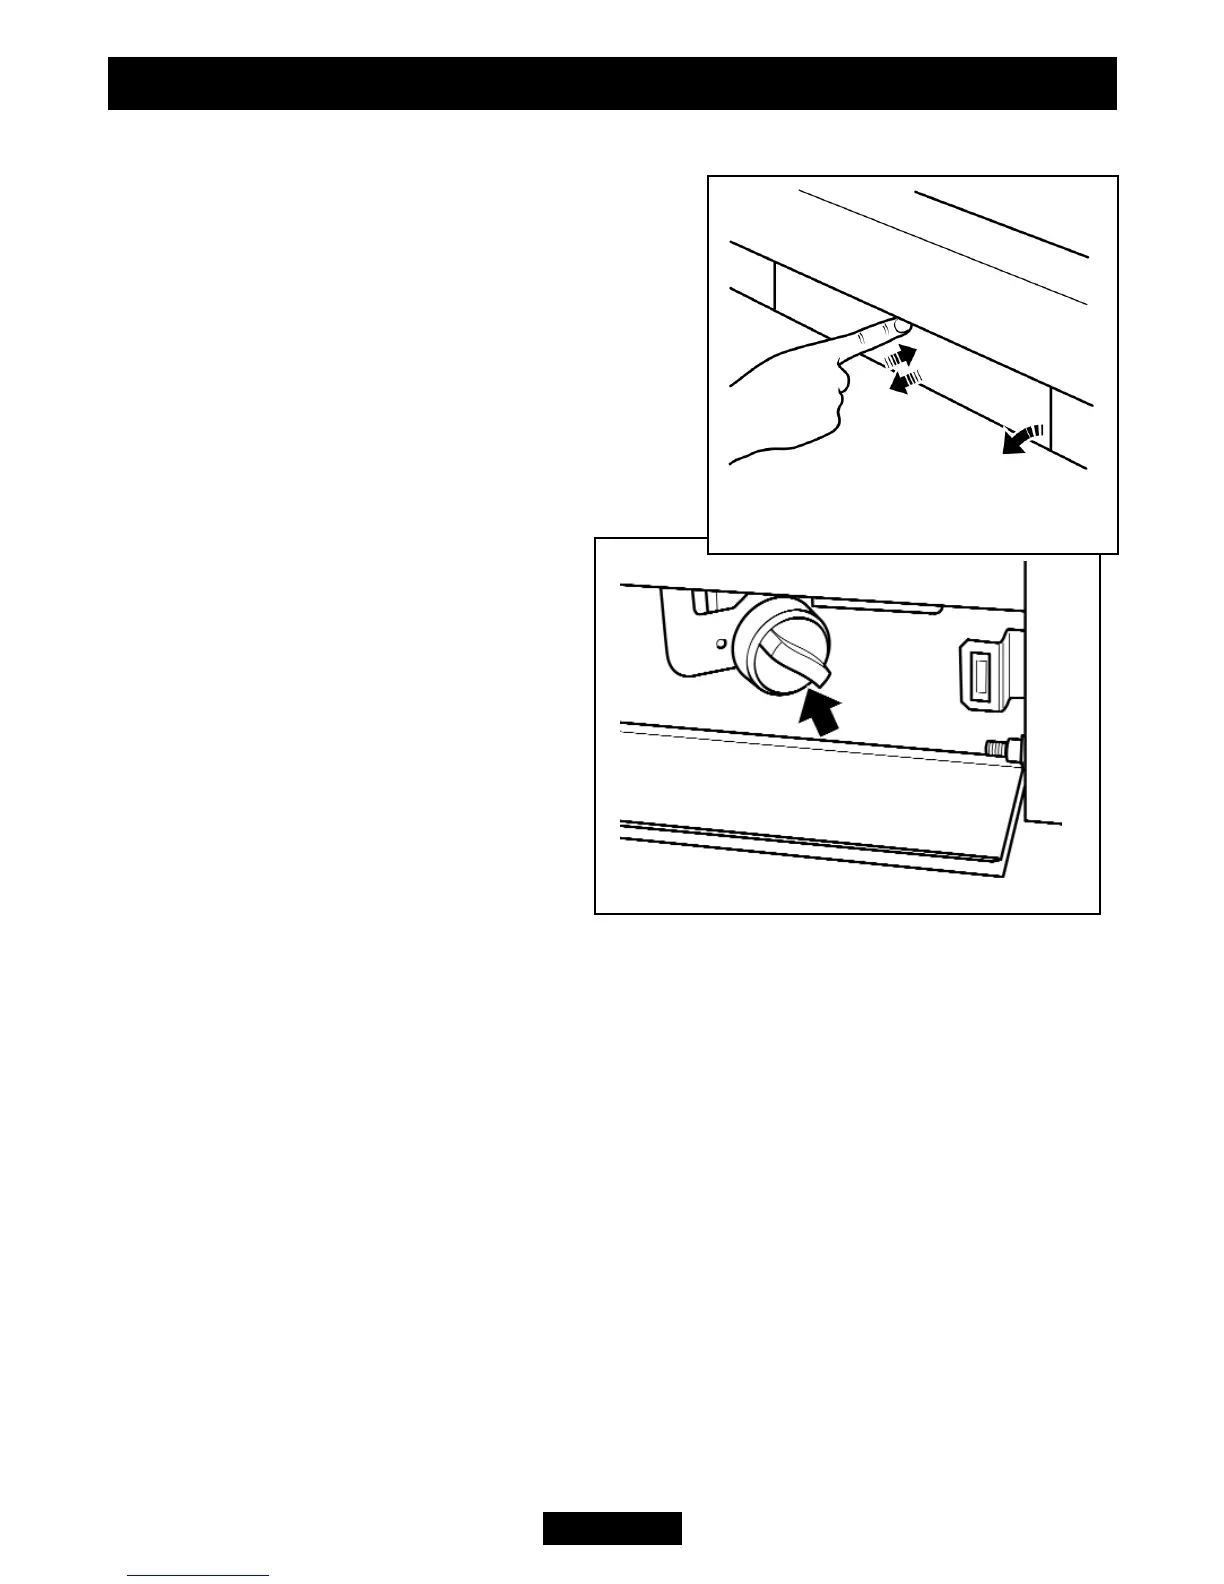
To gain access to the control knob lower the
bottom front cover. To do this, gently push and
release the top of the front cover with the
fingertips. The magnetic catch will release the front
cover (See figure 3).
Depress the control knob and turn SLOWLY
anticlockwise towards the PILOT/IGN position
(See figure 4). A spark should be generated at the
pilot while turning. The spark should ignite the
pilot. The pilot flame can be seen at the rear left
side of the burner.
Keep the button at the PILOT/IGN
position for a further ten seconds. This
will prevent the flame sensing device
from shutting off the gas while its probe
warms up as explained previously.
If the pilot does not ignite repeat the
procedure.
If after 10 seconds pilot ignition has
not occurred, turn the control knob
back to the OFF position, wait for 3
minutes and then repeat the ignition
procedure.
When the pilot is alight and stable,
partially depress the knob and turn to “LOW”. The pilot should then light the main
burner at its low setting. There may be a delay of up to four seconds between the
pilot lighting and ignition of the gas at the main burner. This is normal and is due to
the time required to fill the main burner compartment with sufficient gas for ignition.
When the main burner is alight at its low setting, partially depress the knob and
gradually turn it anti-clockwise until the burner is at your desired level. The burner
flames will gradually increase until the knob reaches the “HIGH” position.
Note:
i) If the flames go out while setting the control, repeat the full lighting procedure.
If the flames repeatedly go out have the fire serviced.
Please note:
ii) The flames on the N.G. appliance will appear predominantly blue. The flames
on the L.P.G. appliance will appear predominantly yellow.
iii) The appliance will operate to its maximum potential if the flue is primed
during the first 20 – 30 minutes of operation. To do this, simply set the control
knob to its ‘HIGH’ setting. This will also burn off any dust deposits that may
have formed during the appliance being switched off.
Page 41
© Baxi Heating U.K. Limited 2010.
OWNER GUIDE
Figure 4. Control knob
Figure 3. Bottom front cover
access