6 | 3578 • CB500 VENDOR
A noise suppresser has been installed in this vendor to compensate for any signal
noise that could interfere with the normal operation of the control board. Vendor
must be grounded for noise suppressor to work.
INSTALL BOTTOM KICK PANEL
1. Open main door. Remove the
Kick Panel from inside the Vend
Rack.
2. Remove wing nuts from Kick
Panel threaded studs. Save for
step 6.
3. Open inner door.
4. Position Kick Panel under the
main door with louvers facing
front. See Figure 2.
5. Push Kick Panel threaded studs
through holes in the bottom of
the main door.
6. Lock the Kick Panel into
position by re-installing the
three (3) wing nuts as shown on
Figure 2.
7. Close inner door and main door.
LOADING
VEND RACK
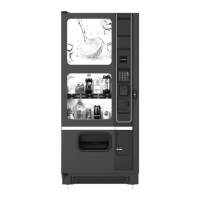
Products featured in front door Live Display must match the product being loaded.
1. Funnel slides must be kept clean. Refer to Figure 4 for part names, locations,
and product orientation.
2. Refer to Figure 4. Product container bottoms must face toward the center of
the rack as shown.
3. Do not store bottles in “spare” space of the cabinet. The refrigeration unit
could be damaged.