VESDA Maintenance Guide VESDA
18 www.xtralis.com
8.1.2 Replacing VESDA VLP and VESDA VLS Aspirators
Replacement Procedure
1. Isolate and power down the detector.
2. Open the front cover.
3. Locate and unplug the cable loom that connects from the head processor card (HPC) to one of the
modules located on the front panel. Mark out this connector position, if unsure about the cabling.
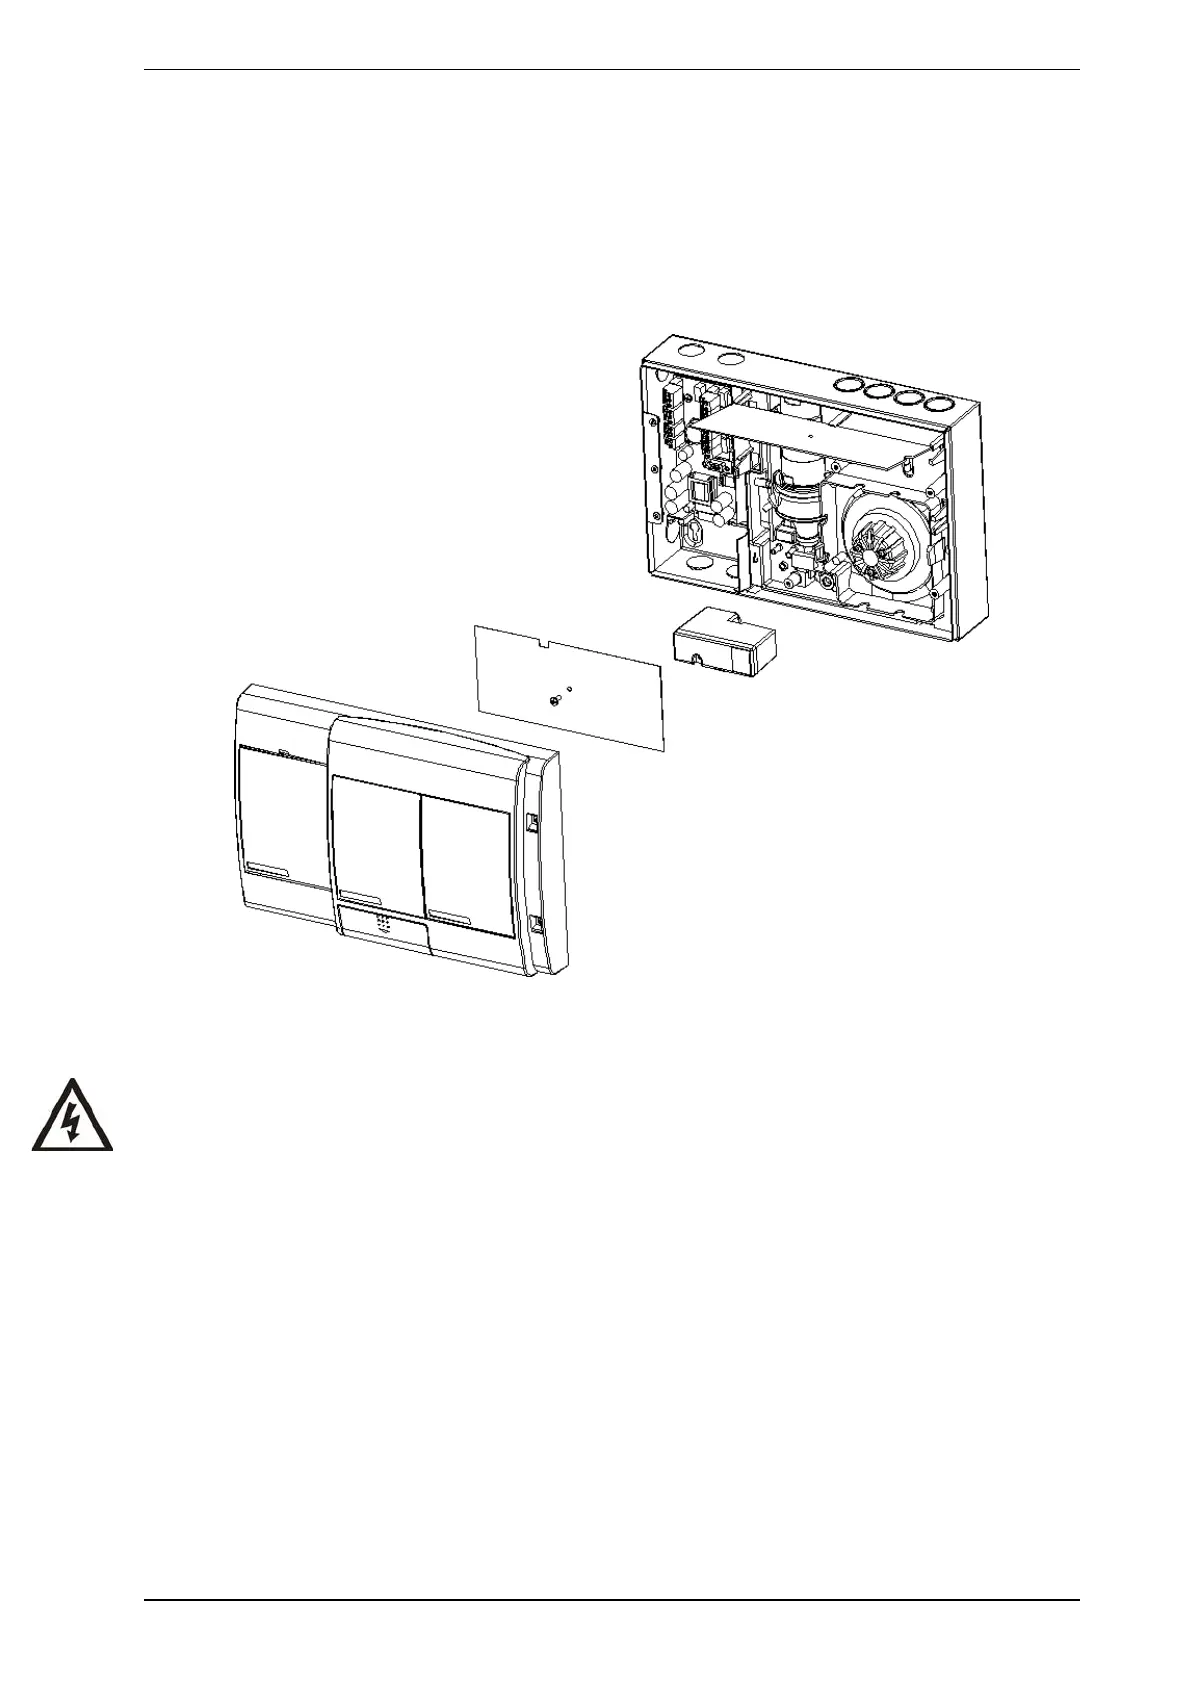
4. Remove the air filter cartridge. Refer to Figure 8-2.
Figure 8-2: Removing the Air Filter Cartridge for VESDA VLP or VESDA VLS aspirator replacement
5. Remove the HPCs securing screw.
Warning: Hold the HPC at the edges. Static charges may damage it.
6. Remove the brown insulating sheet and lift up the HPC.
7. Locate the aspirator cable loom (red, white and blue wires) and disconnect the connector from the HPC.