19617-001 Rev. H DiagnosticPRO Edge User’s Guide 8
Operating
the DiagnosticPRO Edge film digitizer
Apply power
If the film digitizer is already on and ready to scan (LED on the front of the digitizer is
solid green), then skip this section.
1. Ensure the PC is turned off.
Note: Always apply power to the digitizer before turning on the
computer. This enables the computer to recognize the digitizer.
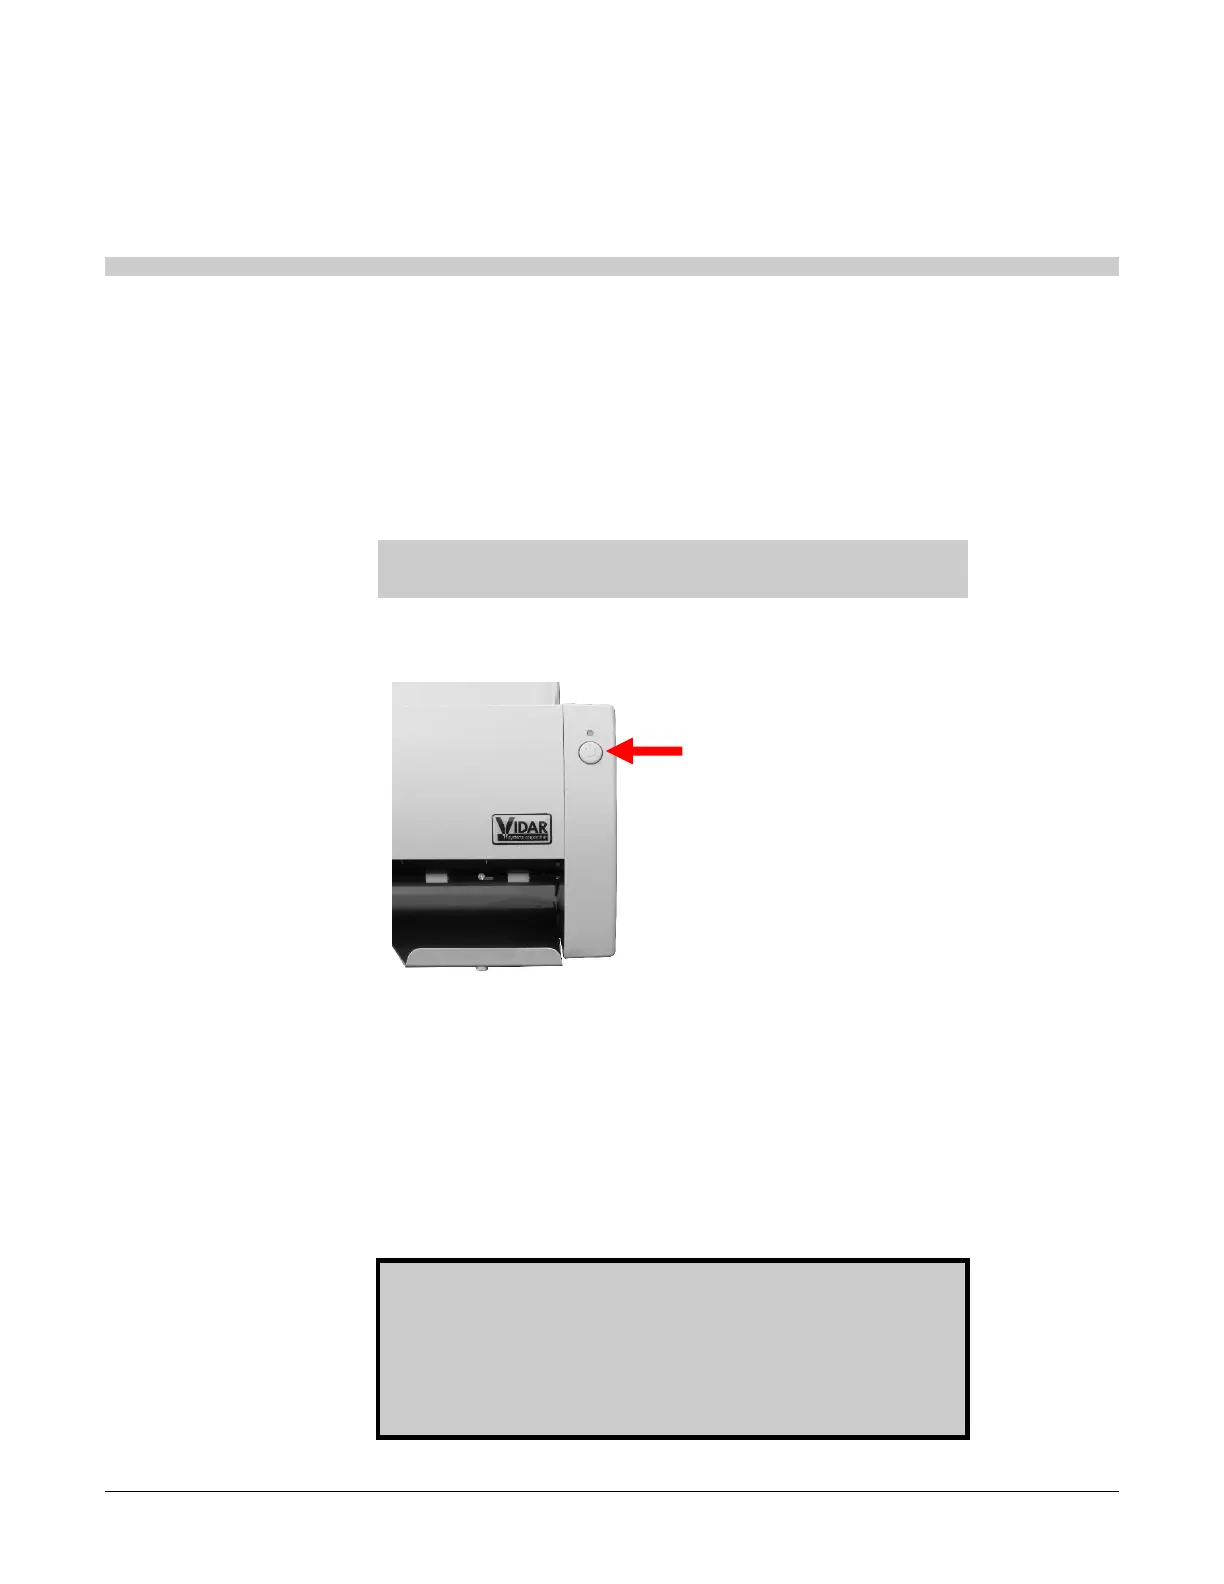
2. Turn on the digitizer (the switch is located front of the digitizer body).
To turn digitizer ON:
Press and release power switch.
To turn digitizer OFF:
Press and hold for two seconds.
3. Observe the LED on the front of the digitizer: the LED should flash light blue for
several minutes. This indicates the digitizer is performing internal tests and
calibration.
4. When the LED stops flashing and remains solid green, turn on the PC and launch your
scanning software.
The digitizer is now ready to scan films.
CAUTION: X-ray images displayed on a computer monitor are
representative only. Dimensional and grayscale inaccuracies
may result from the build-up of tolerances in the digitizer, the
display board and the computer. For this reason, special
precautions must be exercised when taking measurements from
the digitized image. Please refer to the user’s manual for your
digitizing software for more information.