67009600-EN - Edition 2015 - Rev. 1.0
58
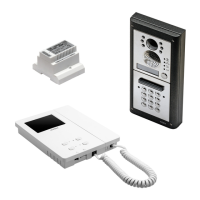
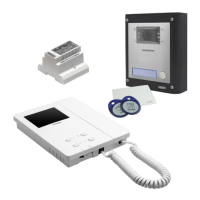
VX2300 Digital System - “2 Wire” Audio/Video Door Entry System
VX2300 Digital System - Installation handbook
PROGRAMMING
All programming options are available only when the system is in stand-by.
NUMBERS OF RINGS
1. Press and keep pressed “
“ button for 5 seconds to enter number of rings programming mode: the “ “ LED turns on and the
unit emits a “beep“;
2. Press “
“ button as many rings as required: the unit emits a “beep“ every time the button is pressed. I.E.: press 3 times for 3 rings.
Default value: 3 rings. Max value: 9 rings;
3. Wait for some seconds: the “ “ LED turns o and conrms the new setting is properly stored;
4. The unit returns to stand-by mode.
PRIVACY SERVICE DURATION
1. Press and keep pressed “
“ button for 5 seconds to enter privacy service duration programming mode: the “ “ LED turns on and
the unit emits a “beep“;
2. Press “ “ button as many times as required. Each press is equal to 15 minutes: the unit emits a “beep“ every time the button is
pressed. I.E.: press 4 times for 1 hour, 12 for 3 hours. Default: innite. Max value: 20 hours. To program innite privacy time don’t
press any button until the unit emits a “beep” to conrm the setting;
3. Wait for some seconds: the “ “ LED turns o and conrms the new setting is properly stored;
4. The unit returns to stand-by mode.
MELODY TYPE
1. Press and keep pressed “
“ button for 5 seconds to enter melody type programming mode: the “ “ LED turns on and the unit
emits a “beep“;
2. Press and keep pressed “ “ button to play the current melody. Release “ “ button then press and keep it pressed again to
play the next melody. Proceed in the same manner to select the melody;
3. When desired melody is selected, wait for some seconds and the “ “ LED will turn o;
4. The unit returns to stand-by mode.
VIDEOPHONE ADDRESS SW1.1..7
The table below shows how to set the address of the videophone. Considering that ON = 1 and OFF = 0, multiply
each digit for the relevant decimal weight then sum values obtained to get the address: E.g. as highlighted in the
table OFF,ON,OFF,OFF,ON, OFF,ON in binary is equal to 0100101 then multiplying each digit for the relevant dec-
imal weight you obtain the address that is 37.
SWITCHES STATUS BINARY CODE DECIMAL WEIGHT ADDRESS
7 6 5 4 3 2 1 64 32 16 8 4 2 1
OFF OFF OFF OFF OFF OFF ON 0 0 0 0 0 0 1 1
OFF OFF OFF OFF OFF ON OFF 0 0 0 0 0 1 0 2
OFF OFF OFF OFF OFF ON ON 0 0 0 0 0 1 1 3
OFF OFF OFF OFF ON OFF OFF 0 0 0 0 1 0 0 4
OFF ON OFF OFF ON OFF ON 0 1 0 0 1 0 1 37
ON ON ON ON ON ON ON 1 1 1 1 1 1 1 127
Note: The maximum number of units allowed is 100 but the address of each unit can be a value between 1 and 127.
INTERCOMMUNICATION MODE SW3.1
This switch establishes the intercommunication mode: in OFF position (default) intercommunication is between units
in the same apartment (same addresses but dierent extension); in ON position the intercommunication is between
units in dierent apartments (dierent addresses).
On installations where there are more than one intercom/videophone in the same apartment and intercommunication between dif-
ferent apartments is required, only one intercom/videophone may be set with this function (SW3.1=ON, SW3.2=OFF, SW3.3=OFF).
The other intercom/videophones in the apartment must be set for local intercommunication with extension addresses “2-4”
(slaves). From the intercom/videophone set for intercommunication with other apartments it will not be possible to intercommu-
nicate within the apartment but slave extensions 2-4 will be able to intercommunicate with each other within the apartment.
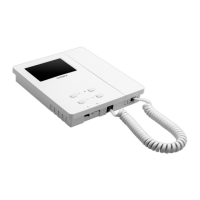
Art.KRV782
Hands free videomonitor for VX2300 digital system)
 Loading...