67009600-EN - Edition 2015 - Rev. 1.0
61
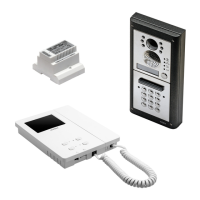
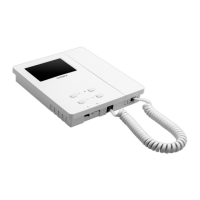
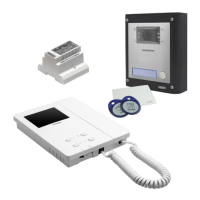
VX2300 Digital System - “2 Wire” Audio/Video Door Entry System
VX2300 Digital System - Installation handbook
SURFACE MOUNTING INSTRUCTIONS
135cm
Fig. 7 Fig. 8
Fig. 9
2
2
1
1
Fig. 10 Fig. 11
1. First of all remove the back cover as described on the previous page;
2. As shown in Fig. 7, place the videointercom back cover against the wall at 135cm height from the oor and mark the xing holes.
Make the holes (5mm diameter) and insert the provided wall plugs as shown in Fig. 8;
3. As shown in gure Fig. 9, x the back cover of the videophone to the wall keeping the same orientation shown in the gure and
taking care to feed the connection cables through the specic circular opening;
4. Connect the wires using a at screw driver then setup the dip-switches as per provided connection diagram or instruction sheet
and x the front part of the videophone to the back cover as shown in Fig. 10: hook rst the bottom side then rotate the front
part and hook the upper side;
In order to avoid malfunctions, please do not over tighten the screws.
5. The video intercom is installed (Fig. 11), power up the system and check that it works correctly.
Kristallo Series 7" ush and surface videomonitor wall mounting instructions
 Loading...