23
Adjusting the projected image
Adjusting the projection angle
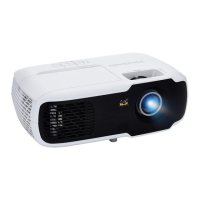
The projector is equipped with an adjuster foot. It changes the image height and vertical
projection angle. Screw the adjuster foot to fine tune the angle until the image is positioned
where you want it.
If the projector is not placed on a flat surface or the screen and the projector are not
perpendicular to each other, the projected image becomes trapezoidal. To correct this
situation, see "Correcting keystone" on page 23 for details.
Do not look into the lens while the lamp is on. The strong light from the lamp may cause
damage to your eyes.
Auto-adjusting the image
In some cases, you may need to optimize the picture quality. To do this, press Auto Sync on
the remote control. Within 5 seconds, the built-in Intelligent Auto Adjustment function will
re-adjust the values of Frequency and Clock to provide the best picture quality.
The current source information will be displayed in the upper left corner of the screen for 3
seconds.
The screen will display ViewSonic logo while auto adjustment is functioning.
This function is only available when PC D-Sub input signal (analog RGB) is selected.
Fine-tuning the image clarity
Correcting keystone
Keystoning refers to the situation where the projected image becomes a trapezoid due to
angled projection.
To correct this, besides adjusting the height of the projector, you will need to manually
correct it following one of these steps.
• Using the remote control
1. Press / to display the
Keystone
correctio
n pa
ge.
2.
Press to correct keystoning at the top
of
the
image. Press to
correct keystoning at
the bot
tom of the image.
• Using the OSD menu
1. Open the OSD menu and go to the
DISPLAY > Keystone menu.
2.
Press Enter.
1. Adjust the projected image to the size
that
you need using the zoom ring.
2. If necessary, sharpen the image by rotating
the focus ring.