7
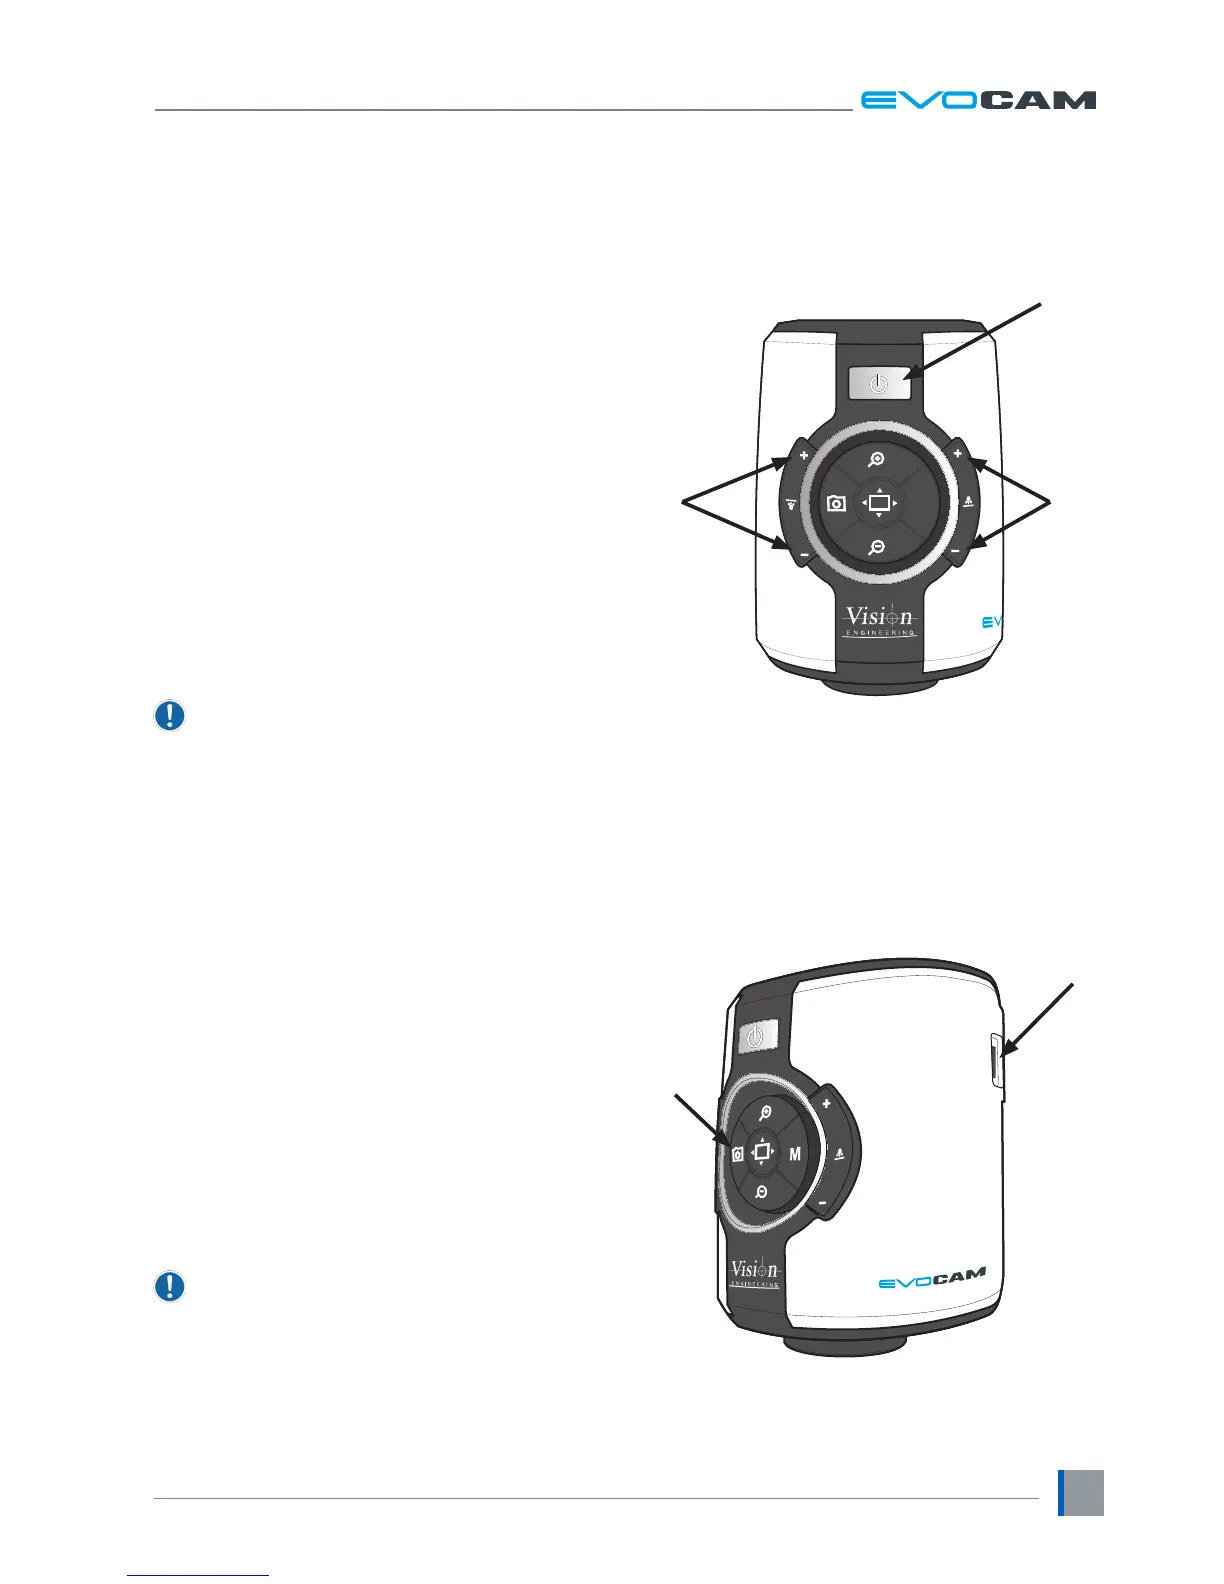
Control functions
` Push the power button
u
to turn the unit on. A blue
image will appear on your screen and after a few
seconds the picture from the camera will appear. If
not, switch your monitor to the input used for EVO
Cam.
` Hold the Power button in for ~3 seconds to power
off EVO Cam.
Illumination control
` The integrated ringlight illumination level can be
adjusted by the right hand side buttons
v
.
` The optional sub-stage illuminator intensity can be
adjusted using the left hand side buttons
w
.
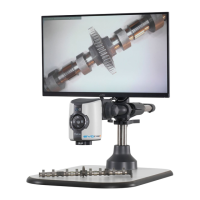
` When connected, the external rightlight illumination
level can be adjusted using the right hand side
buttons
v
.
The internal ringlight is disabled when the
external ringlight is connected.
Image capture
` To use this feature, insert a USB memory stick into
the USB port
u
.
` When the system has detected the USB memory stick
it will report “USB Key Ready”
` When you have an image you want to capture, simply
press the capture button
v
.
` The system will indicate the image is being saved
to the drive and indicate when the image has been
saved. The image is saved as a 1920 x 1080 bitmap
(.bmp) format.
` The image name is Date and Time stamped and saved
in the format: “IMG-DateTime.bmp”.
The USB memory stick must be in FAT File System
Format. It will not work with any other format.
M
v
u
w
u
v