Travel
Attaching and removing attachments 51
Removing the working attachment
– Lower the working attachment flat to the ground.
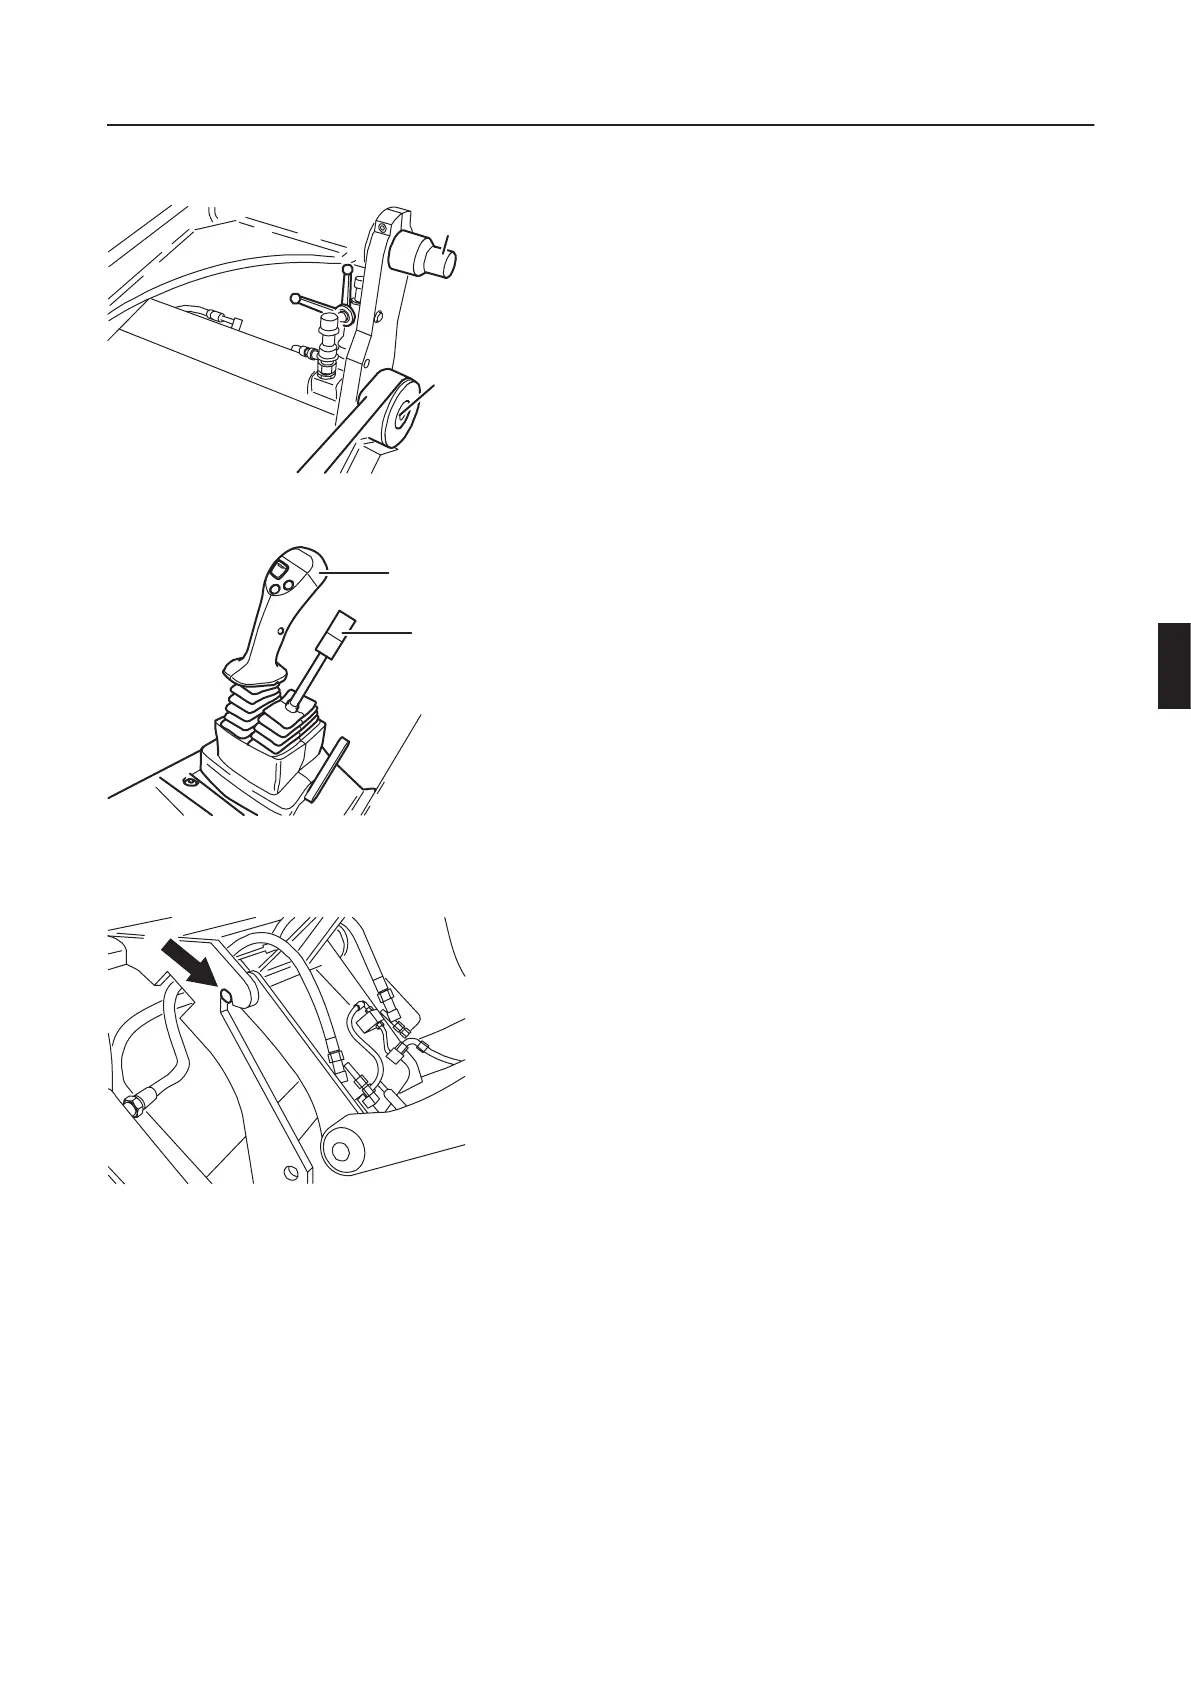
– Turn the cock valve on the attachment carrier to position (A).
– Start the engine.
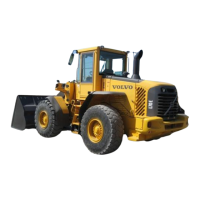
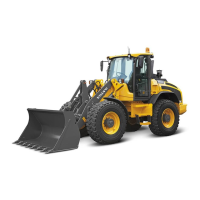
– Shift lev er (2) forward, until the locking pins are fully retracted
from the receiving bores in the working attachment.
– Operate lever (1) to "Tipping" and "Lowering", until the locating
pins of the SW-carrier are free.
– Shift lever (1) to middle position (neutral).
– Drive the loader backwards away from the working attachment.
Installation and removal of quick change
working attachments with auxiliary
hydraulics
Install the working attachment (e.g. flap-type
bucket, road sweeping machine etc.).
– Drive the loader forward up to the working attachment.
– Turn the cock valve on the attachment carrier to position (A).
– Shift the lever (1) to "Lifting", until the centring pins (C) of the
SW-carrier(seeillustration)havepickeduptheworkingattach-
ment.
– Actuate lev er (2) "Tipping back", until the working attachment
lifts off the ground.
– Shift lever (2) backwards until the locking pins (D) protrude from
the receiving bores of the working attachment for approx.
10 mm / 1/2" in.
– Shut the engine down.
– Actuate the lever (2) forward to relieve the pressure.
– Turn the cock valve on the attachment carrier to position (B).
– Remov e the dust caps from the quick couplings.
– Connect the hydraulic quick couplings of the working attach-
ment with the quick couplings on the attachment carrier.
– Start the engine.
M300049A
C
D
A
B
M200054A
2
1
M300051A
C



 To Next Page