1.
Fit one circlip in the piston.
2.
Oil in the gudgeon pin and bushing.
Fig. 49. Assembly of piston and connecting rod
(
MD2010, MD2020)
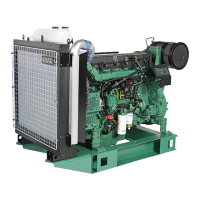
Fig. 50. Assembly of piston and connecting rod
(
MD2030, MD2040)
3.
Heat up the piston to approx. 100°C (212°F). Place
the piston and connecting rod so that the markings
correspond with Fig. 49 or 50.
MD2O10, MD2020:
With the marking on the con-
necting rod's side upwards the arrow on the piston
top should be turned in the same direction as per
Fig. 49.
MD2030, MD2040:
The marking on the connecting
rod and the "SHIBAURA" mark in the piston should
be turned in the same direction as per Fig. 50.
Push in the gudgeon pin.
NOTE!
The gudgeon pin should be able to be
pressed in easily. It must not be knocked in.
4.
Fit the other circlip.
5.
Check that the connecting rod goes easily in the
gudgeon pin bearing.
38
Check the big-end clearance. See "Inspection of
crankshaft" and "Inspection of main and big-end
bearings" on pages 46 and 47.
Check the piston ring gap in the cylinder bore (Fig.
41 on page 35) and that the rings do not jam in the
piston ring grooves.
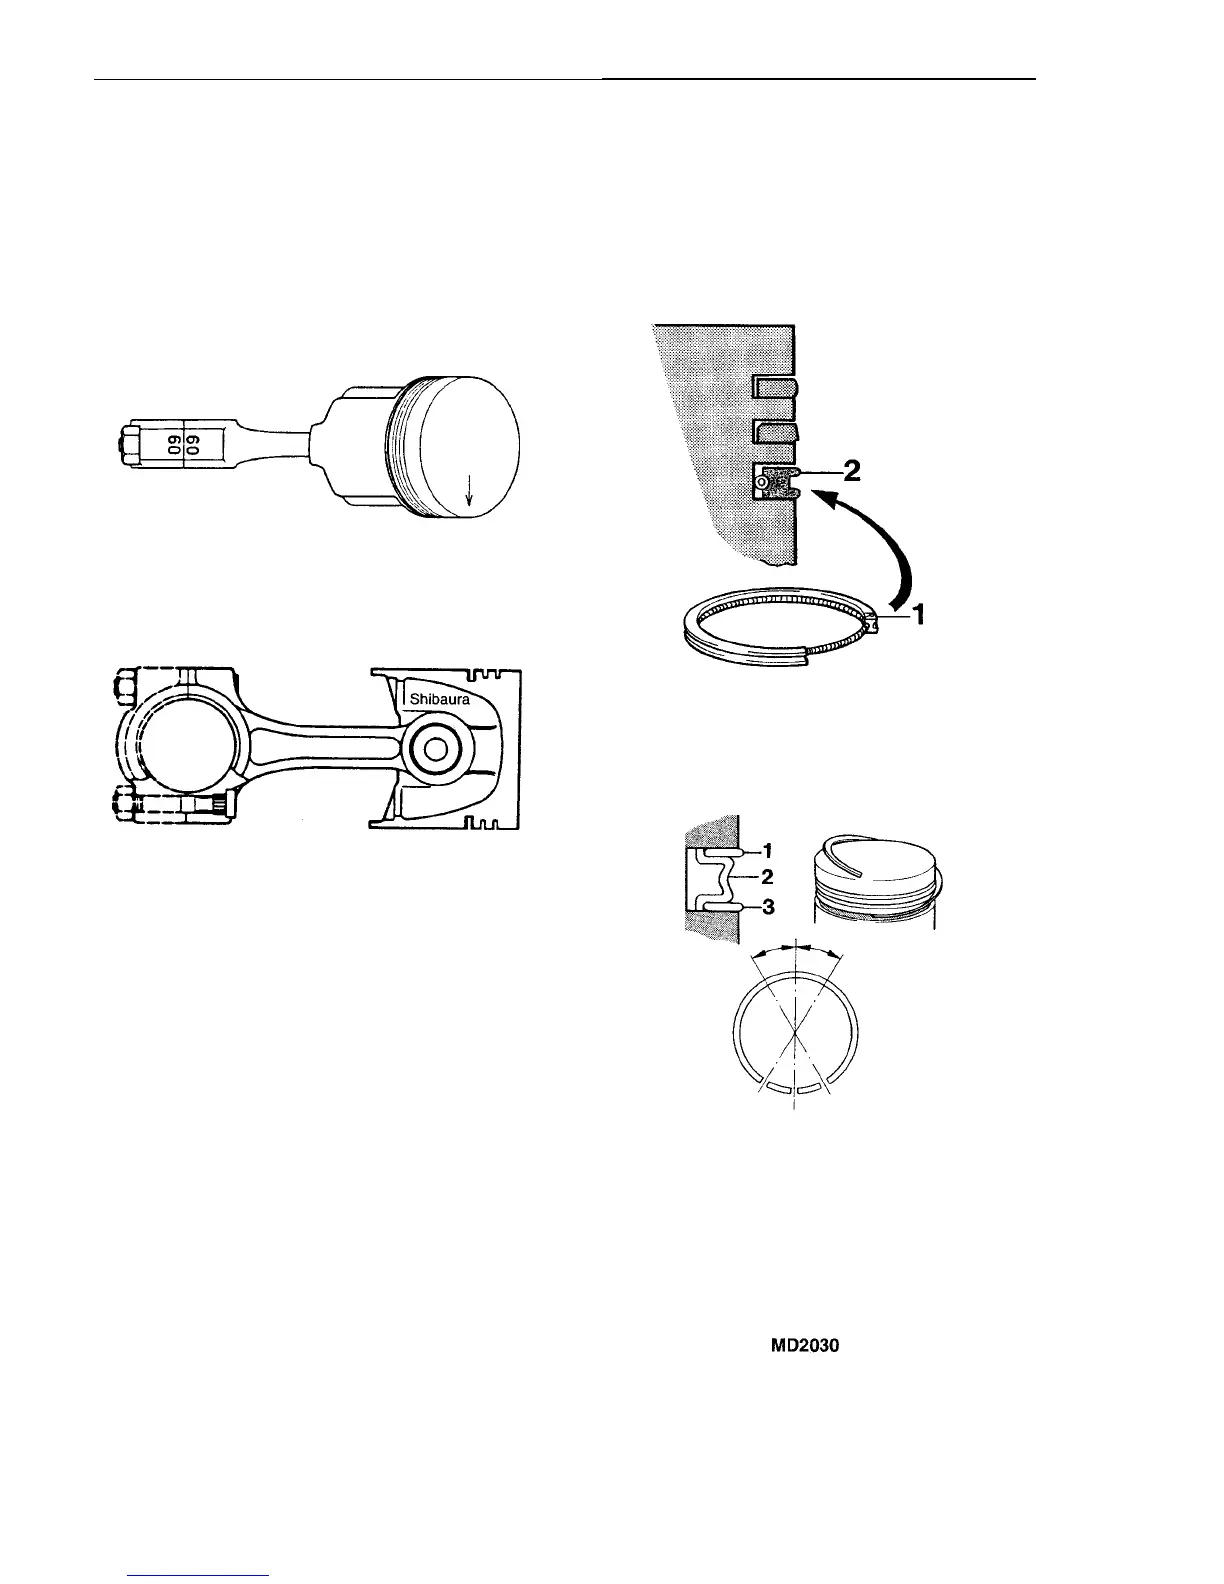
Fig. 51. Placement of piston rings
1.
TOP marking
2.
Oil scraper with expander spring (MD2O10-2030)
Fig. 52. Fitting of oil ring (MD2040)
1. Top scraper ring
3. Bottom scraper ring
2. Expander
8.
Fit the piston rings on the piston with a piston ring
tong.
Note:
The rings should be turned as per Fig. 51.
MD2O10, MD2020,
MD2030
:
Fit the oil ring first
(
with the marking turned upwards). The opening in
the expander spring should be placed 180° from the
oil ring gap.
Engine body
Assembly of piston, piston rings
and connecting rod
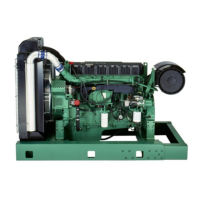
6.
Note:
Check that pistons of the correct oversize are
used if the cylinders have been milled to oversize.
7.
 Loading...