ProSpray 24 35
g
Starting operation
4.4 Connection to the mains network
Before connecting the unit to the mains supply, ensure
t
hat the line voltage matches that specified on the unit’s
rating plate.
4.5 Cleaning preserving agent when
starting-up of operation initially
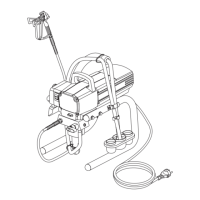
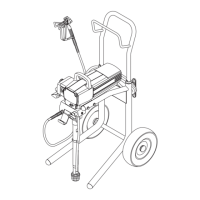
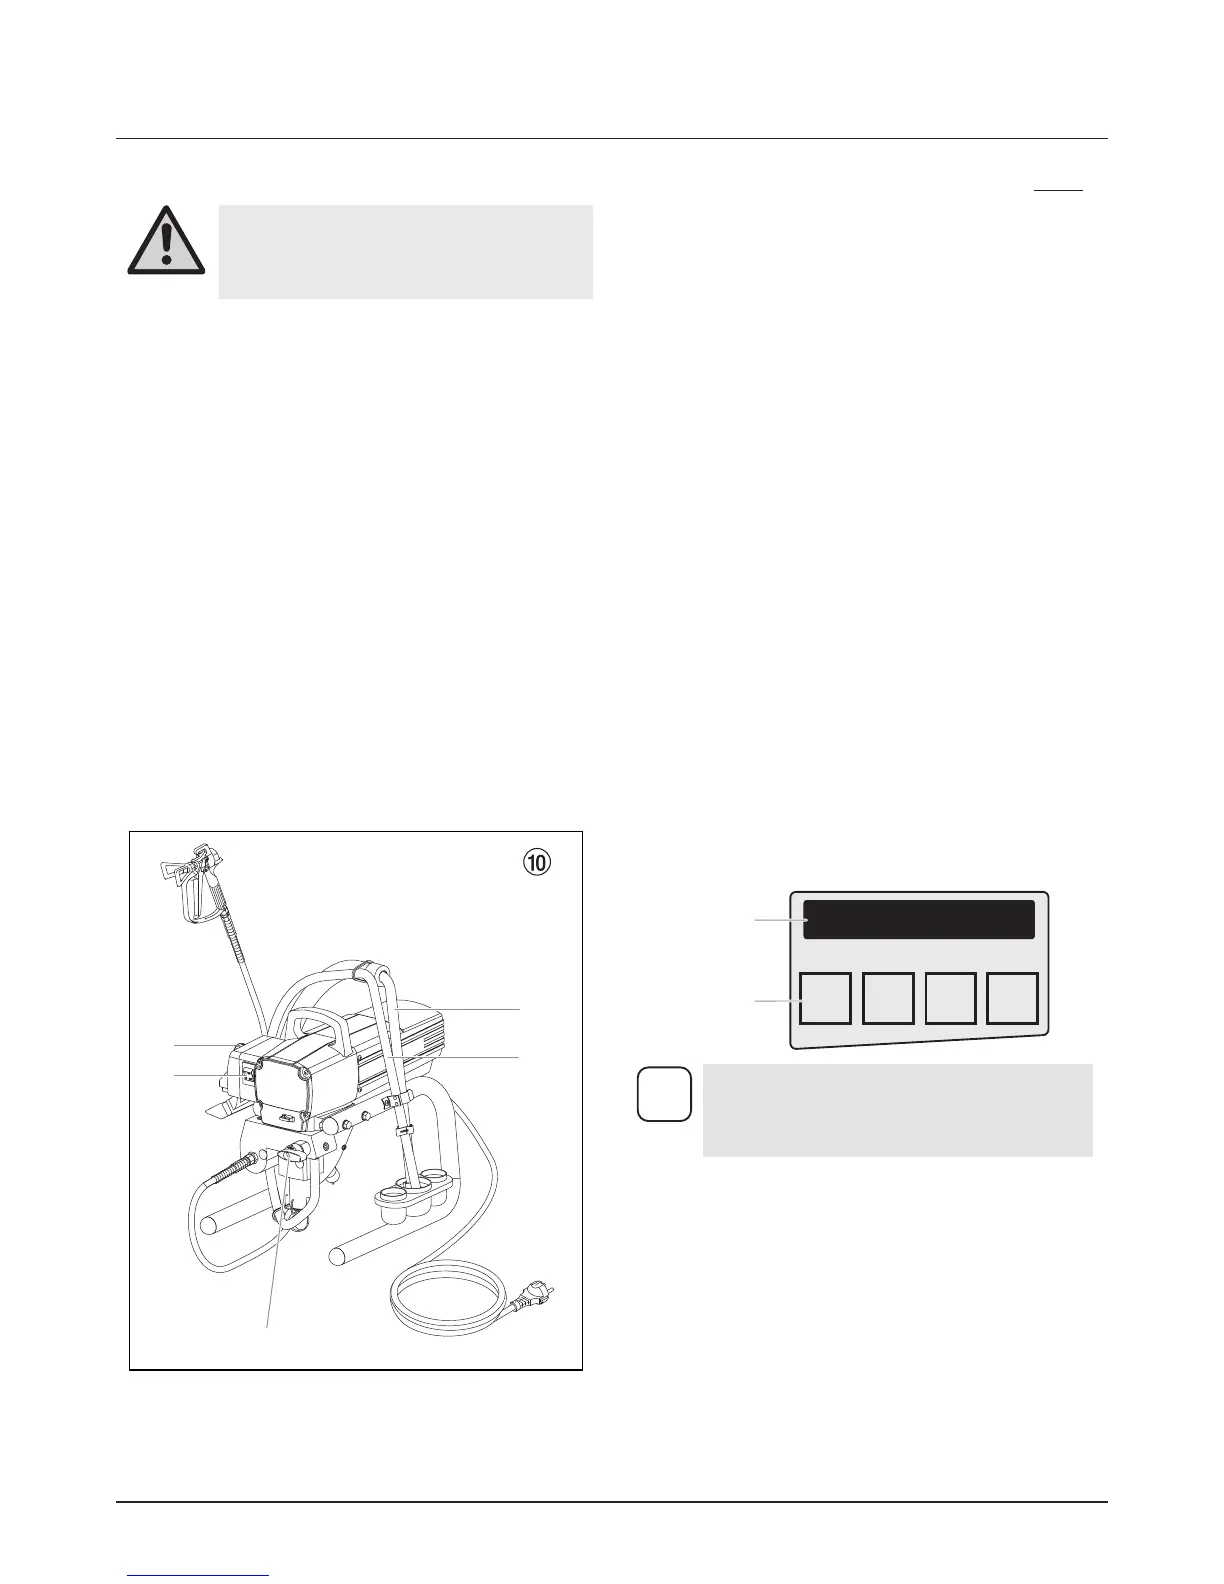
1. Depending on the model, swivel or immerse the suc-
tion tube (Fig. 10, Item 1) or the suction hose and re-
turn hose (2) into a container with a suitable cleaning
agent.
2. Turn the pressure control knob (3) to the yellow zone
to minimum pressure.
3. Open the relief valve (4), valve position PRIME
(
k circulation).
4. Switch the unit (5) ON.
5. Wait until the cleaning agent exudes from the return
hose.
6. Close the relief valve, valve position SPRAY
(
p spray).
7. Pull the trigger of the spray gun.
8. Spray the cleaning agent from the unit into an open
collecting container.
4.6. Taking the unit into operation with
coating material
1. Depending on the model swivel or immerse the suc-
t
ion tube (Fig. 10, Item 1) or the suction hose and re-
turn hose (2) into the coating material container.
2. Turn the pressure control knob (3) to the yellow zone
to minimum pressure.
3. Open the relief valve (4), valve position PRIME
(
k circulation).
4. Switch the unit (5) ON.
5. Wait until the coating material exudes from the return
hose.
6. Close the relief valve, valve position SPRAY
(
p spray).
7. Trigger the spray gun several times and spray into a
collecting container until the coating material exits the
spray gun without interruption.
8. Increase the pressure by slowly turning up the pres-
sure control knob.
Check the spray pattern and increase the pressure
until the atomization is correct.
Always turn the pressure control knob to the lowest
setting with good atomization.
9. The unit is ready to spray.
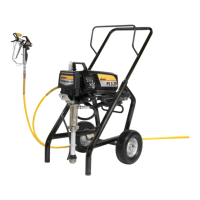
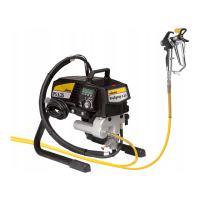
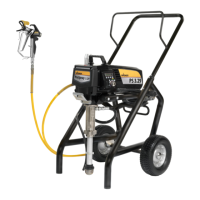
4.7. Digital ESC System
The Digital ESC System increases the functionality of the sprayer.
It is installed directly below the pressure control knob on the
control panel. It consists of a display and four function keys. The
display shows various menu screens that allow the user to
customize and monitor sprayer operation using the function keys.
Function Keys
The function keys are numbered 1–4. Each key is labeled with
an additional function as well.
#1/Menu Key
Pressing the #1 key scrolls through the available menu screens
or performs a function described on the active menu screen.
#2/+ Key
Pressing the #2 key performs a function described on the
active menu screen or increases a value.
#3/- Key
Pressing the #3 key performs a function described on the
active menu screen or decrease a value.
#4/Select Key
Pressing the #4 key selects the active menu screen or
performs a function described on the active menu screen.
The pr
essure control knob overrides the Digital
ESC System settings. Anytime the pressure
control knob is turned, the sprayer pressure will
change accordingly.