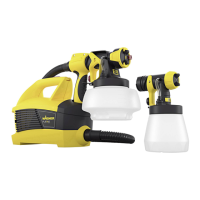
Assembly
The unit may only be operated with an integer diaphragm (Fig. 15, C).
1) Place the diaphragm (Fig. 15 ,C) with the pin facing upwards on the bottom section
of the valve. Also see the marking on the gun body.
2) Place on the valve cover (Fig. 15 ,B) and screw it closed.
3) Place the ventilating hose (Fig. 15, A) on the valve cover and on the nipple at the gun
body.
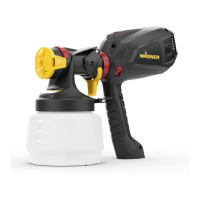
4)
Push the nozzle seal (g. 17, 1) over the needle (3); the groove (slot) should point
towards you.
5) Put the nozzle onto the gun body and nd the correct position by turning it.
6) Put the air cap onto the nozzle and tighten it using the union nut.
7) Place the container seal from below on the suction tube and slide it over the collar,
while turning the container seal slightly.
8) Insert the suction tube with container seal in the gun body.
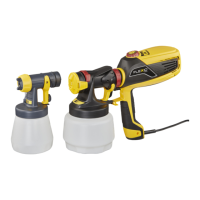
19. Cleaning the Wall Extra I-Spray
spray attachment
1) Screw of the container and empty it. Pull out the suction tub with container seal.
CAUTION! Never clean seals, diaphragm and nozzle or air holes of the spray gun with metal
objects.
The ventilation hose and diaphragm are only solvent-resistant to a limited
extent. Do not immerse in solvent, only wipe.
2) Pull the ventilating hose (Fig. 15, A) at the top from the gun body. Screw o the valve
cover (B). Remove the diaphragm (C). Clean all the parts carefully.
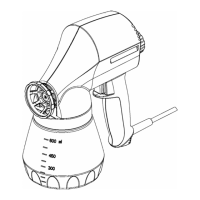
3) Remove the adjustment ring (g. 18, 1) carefully from the union nut (2).
4) Unscrew the union nut (g. 18, 2) and remove the air cap (3), air screen (4), and nozzle
(5). Clean the air cap, air screen, nozzle seal (6) and nozzle with a brush and solvent or
water.
5)
Clean the outside of the spray gun and container with a cloth soaked in solvent or
water.
6) Assemble the parts again (see “Assembly”).
Assembly
The unit may only be operated with an integer diaphragm (Fig. 15, C).
1) Place the diaphragm (Fig. 15, C) with the pin facing upwards on the bottom section
of the valve. Also see the marking on the gun body.
2) Place on the valve cover (Fig. 15, B) and screw it closed.
3) Place the ventilating hose (Fig. 15, A) on the valve cover and on the nipple at the gun
body.
 Loading...