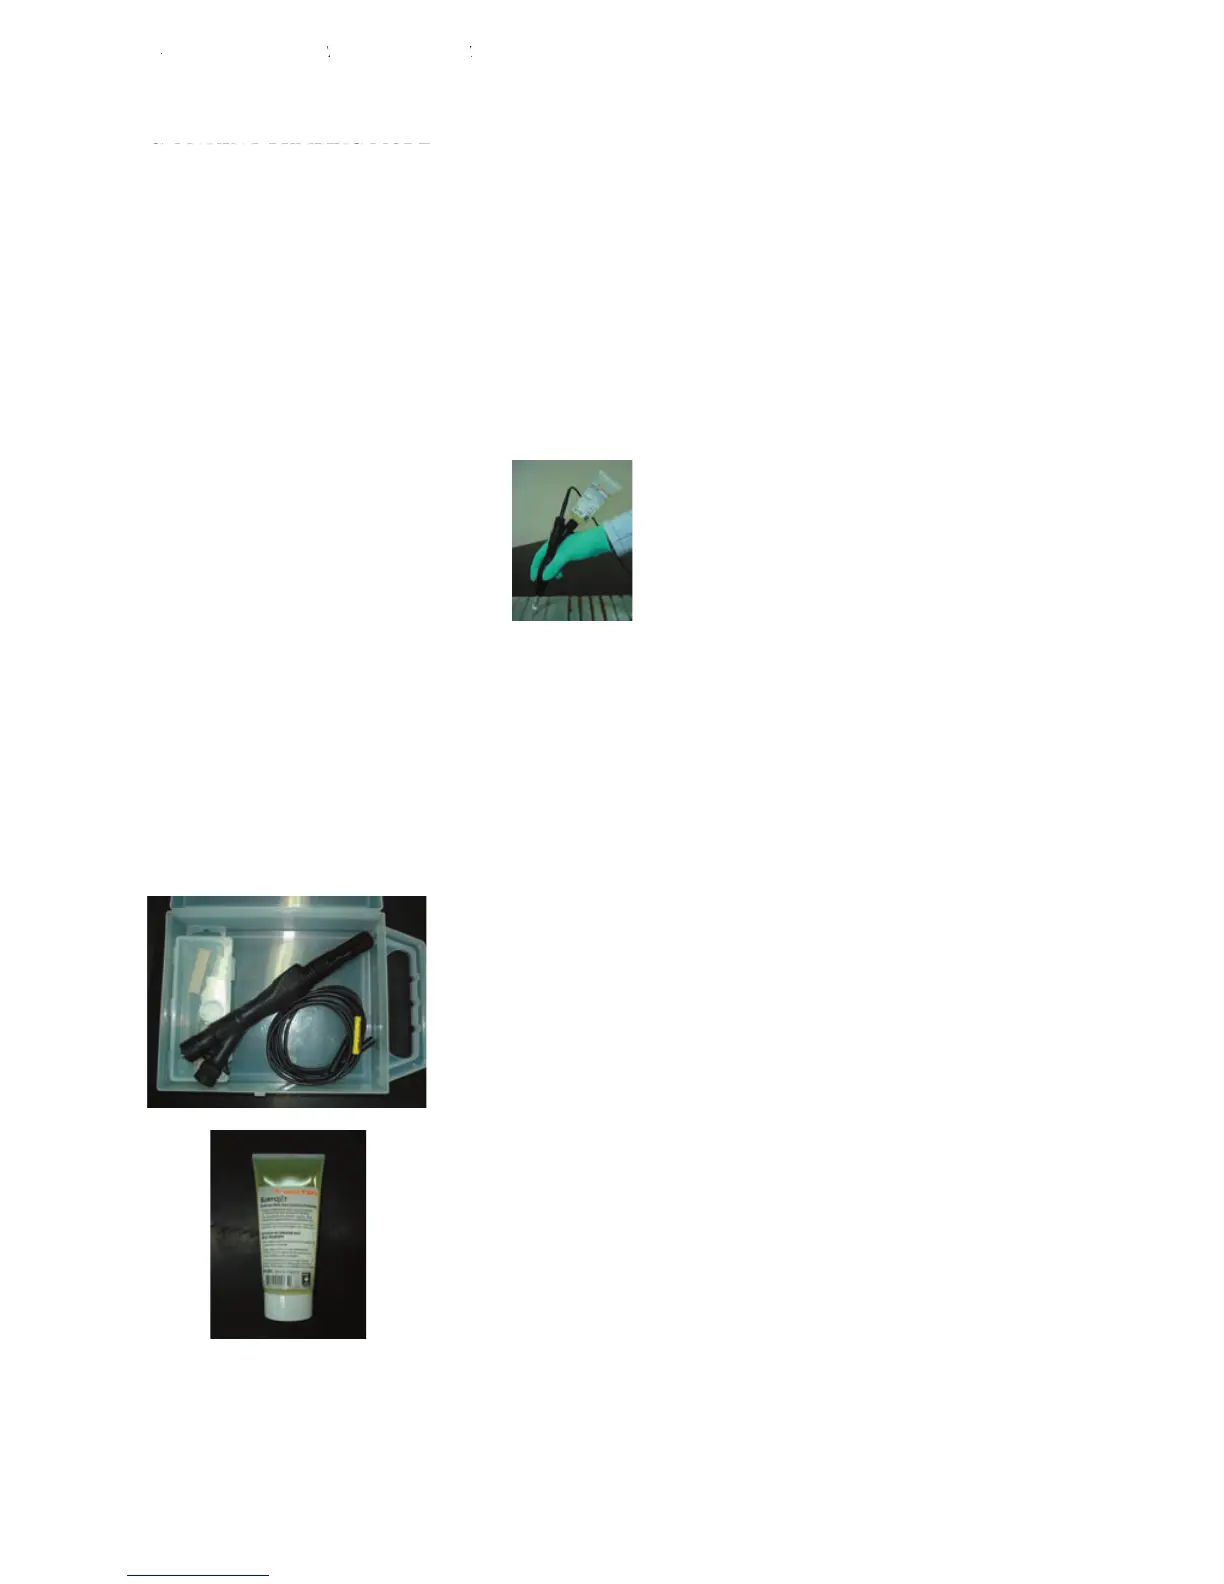
The Mini Wand uses a manual pumping mode only. One (1) press equals one (1) pump. To pump more liquid,
press repeatedly. See Mini Wand instructions for more information.
D) CLEANING AND PASSIVATING
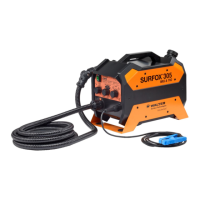
Screw in Surfox-T solution 100ml tube onto the Mini Wand. Make sure the cleaning pad is saturated with
Surfox-T solution before starting to work. If the cleaning pad is too dry, it will wear prematurely. Start
working when solution drips from the cleaning pad.
Do not press hard, let the electrochemical process do the work. The cleaning pad is a bridge between the
machine and the weld. Do not use the cleaning pad like an abrasive pad.
E) NEUTRALIZING (refer to the Surfox-N section on
1- Remove any excess Surfox-T solution using a soft clean cloth
2- Spray Surfox-N on the surface
3- Wipe dry with another soft clean cloth
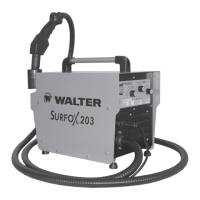
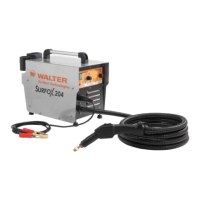
F) LIST OF SUPPLIES AND PART NUMBERS
Mini Wand kit part no.: 54-B 033
1 Mini Wand cleaning torch 48-R 285
1 stainless steel cleaning tip 54-B 021 10 per package
1 cleaning pad 54-B 001 10 per package
1 PTFE clamping ring 54-B 002 10 per package
1 cleaning boot 54-B 005 5 per package
1 narrow stainless steel cleaning tip 54-B 022 10 per package
1 narrow cleaning pad 54-B 023 10 per package
1 narrow PTFE clamping ring 54-B 020 10 per package
1 narrow cleaning boot 54-B 007 5 per package
1 black power cord 54-B 063
1 x 2.5mm hex key to change cleaning tips
USING THE MINI WAND (OPTIONAL) TO CUSING THE MINI WAN
D (OPTIONAL) TO CLEAN AND PASSIVATED (OPTIONAL) TO C