VIII - USING THE MARKING WAND (OPTIONAL)
VIII - USING THE MARKING WAND (OPTIONAL)
Use the Marking Wand to permanently etch your company name, logo, part number or other desired information onto
Use the Marking Wand to permanently etch your company name, logo, part number or other desired information onto
the surface of stainless steel, aluminum, brass, copper or ste
the surface of stainless steel, aluminum, brass, copper or ste
el. Plug the Marking Wand into the accessory outlet on the
el. Plug the Marking Wand into the accessory outlet on the
A) SELECTING THE PROPER MODE
A) SELECTING THE PROPER MODE
elected, it automatically cu
ts the power to the Hand Wand, stops the solution pump and the fume
ts the power to the Hand Wand, stops the solution pump and the fume
elimination system (if connected) from operating. Only power is provided to the Mini Wand/Marking Wand outlet.
elimination system (if connected) from operating. Only power is provided to the Mini Wand/Marking Wand outlet.
Be sure the work piece is grounded.
Be sure the work piece is grounded.
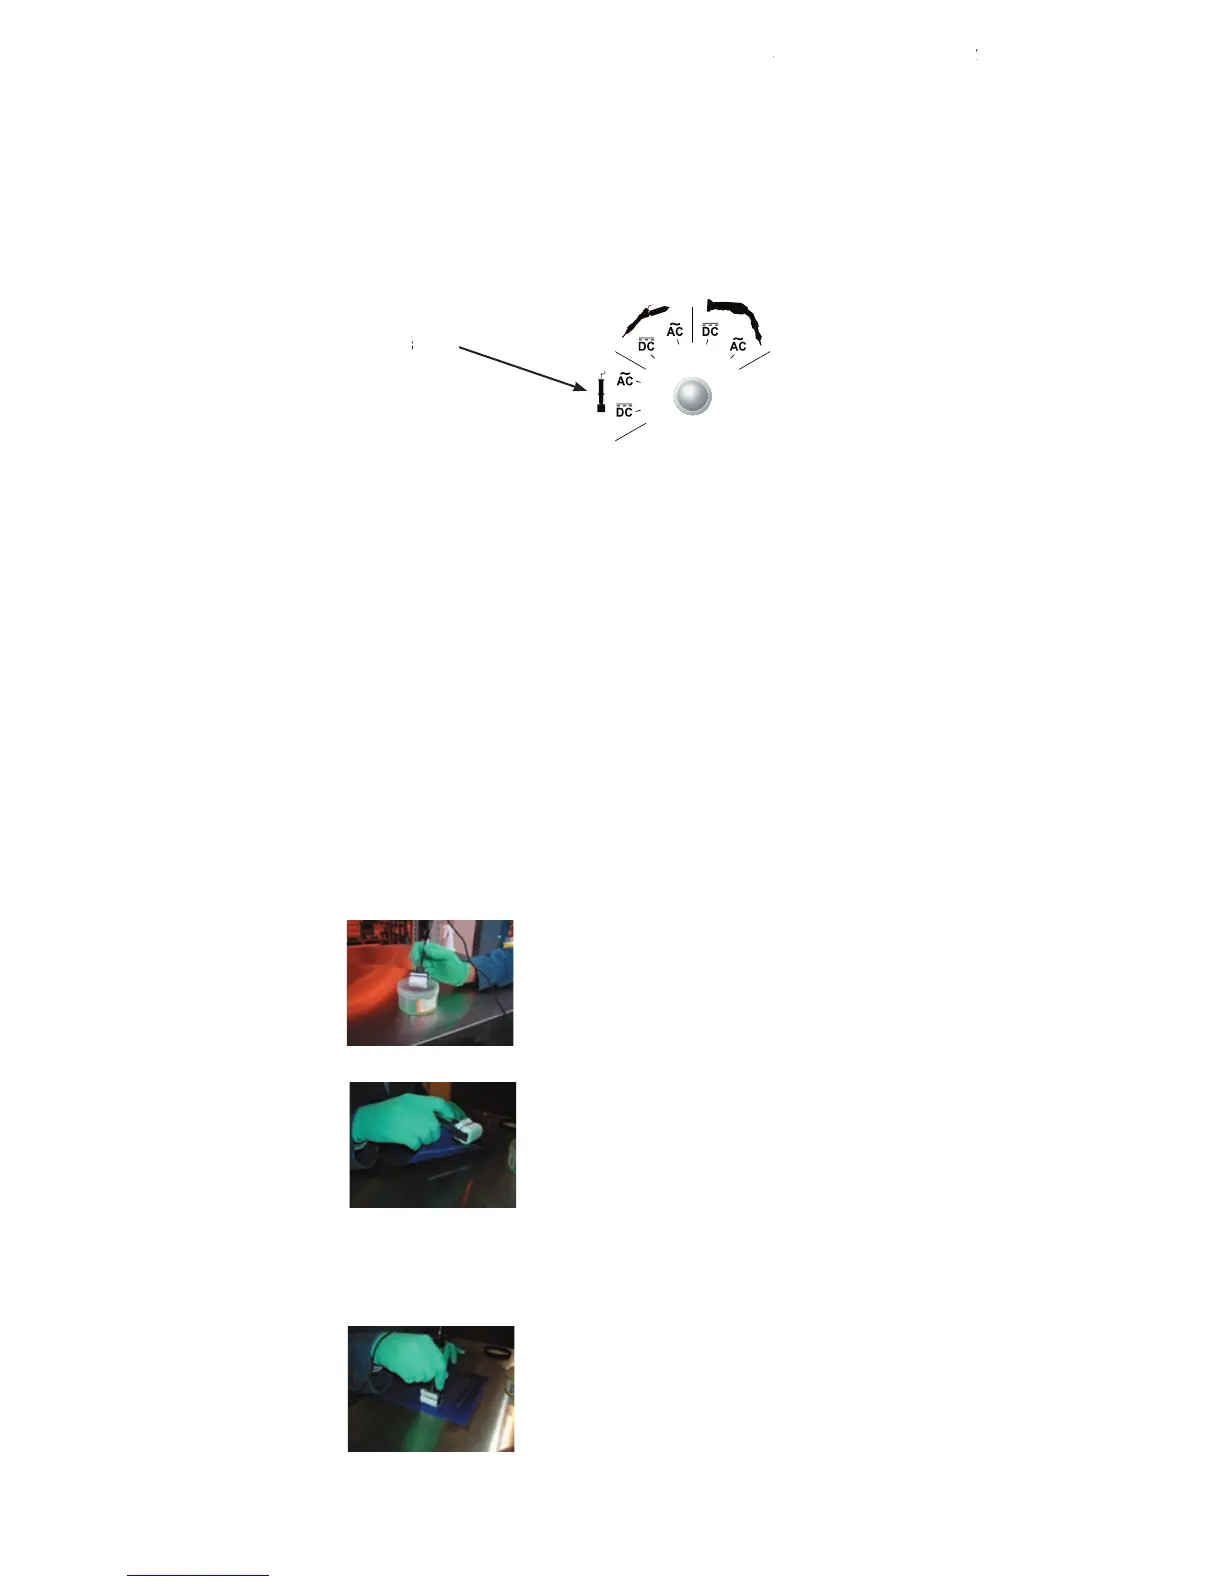
B) SELECTING THE VOLTAGE TYPE, AC or
B) SELECTING THE VOLTAGE TYPE, AC or
C) SELECTING THE PROPER VOLTAGE SETTING
C) SELECTING THE PROPER VOLTAGE SETTING
The voltage is automatically fixed at 12V in AC or
The voltage is automatically fixed at 12V in AC or
DC mode. You do not need to set the voltage when selecting the
DC mode. You do not need to set the voltage when selecting the
p the Marking Wand in Surfox
ted. Surfox-M is a different solution than
Surfox-T, which is used in the cleaning and passivating process. Surfox-M is part number 54-B 053.
Surfox-T, which is used in the cleaning and passivating process. Surfox-M is part number 54-B 053.
- Place the stencil into position.
4- Rub the Marking Wand over the top of the stencil with a firm, but light pressure. You can also use a technique of
4- Rub the Marking Wand over the top of the stencil with a firm, but light pressure. You can also use a technique of
dabbing the Marking Wand on the stencil.
dabbing the Marking Wand on the stencil.
USING THE MARKING WAND (OPTIONAL)USING THE MARKING WAN