Walther Systemtechnik GmbH – D 76726 Germersheim
Telefon: +49 (0)7274-7022-0 Telefax: +49 (0)7274-7022-91
http://www.walther-2000.de – info@walther-2000.de
CAUTION
Remove pressure from all connections and disconnect material and energy supply.
The cover plate is under spring pressure.
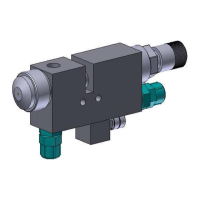
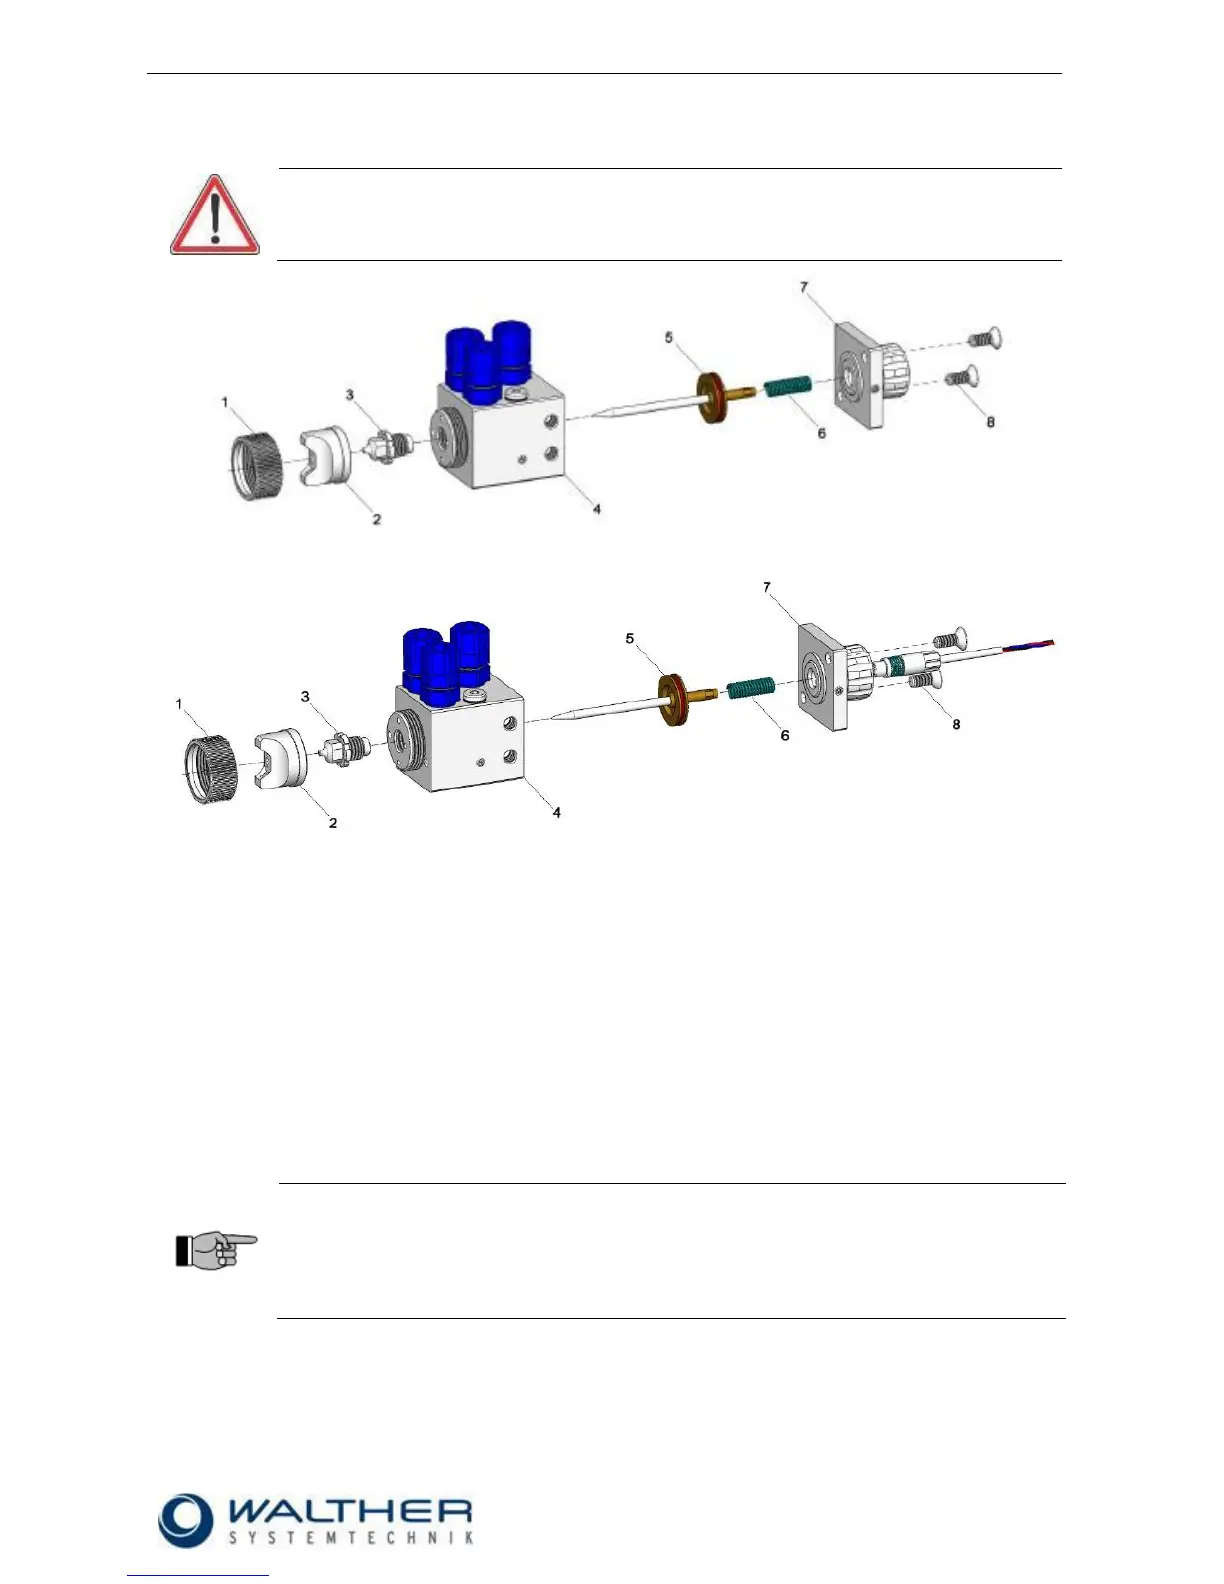
Fig.: Standard
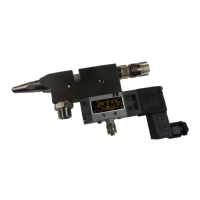
Fig.: with raster-needle sensor
1. Disconnect all connections from pressure and turn off energy and material supply!
2. Unfasten retaining ring (1) and remove air cap (2).
3. Unscrew countersunk screws (8) and remove cover plate (7).
(Caution: the cover plate is under spring tension)
4. Make sure that you do not lose the pressure spring (6).
5. Pull out the nozzle needle (5) and unscrew the nozzle (3).
6. Slightly grease the new nozzle needle (5) and slide into main body (4); then remove grease residues
from needle tip.
7. Screw new nozzle (3) into the main body (4).
8. After that screw cover plate (7) onto the main body (4). Make sure that the pressure spring, as de-
scribed under step 4, is located in the correct position.
9. Then screw the air cap (2) together with the retaining ring (1) onto the main body (4) again.
10. Always perform a functional test after replacing nozzles and needles!
IMPORTANT
Always replace nozzle (3) and nozzle needle (5) at the same time.
Make sure that you thoroughly remove all sediments and material residues from nozzles and
nozzle needles which have already been in use. Material residues in nozzles can cause
leakages in the nozzle-needle-system; and nozzle needles with cured material residues can
damage the sealing elements of the spray valve.
 Loading...