Assembly Instructions – Spray Valve SMS-11
Walther Systemtechnik GmbH – D 76726 Germersheim
Telefon: +49 (0)7274-7022-0 Telefax: +49 (0)7274-7022-91
http://www.walther-2000.de – info@walther-2000.de
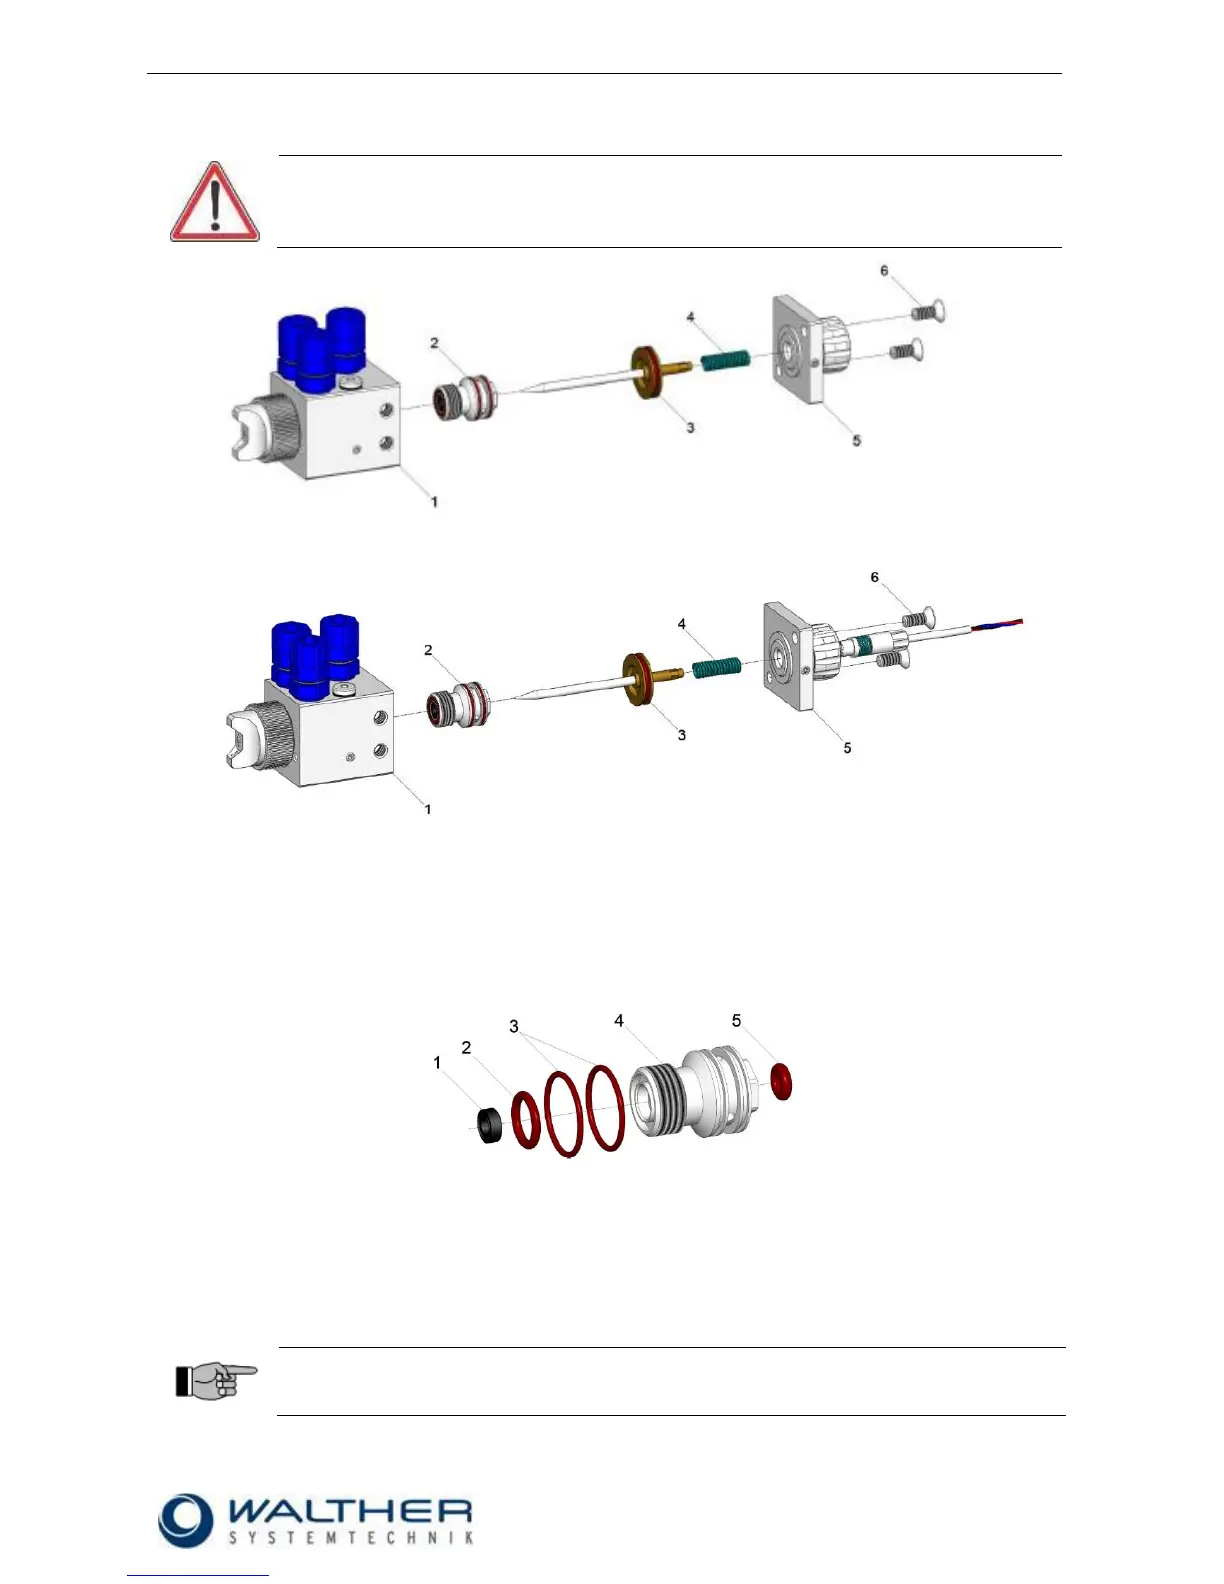
7.5 Replacing the Sealing Elements
CAUTION
Remove pressure from all connections and disconnect material and energy supply.
The cover plate is under spring pressure.
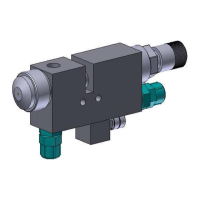
Fig.1: Standard
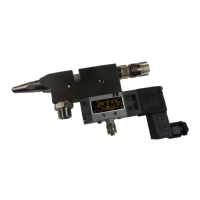
Fig.1: with raster-needle sensor
Fig. 1
1. Unscrew cylinder screws (6) and remove cover plate (5). (Caution: the cover plate is under spring
tension)
2. Make sure that the pressure spring (4) does not get lost.
3. Pull out the nozzle needle (3).
4. Unscrew the sealing screw (2) with a socket wrench.
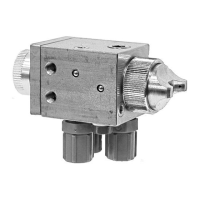
Fig.2: sealing screw
Fig. 2
1. Remove all O-rings (2. 3, 5) and the Variseal (1); mount new O-rings and Variseal and slightly
grease (see Fig. 2).
After replacing the sealing elements, re-assemble in reverse order (see Fig. 1).
IMPORTANT
Gaskets and seal seats can be damaged. Do not use any sharp-edged metal tools or objects
when removing and inserting the gaskets!
 Loading...