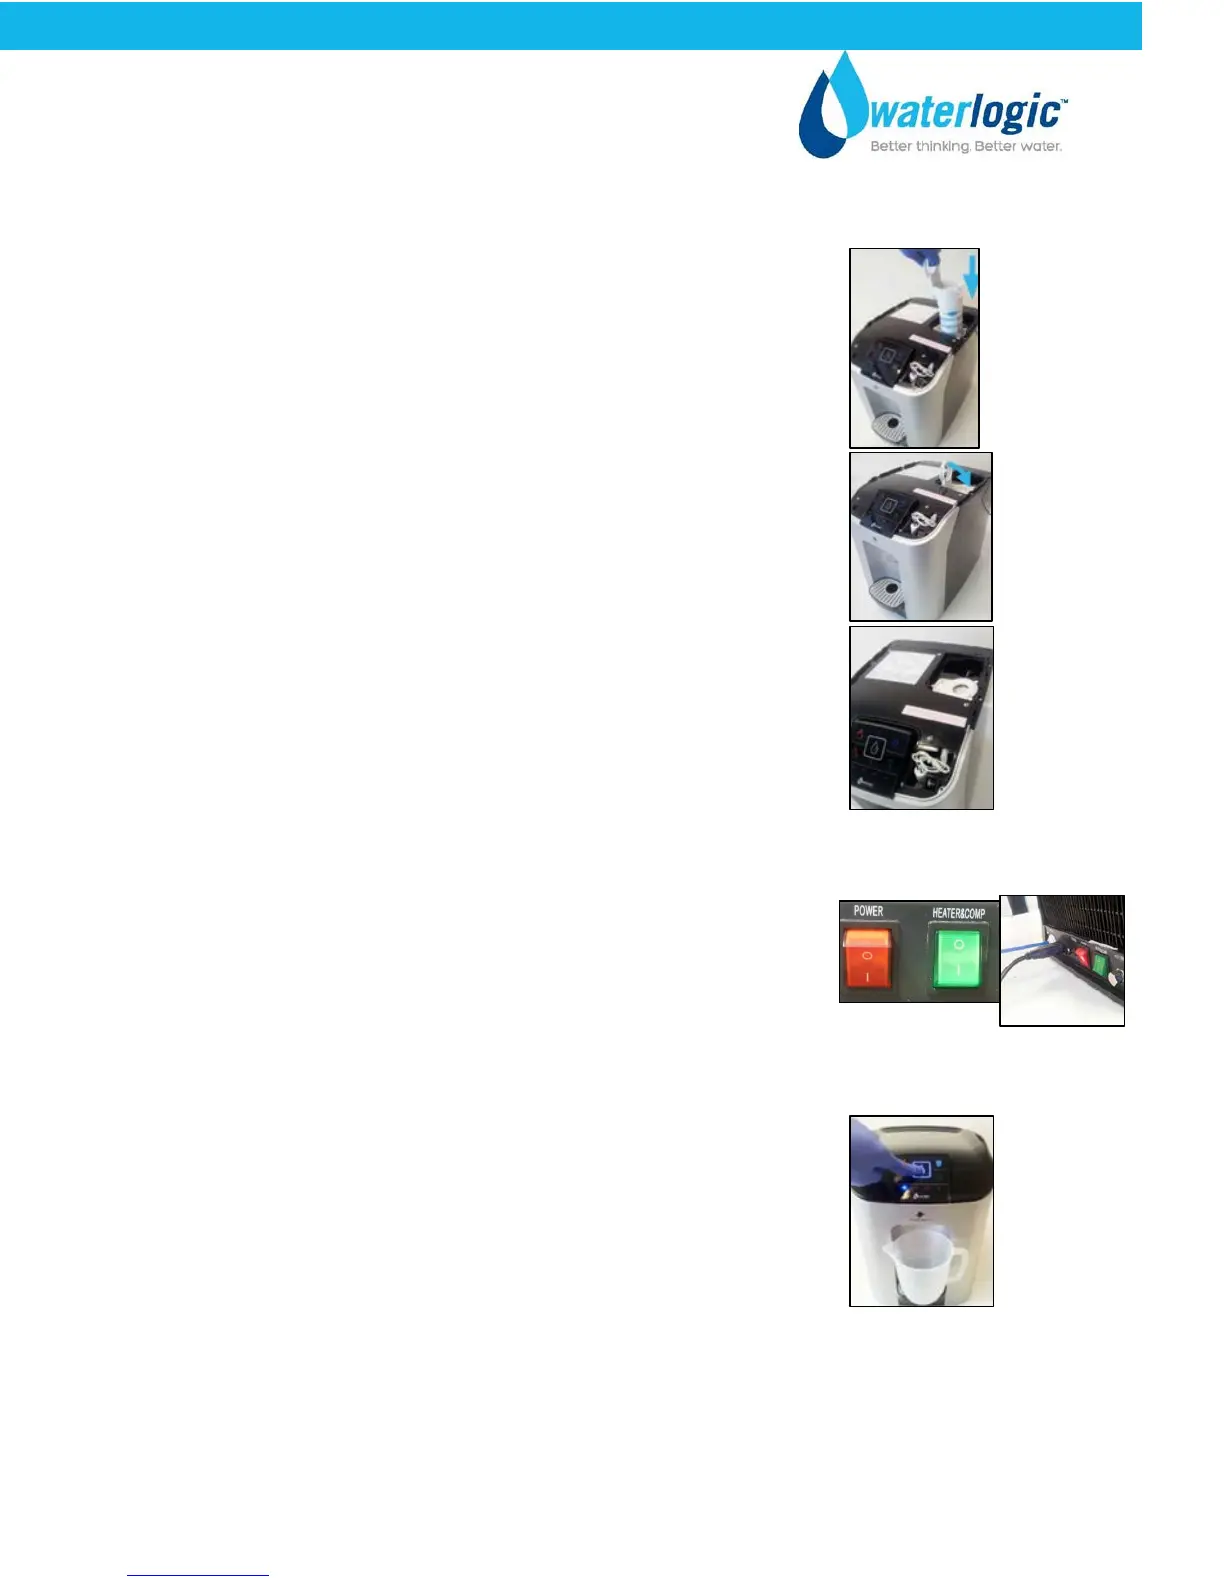
Fit the filter assembly with the sanitation fluid into the
machine:
Insert the filter assembly back into its cradle, aligning the
two male spigots with the female holes in the cradle
Push it firmly until the filter sits snugly and is flush with the
cradle top surface
Lock the filter by closing the locking lever until it ‘clicks’ into
place.
Reinstall the top cover and insert the two screws at the rear of
the machine that secure it.
Reconnect the power lead and insert it into the rear of the
machine. Turn On the Red Power Switch. I=ON
Turn on the water supply at the isolation point
Place a container under the dispense area and dispense 2 cups
of cold water and then 1 cup of ambient water.
While you are dispensing the cold water hold a peroxide test
strip under the dispense area and test the flow of water to
check that the sanitation fluid is present in the cold tank.
Leave the sanitation fluid to stand in the cold tank for 20 minutes. Once this time has passed
select the cold water icon and then select the dispense button and flush 10 liters of cold
water and 4 liters of ambient water through the machine. Use the same method as before
and check all the sanitation fluid has left the tank by using a peroxide test strip
Turn off the water supply at the isolation point
CUBE Operating, Installation, and Service Manual Page 31 - Revision: 6-23-2015