1311472A
15
Mazda 3 MPS
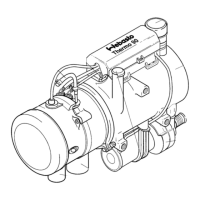
Installing the Heater Unit
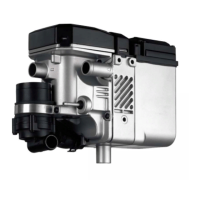
Assemble the pre-assembled bracket
according to the illustration.
Resistor retaining plate 1 is assembled
together with the bracket 3, spring washer 6,
body washer 6, spacer 5mm 6, original
vehicle threaded insert 6.
2 M6x20 bolt, spring washer, rivet nut
4 M6x70 bolt, 20 mm spacer, 30 mm spacer,
M6 flanged nut
5 M6x70 bolt, 15mm spacer nut, 30 mm
spacer, M6 flanged nut
Assem-
bling the
bracket
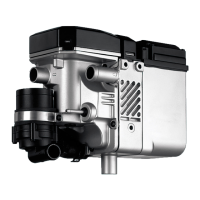
Figure 18 is the rear view of figure 17.
1 M6x70 bolt, 20 mm spacer, 30 mm spacer,
M6 flanged nut
2 M6x70 bolt, 15mm spacer, 30 mm spacer,
M6 flanged nut
3 Bracket
Assem-
bling the
bracket
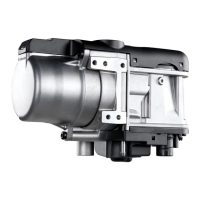
Ejot screw bolt tightening torque 10 Nm!
Before assembling the heater unit 3, plug the
header unit cable harness.
1 Ejot screw bolt
2 Bracket
Assem-
bling the
Heater Unit
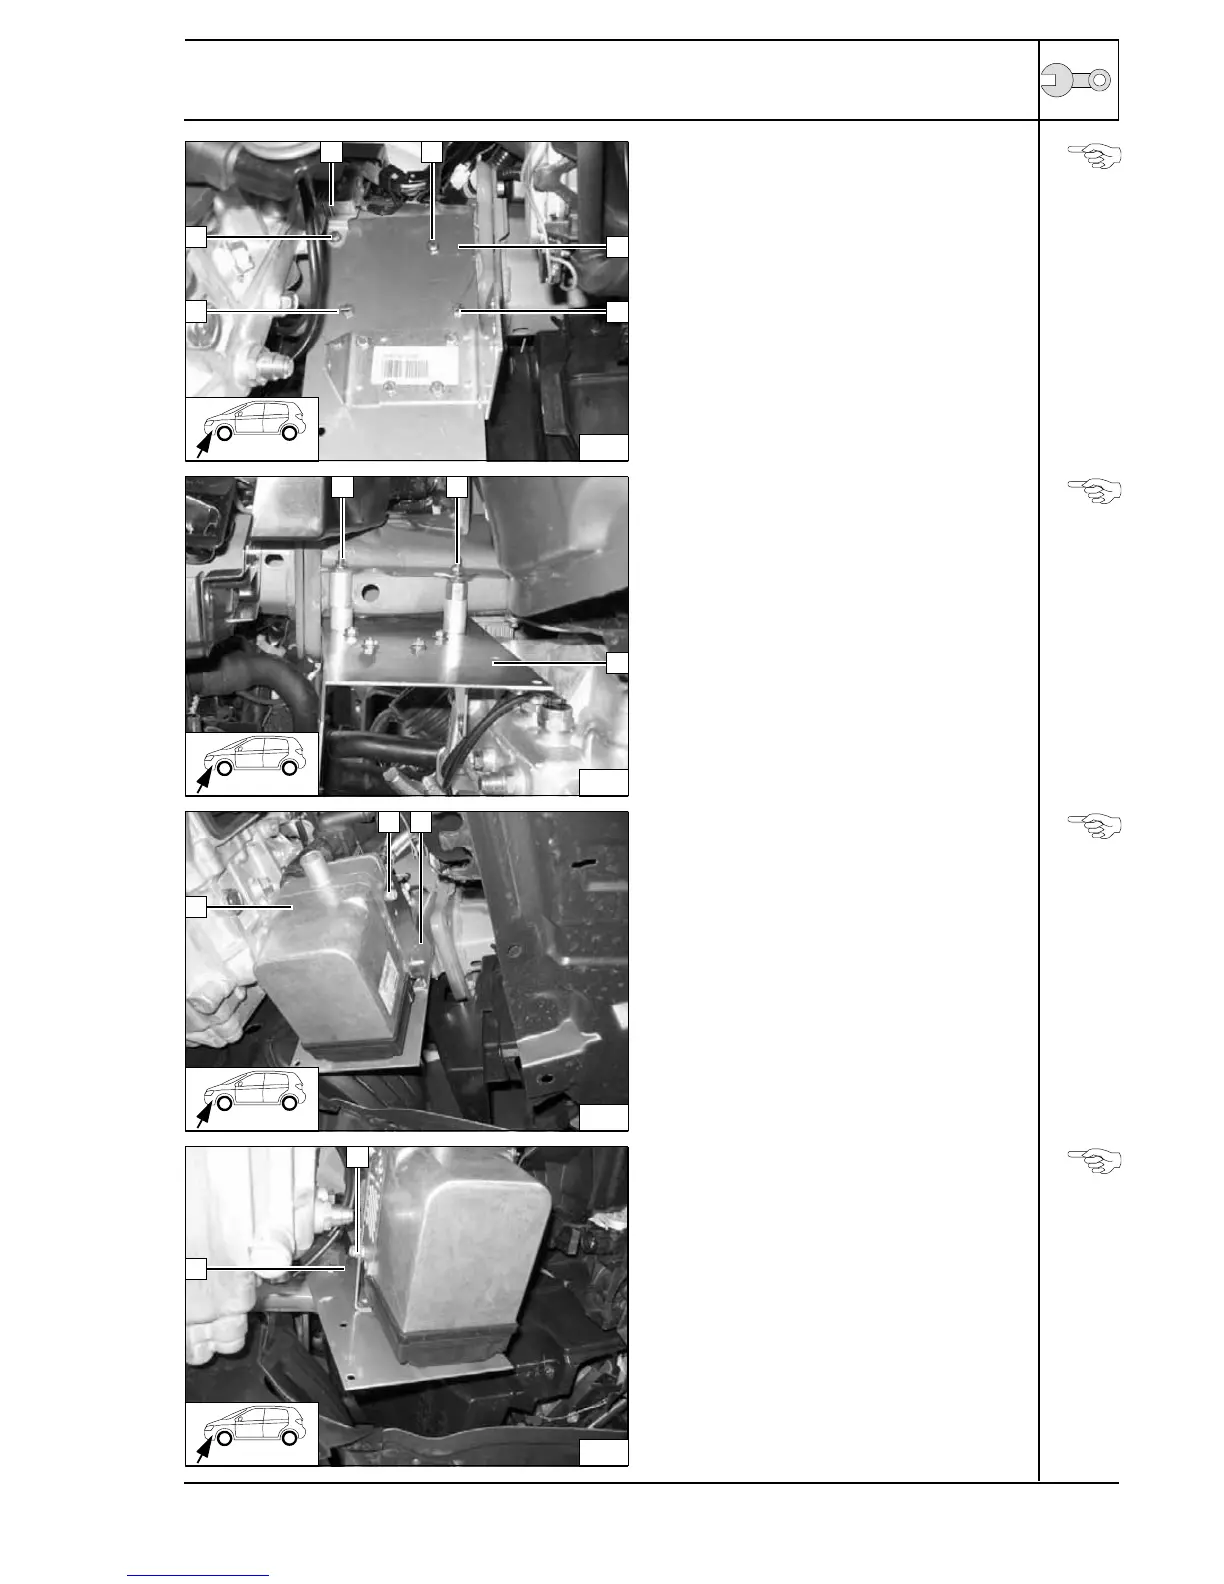
Ejot screw bolt tightening torque 10 Nm!
1 Ejot screw bolt
2 Bracket
Assem-
bling the
strut
25
3
1 2
4
6
5
26
3
1 2
27
1
3
2
28
1
2