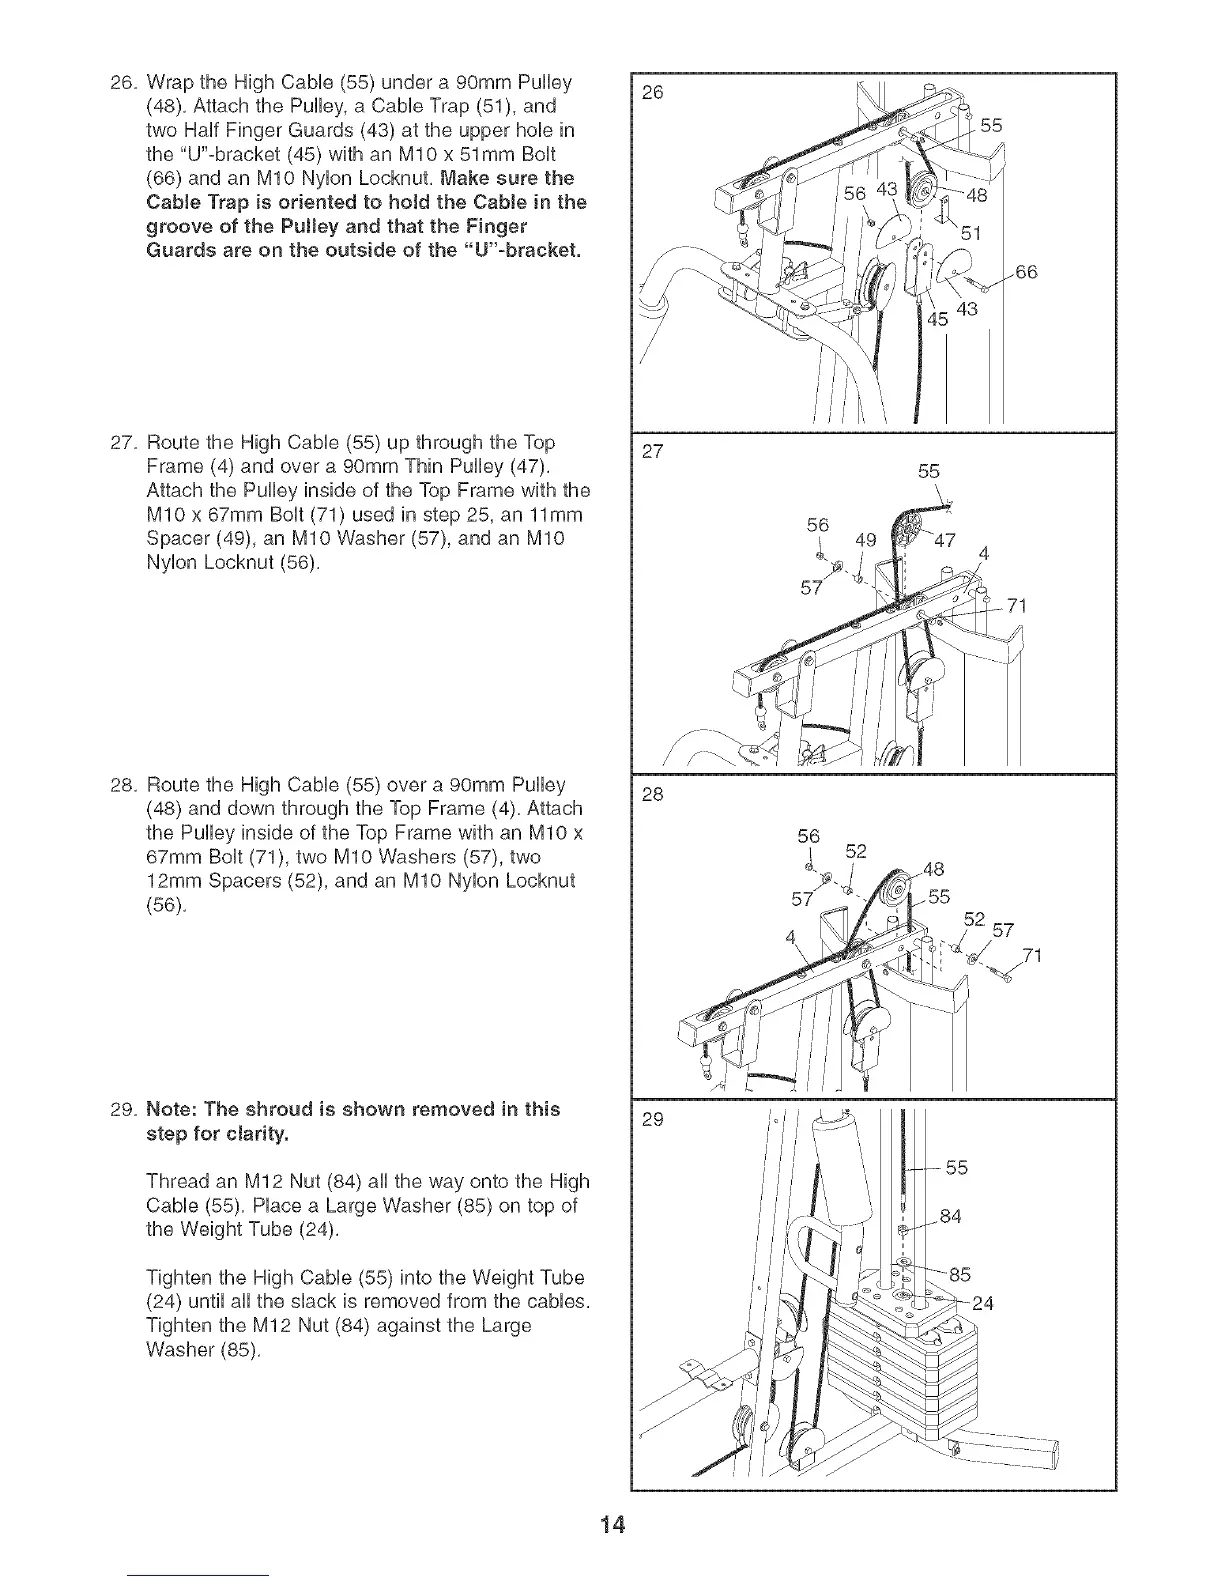
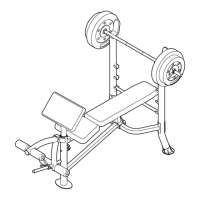
26, Wrap the High CaMe (55) under a 90mm Pulley
(48), Attach the Pulley, a CaMe Trap (51), and
two HaUlFinger Guards (43) at the upper hoUein
the "U"obracket (45) with an MIO x 51mm BoUt
(66) and an MlO NyUonLocknut, Make sure the
CabJe Trap is oriented to hoJd the CabJe in the
groove of the Pulley and that the Finger
Guards are on the outside of the "U"-bracket.
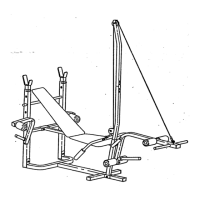
27, Route the High CaMe (55) up through the Top
Frame (4) and over a 90mm Thin Pulley (47),
Attach the Pulley inside of the Top Frame with the
MIO x 67mm BoUt(71) used in step 25, an 11mm
Spacer (49), an MIO Washer (57), and an MIO
NyUonLocknut (56),
28, Route the High CaMe (55) over a 90mm Pulley
(48) and down through the Top Frame (4), Attach
the Pulley inside of the Top Frame with an MIO x
67mm BoUt(71), two MIO Washers (57), two
12mm Spacers (52), and an MIO NyUonLocknut
(56),
29, Note: The shroud is shown removed in this
step for clarity.
Thread an M12 Nut (84) aHthe way onto the High
CaMe (55), Hace a Large Washer (85) on top of
the Weight Tube (24),
Tighten the High Cable (55) into the Weight Tube
(24) until all the slack is removed from the cables,
Tighten the M12 Nut (84) against the Large
Washer (85),
26
27
28
29
56
57
56
57
52
55
55
84
-85
57
14