10 Function checks
7.2 Performing the function check
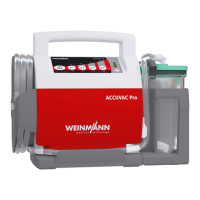
1. Assemble ACCUVAC Rescue ready for use.
2. Check that all tubes, the collection canister 28,
secretion cover 23 and filter cover 19 are in
perfect condition. Any damaged and/or worn
parts must be replaced.
3. Check that all tubes are securely connected
and that the secretion cover 23 is firmly in
place.
4. Switch on the ACCUVAC Rescue.
All LEDs light up for one second after switching
on. After that, only those LEDs that indicate the
operating status stay on. Check the charge
level of the power pack by reading the
capacity indicator 3. If necessary, recharge
the power pack (see operating instructions
“4.4 Charging the ACCUVAC Rescue”).
5. Battery test
A battery test should always be performed
when there are doubts about the performance
of the rechargeable battery, however at the
latest two years after the battery was last
changed.
Procedure:
Charge the ACCUVAC Rescue for 8 hours us-
ing the WM 2645 mains charger or for 14
hours using the WM 10750 plug-in power
supply unit. Set a short interval timer to 20 min-
utes and start the ACCUVAC. After an operat-
ing time of 20 minutes the red LED should not
be lit up and the ACCUVAC should be in op-
eration.
If the red LED lights up after 20 minutes, or the
ACCUVAC is no longer working, the battery
is spent and must be replaced. In this case
please replace the battery as described in
section 9.6.
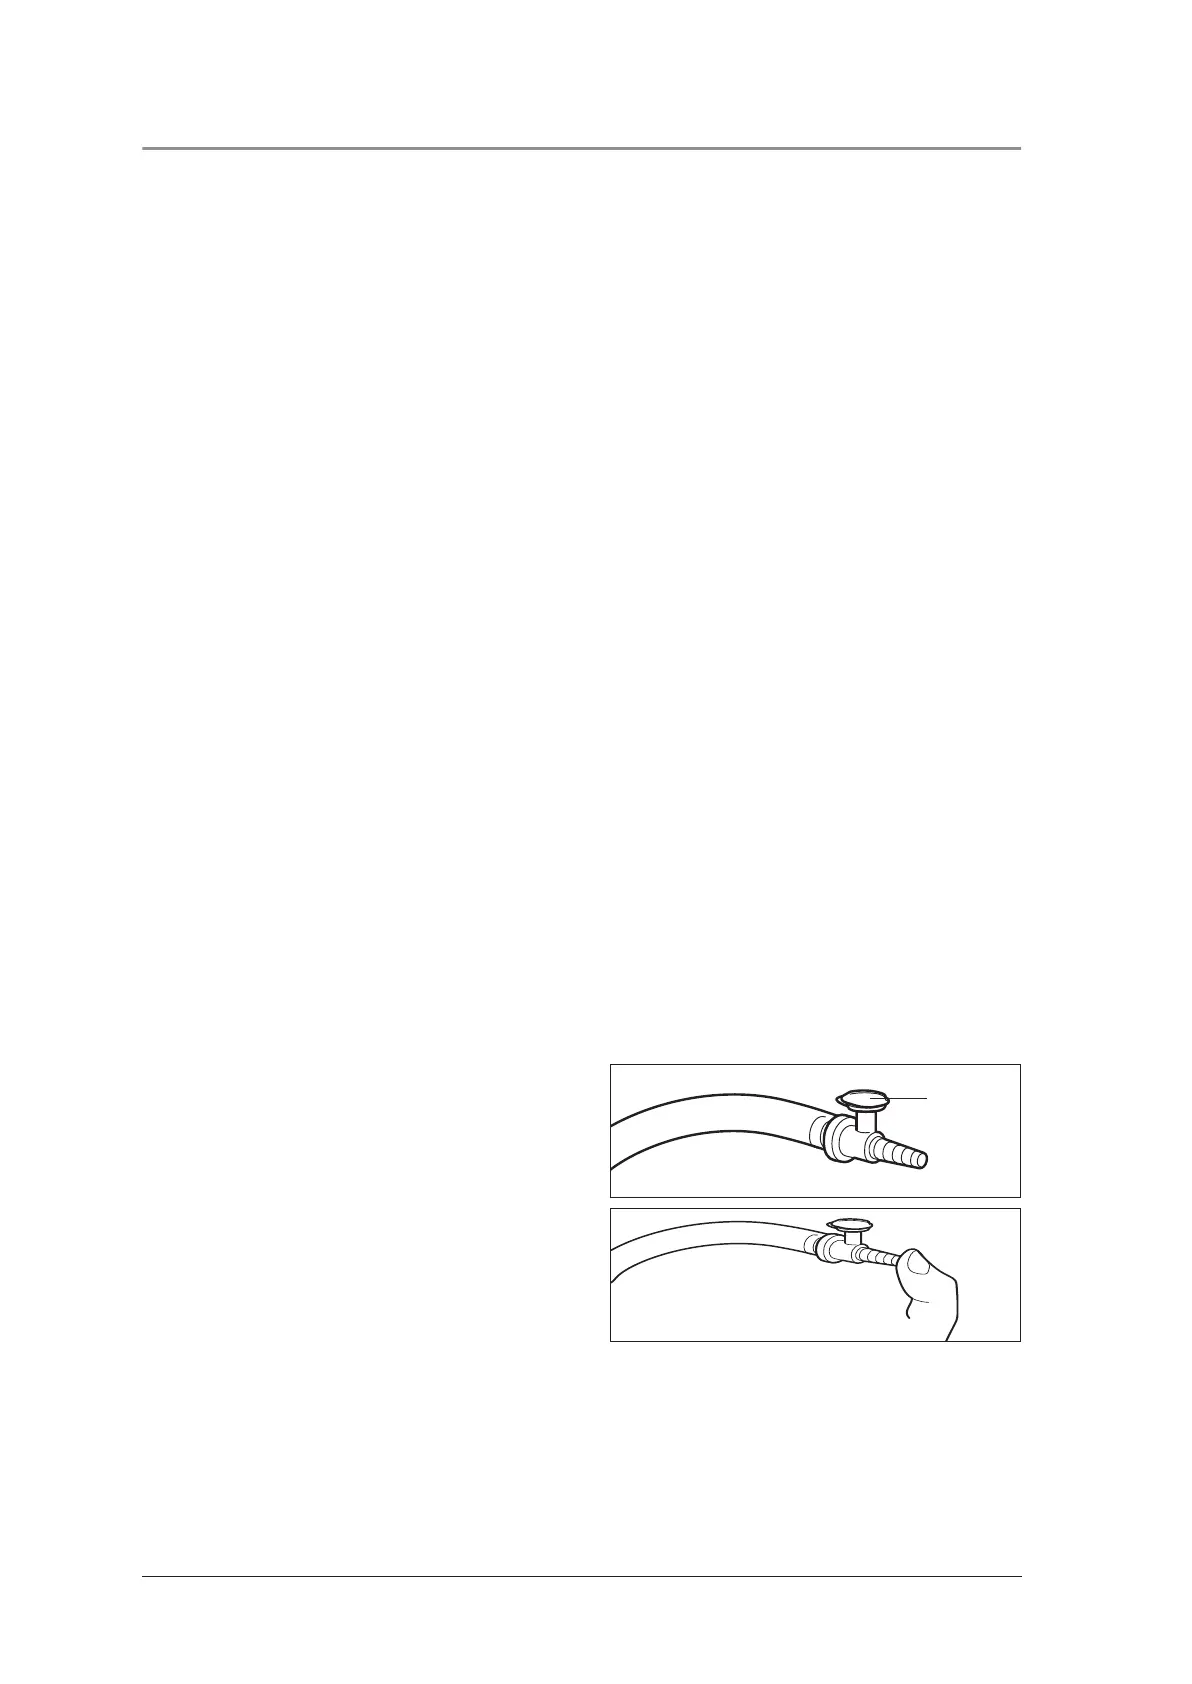
6. Insert the stopper in the fingertip.
7. Use your thumb to hold the nozzle
26 closed.
8. Switch on the aspirator and preselect the max-
imum vacuum of –0.8 bar. The
ACCUVAC Rescue must reach this vacuum in
not more than 20 seconds. You can tell that
this is the case because the pump stops.
If it takes more than 20 seconds before the
pump stops, the suction capacity is reduced.
Check for possible faults (see ”8. Troubleshoot-
ing“ on page 12).
stopper
 Loading...