Repairs: Information and Instructions 19
9.6 Changing the power pack
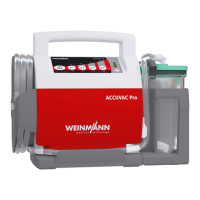
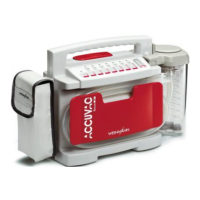
The ACCUVAC Rescue is fitted with a high-grade nickel-cadmium power pack.
Tools and equipment required:
• Phillips screwdriver size 2.
1. Open the device (see ”9.2 Opening the de-
vice“ on page 15).
2. Carefully disconnect the power pack connec-
tor X3 from the circuit board.
3. Unscrew the power pack holder (4 cross-head
screws).
4. Remove the faulty power pack 16.
Help protect the environment!
Don’t throw the old power pack in the gar-
bage can – take it to a local collection point
for environment-friendly disposal.
5. Wait half a minute before fitting the new
power pack. This will allow the capacitors on
the circuit board to discharge.
6. Fit the new power pack with its holder.
7. Carefully push power pack connector X3 onto
the circuit board until it snaps into place.
8. Close the device (see ”9.3 Closing the de-
vice“ on page 16).
9. Perform initialization (see ”9.7 Initializing the
power pack“ on page 20).
Note:
The green 10% LED of the capacity indicator 3
continues to flash until the electronic control
system is synchronized with the power pack.
Although the ACCUVAC Rescue will function
when the power pack is charged, the indicator
will not show the charge status of the power pack
unless the system is initialized.
10. Perform a function check (see ”7.2 Performing
the function check“ on page 10).
X3
 Loading...