COMPONENT ACCESS
3-14
n
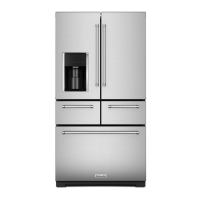
French-Door Boom Mount Refrigerator
Thermistor and Possible Frost Build-Up (Continued)
9. For Water Filter Replacement / Water leak from lter
area:
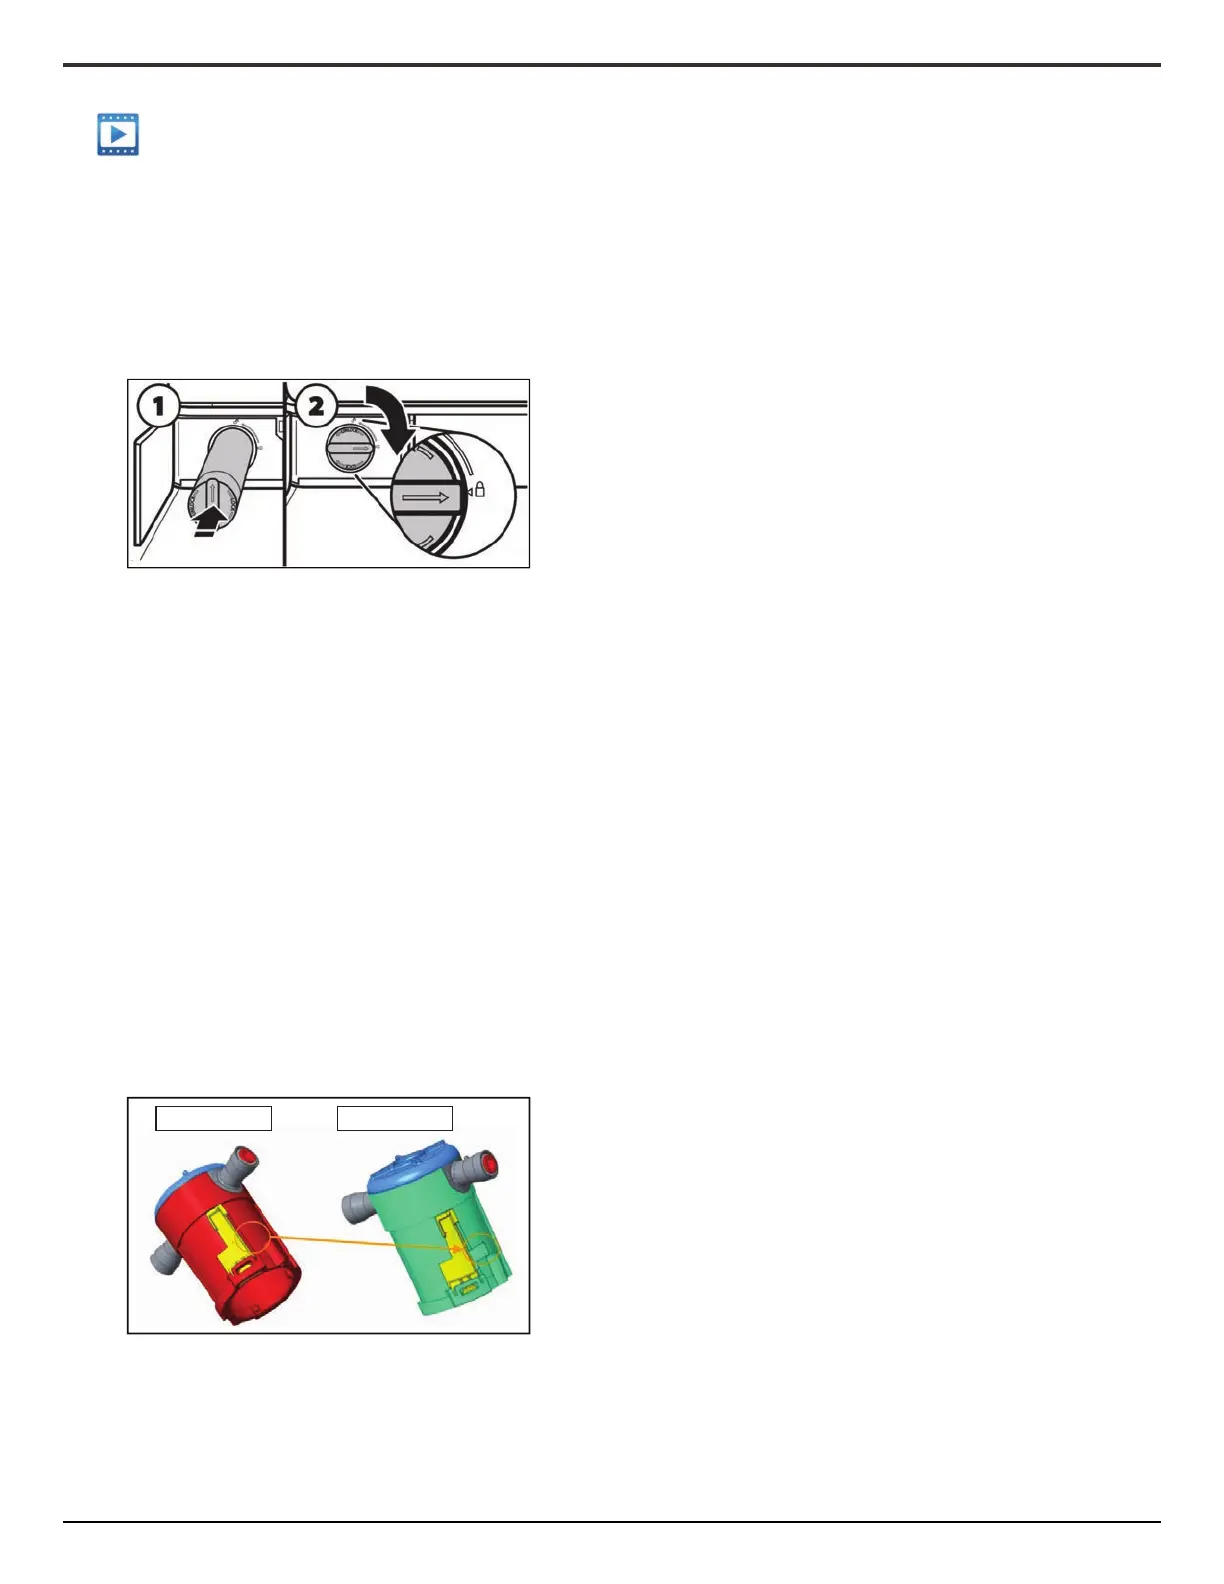
• Check that Filter Cap is securely aached to lter Cartridge.
Ribs on Filter Cap must be aligned to grooves on Filter
Cartridge to allow Filter Cap to securely “Snap” on the Filter
Cartridge.
• Inial arrow posion on the lter cap must point upward to
push the lter into the housing.
• Push AND Rotate the lter 90 degrees clockwise.
• Verify that lter arrow indicator on lter aligns with “Lock”
symbol on lter fascia.
• If arrow on Filter Cap does not align with “Lock” symbol
(shown in above picture) then connue rotang lter past the
resistance point to the nal 90 degree installed posion.
If Filter Cap connues to rotate on the Filter Cartridge replace
with new Filter Cap.
NOTE: Filter Replacement Instrucons and Cap installaon video
link:
10. Filter housing replacement:
For Water leak from lter area / Water Filter Replacement
and Water lter housing replacement.
1. With pantry system removed, remove 2 screws holding
lter bracket in place.
2. Remove lter housing from lter bracket.
3. Remove Heater from lter housing.
4. Disconnect the inlet and outlet tubing at the push to
connect ngs.
5. Reinstall tubing to new housing.
6. Re-aach heater to housing.
7. Re-install housing into bracket.
8. Secure bracket feet into back mounng holes and then
with 2 screws removed in step 1.
•
1. The water lter should be replaced every 6 months based
on a ow rate of 0.50 gpm—0.60 gpm that lters 200
gallons of water.
2. To order a replacement lter, contact us. See “Accessories”
secon in the User Guide for informaon on ordering.
NOTE: If the lter is not installed correctly, water may
dispense at a lower ow rate and there will be slower ice
producon. Improper lter installaon may also cause the
water lter housing to leak.
3. Push the water lter door to open, located boom le of
refrigerator compartment.
4. Twist the water lter and turn 90° counterclockwise to
unlock.
5. Pull the lter out of the housing.
6. Remove the water lter cap from the water lter.
7. Install the water lter cap onto the new lter. Be sure to
align the arrows so the groves in lter align with ribs in
lter cap. Insert the lter into the housing.
8. Twist the water lter and turn 90° clockwise unl it locks
into place and that arrows are aligned.
9. Push the water lter door closed.
Old W10238156 New W11165806