PAGE 11
Make Buttonholes With Your Machine
First be sure the ZIGZAG Needle Plate is on the machine.
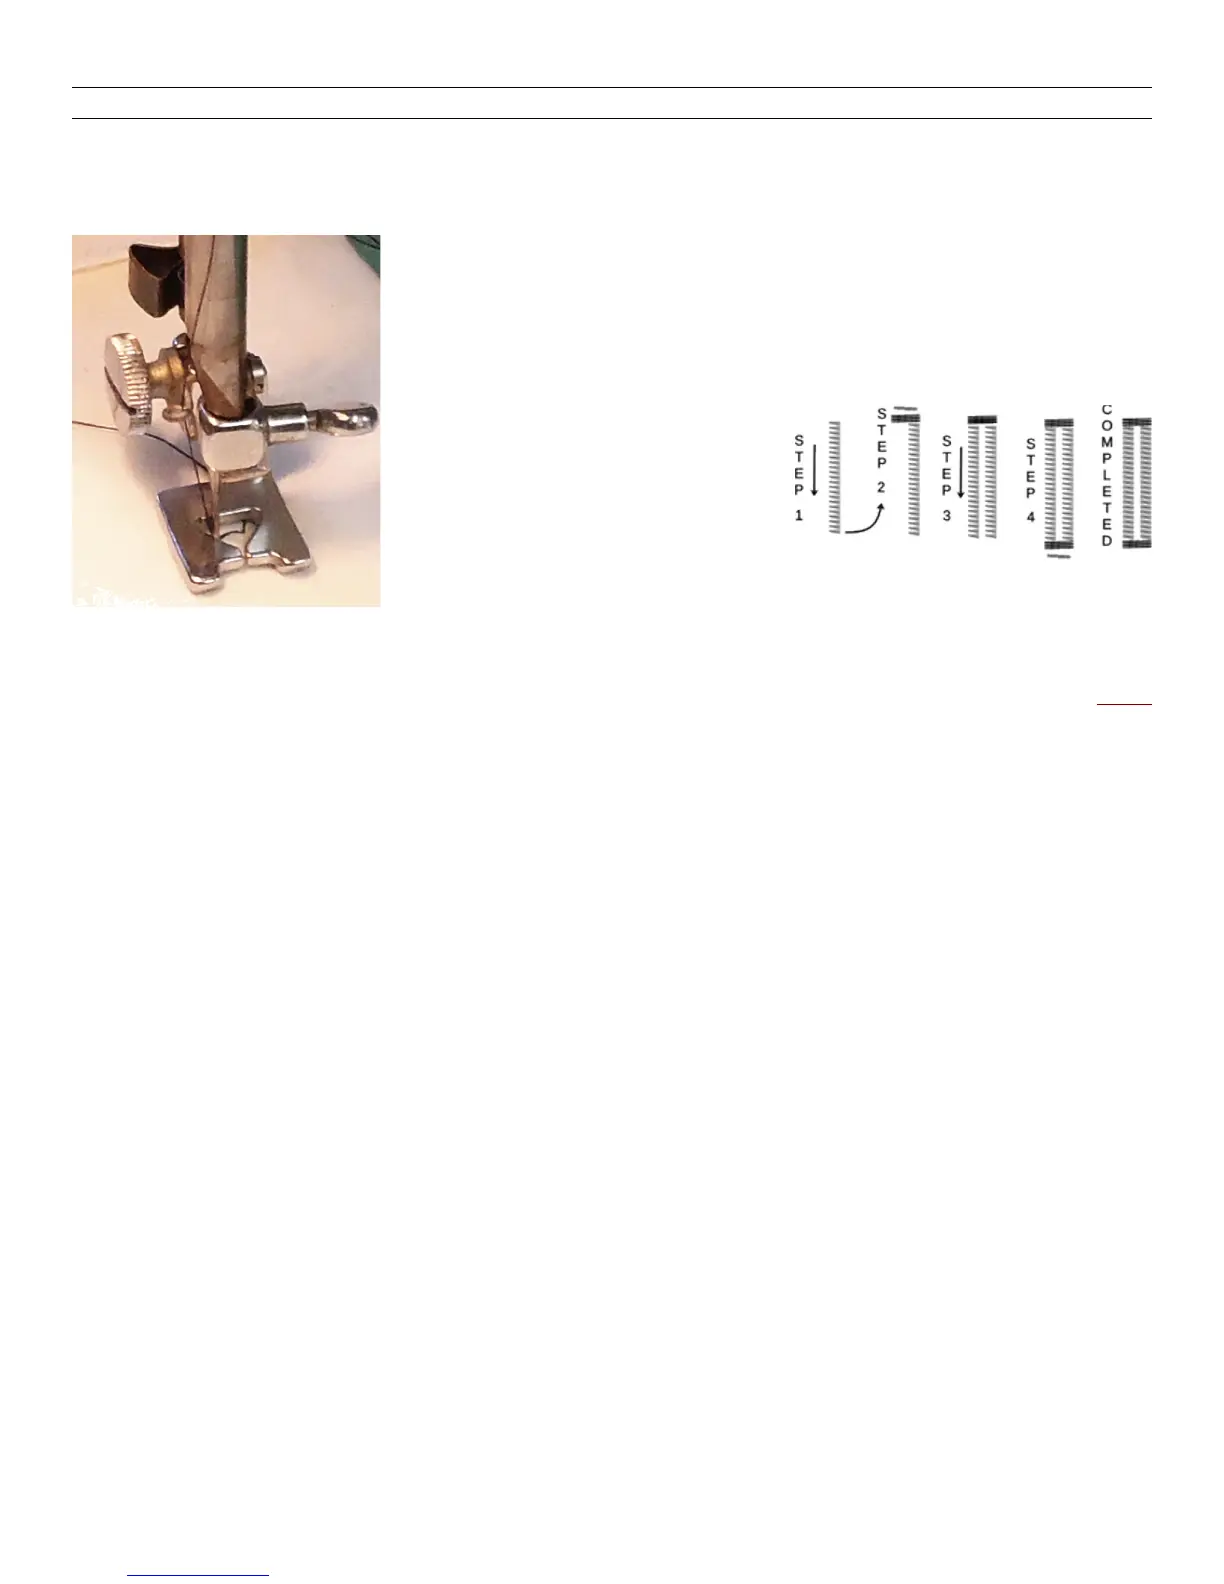
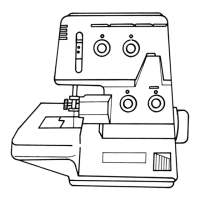
Next replace any other Foot with the BUTTONHOLE Foot
(picture left). Then follow these directions in making a test
buttonhole in scrap fabric. Start by marking the fabric with
tailor chalk or basting stitches at both ends of the button-
holes you want to make, exactly where you want them.
To make buttonholes in
sheer or very soft fabrics,
place tarlatan (stiffened
fabric) or blank newsprint
type paper under the fabric.
Tear away the paper after buttonhole is completed.
STEP 1. Set the Needle Path Selector at the LEFT position. Set the ZZ Width white
area at 5 on the left side, and about 2 on the right. Set the Stitch LENGTH dial at /\/\/\/\/\
— (not far around from its 0 marking). Turning the machine wheel by hand, lower the
needle into the fabric where you have marked the starting end of the buttonhole. Now
sew slowly to your mark at the other end and you will have made one side of the
buttonhole. Stop the machine with the needle down in the fabric at the right side of the
completed ZZ stitching.
STEP 2. Raise the Presser Foot and, using the needle in the fabric as a pivot, turn the
fabric completely around — end for end. Now turn the Feed Teeth Knob to the DN
position. Then lower the Presser Foot and raise the needle. Next, move the ZZ Width
Lever to the left and hold it at 5 on the dial while sewing four or five stitches.
STEP 3. Raise the needle out of the fabric and turn the FEEDING TEETH Knob back
to the HI position. Now sew the second side of the buttonhole until it reaches the mark
on the fabric at the right side of the ZZ stitching just finished.
STEP 4. Turn the Feed Teeth Knob to the DN position. With the Presser foot still down,
RAISE the needle out of the fabric. Move the ZZ Width Lever to the left and hold on 5
while you sew four or five stitches to complete the bar-tacking. Leave the Presser Foot
down and raise the needle out of the fabric.
STEP 5. Spin the right side of the ZZ Width roller to 0 on the dial. Then make two or
three stitches to tie the threads securely and prevent ravelling. Cut the buttonhole open
with a buttonhole cutter or seam ripper, being very careful to avoid cutting any
stitching. Turn the Feed Teeth Knob back to the HI position ready for your next project.