PAGE 15
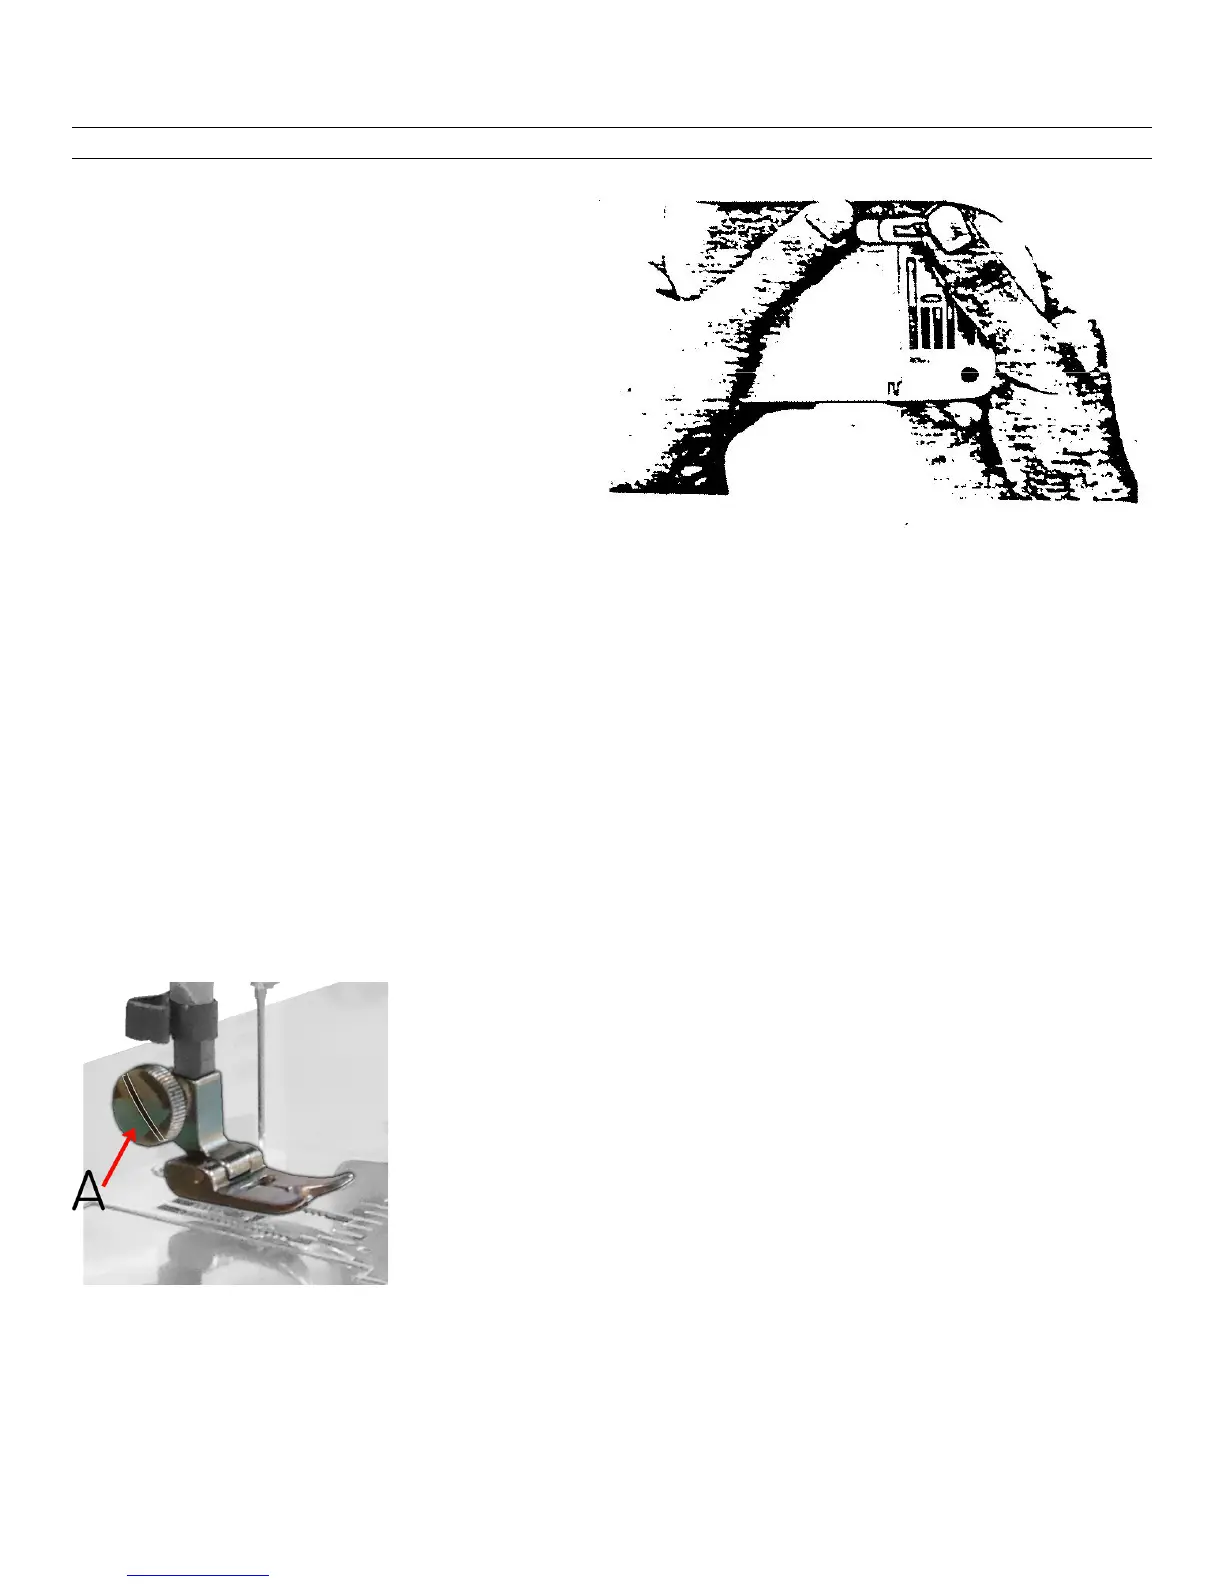
To Change Needle Plate —
Be sure the Presser Foot is UP and the
needle at the top position. Raise the
hinged cover plate (attached to the
needle plate) and leave UP. Carefully
remove the screws holding the needle
plate and — gripping the raised cover
plate — slide the entire assembly off
the machine. Set the Stitch WIDTH
Lever at 0.
Turn the assembly over — under side
upward — holding the needle plate in one hand and the hinged cover plate in the
other. Notice that two small pins — one at each side of cover plate — fit into grooves at
each end of the assembly. One pin is under the spring-hinge at one end — the other
pin is unobstructed. Lift that pin out of the groove. Then the other pin can be freed as
the tongue on the cover plate is separated from the spring latch on the needle plate.
Just reverse the entire procedure to attach another type of needle plate to the hinged
cover plate and re-install the changed assembly on machine.
CAUTION — After Changing A Needle Plate or Presser Foot Always Turn the
Machine Wheel by Hand While the Needle Goes Down and Comes Back Up.
Such a Production Avoids Breaking a Needle and Damaging the Machine.
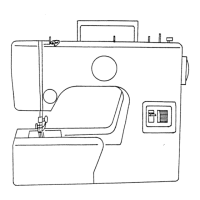
— To Change Presser Foot
Be sure the Presser Foot and needle are both UP. Loosen
the thumb screw (A) with fingers or a screw driver until the
Presser Foot slips down and off. To replace it with another
foot, merely reverse the procedure. After changing a foot,
always hand-turn the machine carefully to be sure the
needle does not strike the foot.