PAGE 3
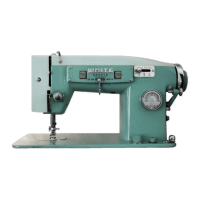
BE SURE – For Zigzag Stitching
— Use This Needle Plate and Presser Foot
These two parts are slotted crosswise to allow for
needle swinging sideways while moving up and
down. Slots are about ¼ inch wide.
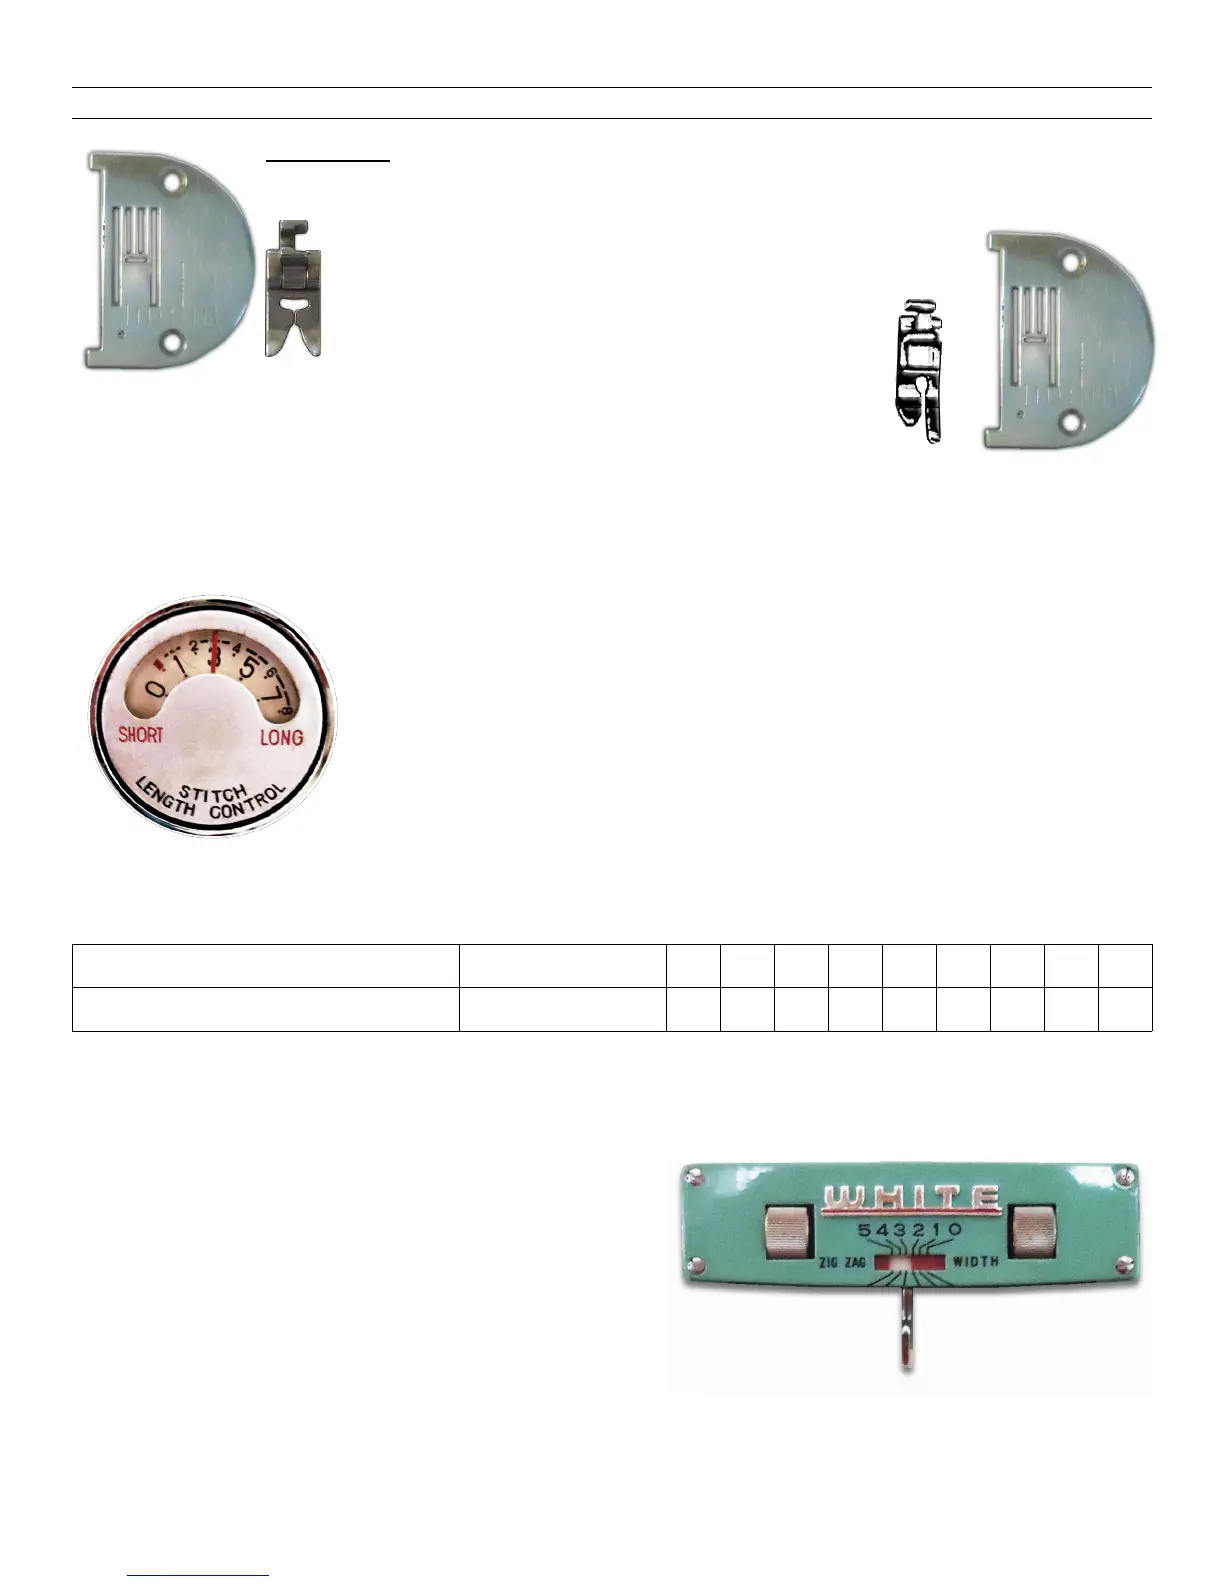
Later On — For Straight Stitching some Fabric —
The presser foot and needle plate with the small round hole
instead of a wide slot — best for the finest STRAIGHT stitching in sheer, fine or very
soft materials. For changing this standard equipment, see page 15.
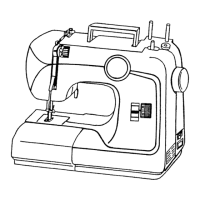
— Setting Stitch Length — For Zigzag or Straight Sewing
Turn this speedometer-type dial CLOCKWISE to lengthen
stitch — COUNTER-CLOCK-WISE to shorten — for more
stitches per inch. Refer to the chart just below and find your
favorite settings. Make a note of the numbers for quick and
easy duplication any time. Remember that the material moves
along or “feeds” under the presser foot in the down position.
Whenever it does not, the stitch must be lengthened slightly.
Dial Settings for Approximate Number of Stitches Per Inch
Figures on indicator 0 1 2 3 4 5 6 7 8 9
Number of stitches per inch No Feeding 60 40 20 16 12 10 8 7 6
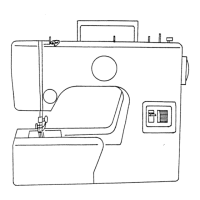
Setting Width of Hand-Controlled Zigzag Stitching —
For Straight Stitching and Cam Controlled Zigzag, Keep Lever at 0
Adjust by turning the horizontal finger-rollers
to a number on dial — or in-between. To
make the sides of buttonholes for example,
you may set the left side number at 14; the
right side at 2.