PAGE 12
Your Machine Will Sew On Buttons —
(Another operation which takes longer to explain than to do)
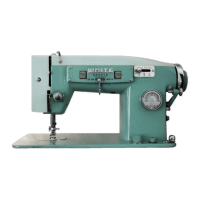
Put the Button-Sew-On Foot onto machine. Turn the
Feed Knob to DN. Set the Needle Path Lever in the
LEFT position. Set left of the ZZ Width Control at 5.
Place the fabric and the button so its LEFT hole is
directly under the needle and gently lower the foot to hold
the button. Turn the machine wheel slowly by hand until
the needle goes down and back up through the left hole.
Continue turning the wheel until the needle moves to the
right and starts down again. Now aim it at hole on the RIGHT by turning the right side
Roller in the ZZ Width Control Panel.
Continue turning the wheel by hand to be sure that the needle clears the button as it
moves in and out both of the holes in the button. Then slowly sew five or six stitches
and stop the machine with the needle down in the LEFT hole. Turn the ZZ Width
Control (right-side roller) until the Lever slides back to 0. Take a few stitches in the left-
side hole only, to tie the threads. To provide buttoning space for heavier materials,
place a rounded toothpick atop the button between the two holes while sewing it on.
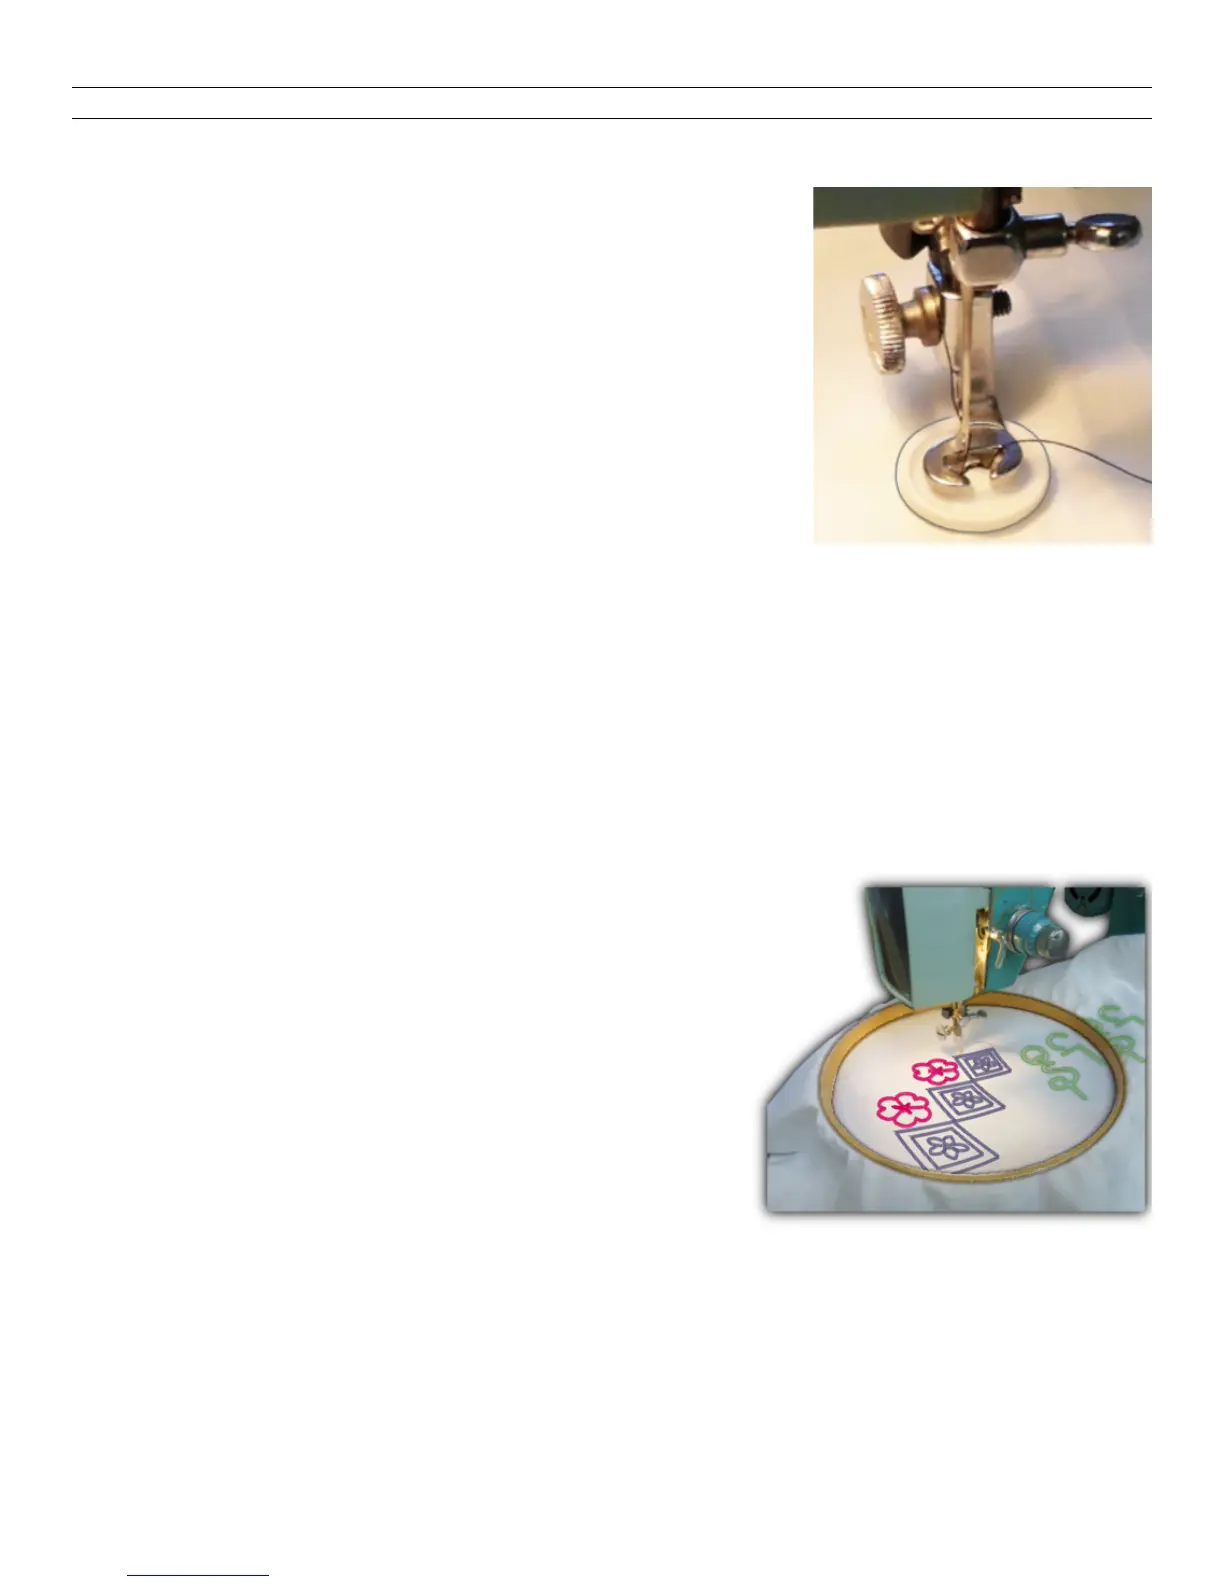
Embroidery - Monogramming - Darning
For Finest Results Use A Hoop
Remove the Presser Foot from the machine. Turn the
Feed Knob to DN. Release the Presser Bar pressure
(page 4). Stretch the fabric tautly in an embroidery
hoop and angle the edge of the hoop under needle.
Set the Stitch Length Dial as desired (usually at a low
number). Lower the Presser Bar Lever (otherwise
there is no tension on thread), and begin sewing. Run
the machine at fairly high speed while moving the
hoop around rather slowly, using both hands to keep
the fabric flat on the machine at all times. With care, you can follow a stamped or
traced design, or, close a hole or tear effectively. Keep fingers away from the needle.