1. After removing the packaging from the stove, lift the hopper lid, and remove all pre-packaged items that
were shipped in the hopper. Also open the stove door and remove all pre-packaged items.
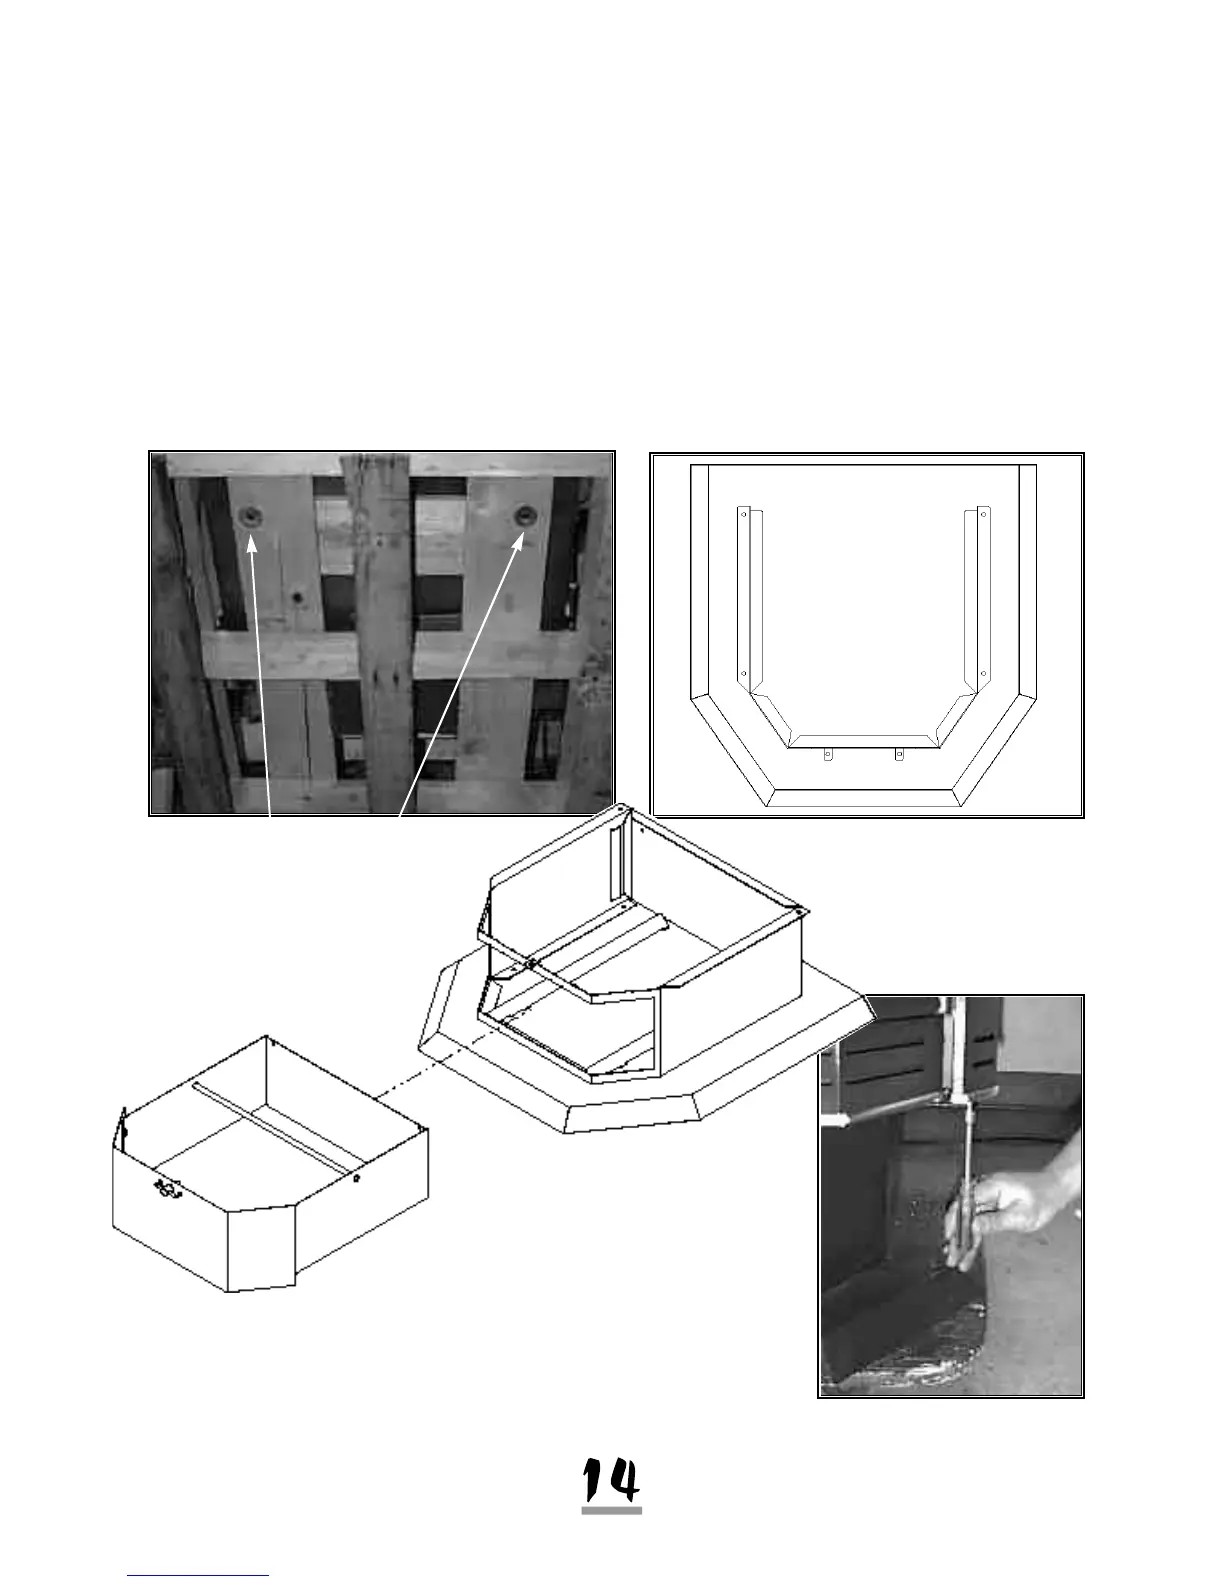
2. Using a 7/16”socket or open end wrench, remove the two bolts from the bottom that secure the stove
to the wooden pallet.
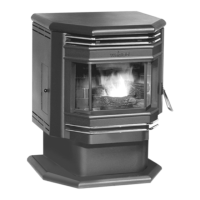
3. If your stove is a freestanding model, remove the pedestal from its box and place it beside the stove .
With a helper, lift the stove onto its pedestal base. Put the six 1/4” bolts through the holes in the mounting
f l a n g e of the pedestal and into the six threaded inserts in the stove bottom. Two of these are where the
s t o v e was originally secured to the pallet. Tighten all six fasteners with a properly sized wrench or socke t
( 3 / 8 ” ) .
Pre-Installation Assembly
Remove The Two Bolts From
Under The Pallet
Attach Stove To Pedestal
By Inserting Six Bolts
Pedestal/Ash Pan Assembly
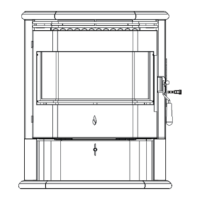
After stove body is secured to
pedestal install the sidepanel
attachment screws. Find 2 #8
screws in a small bag in the
accessory kit. Using a Phillips
screw driver install screw from
underneath the side panel at
the front edge.
1
2
3 4
5
6