Kunststoffschweißtechnik
Starting and operating Chapter 5
20.08.14 Working instructions WIDOS 3511 Page 19 of 39
5.2. Welding process
The respectively valid welding prescriptions (ISO / CEN / DVS...) are to
be basically followed.
Do wear safety gloves as protection against burning!
A stop-watch is to be available in order to be able to register the actual times for heating up
and cooling.
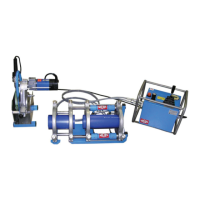
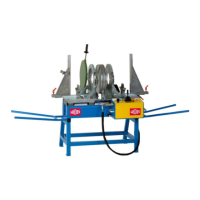
Screw the cleaned and fitting socket and spigot which are free from grease onto the heating
element (spigot right-hand / socket left-hand).
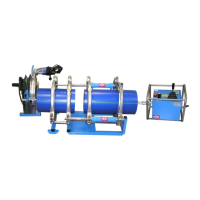
Mount the prism clamping tools for the pipe with a corresponding diameter range on the left
side (chapter: 4.4).
Mount the prism clamping tool for the fitting with a corresponding diameter range on the
right side (chapter: 4.5). For clamping the fitting, fitting stops are provided.
A welding table is to be available from which you can read the parameters that are
prescribed by the welding regulations for the pipe dimension to be welded.
The heating element socket / spigot are to be clean and, above all, free from grease.
Therefore they are to be cleaned with non-fraying paper and detergent (e.g. spirit) before
every welding or if they are dirty.
The anti-stick coating of the heating element must remain undamaged in the working area.
In addition, the workpieces (fitting and pipe) to be welded must be clean. If need be, clean
them with detergent and non-fraying paper.
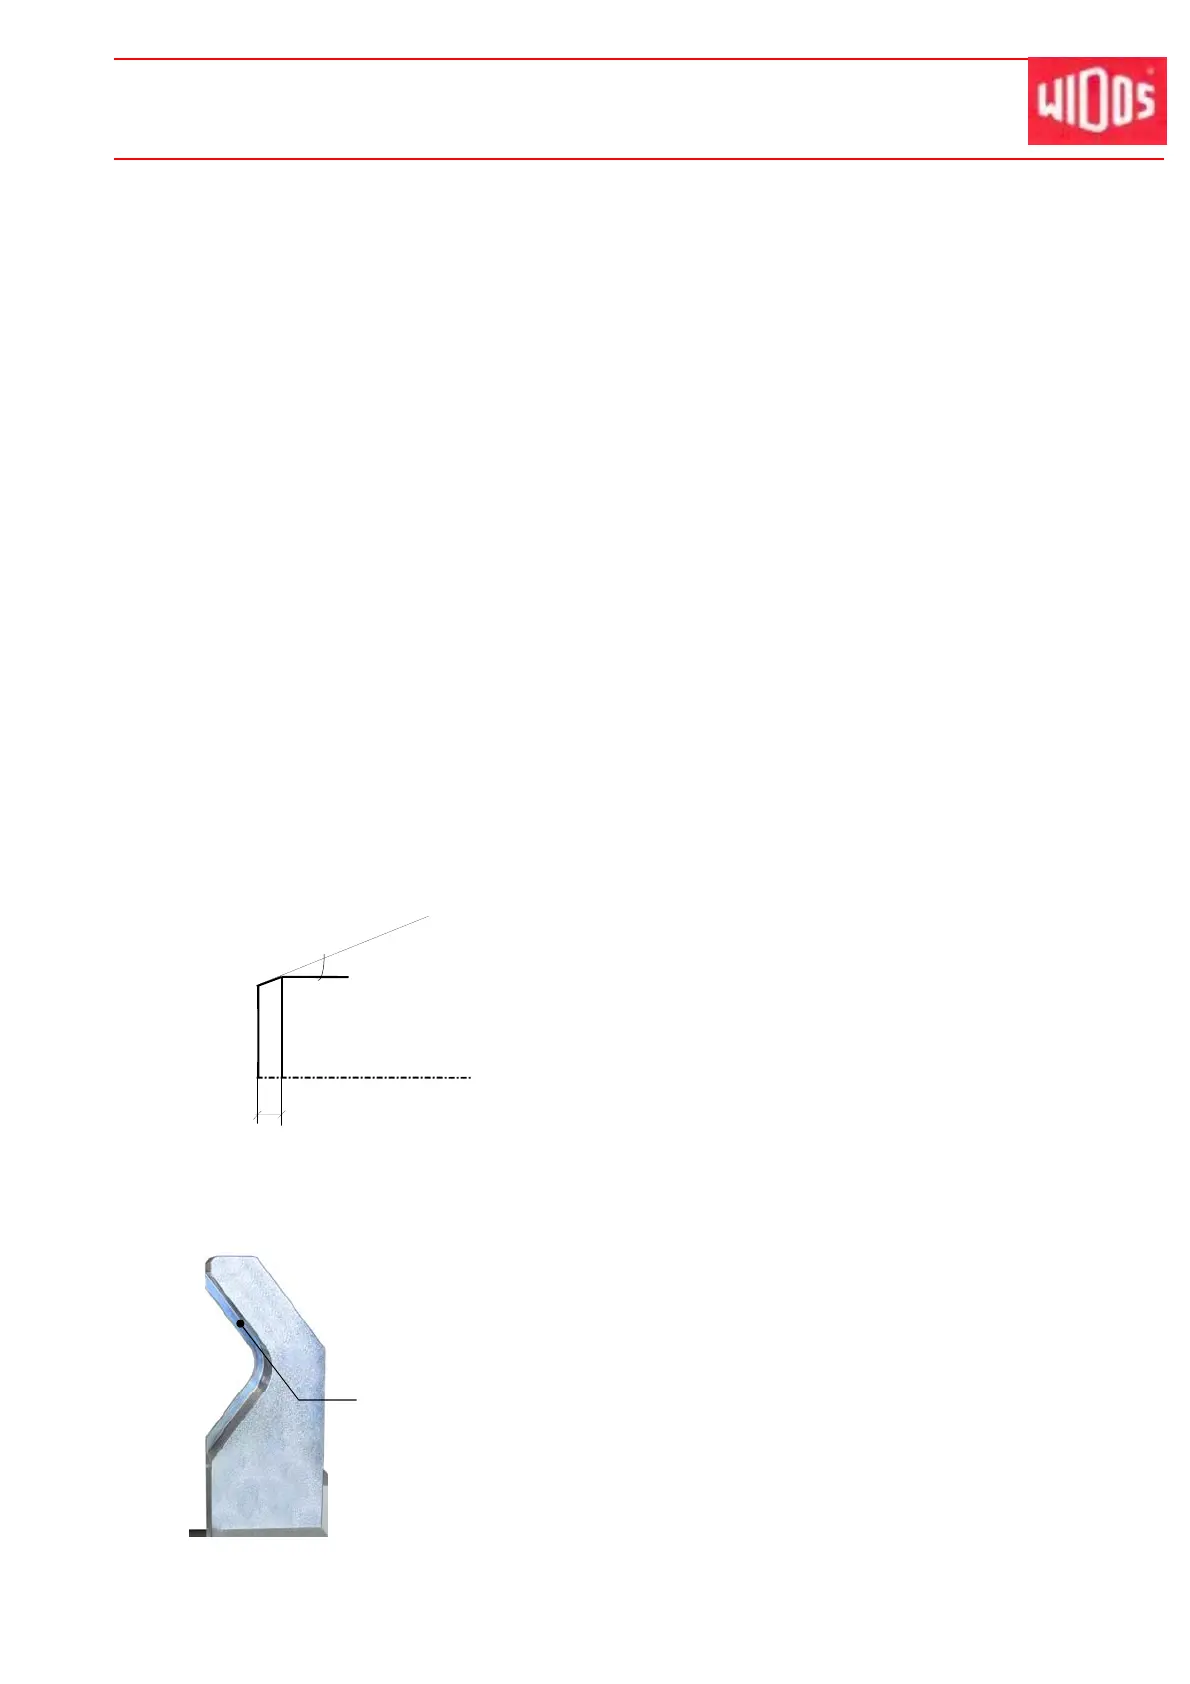
The pipe end is to be chamfered to appr. 15°.
approx. 15°
2-3 mm
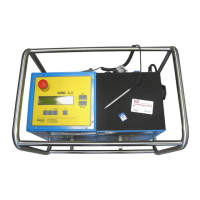
Switch on the heating element and adjust the necessary welding temperature at the set
screw at the handle. If the control lamp blinks, the nominal temperature has been reached
and is maintained by means of a defined pulse-pause ratio.
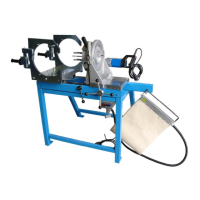
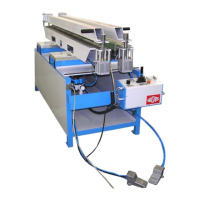
Insert the fitting in the right-hand clamping tool onto the limit stop.
Clamp the fitting by handle.
Support the fitting with support if necessary (chapter: 4.6).
Limit stop for fitting