Kunststoffschweißtechnik
Starting and operating Chapter 5
20.08.14 Working instructions WIDOS 3511 Page 20 of 39
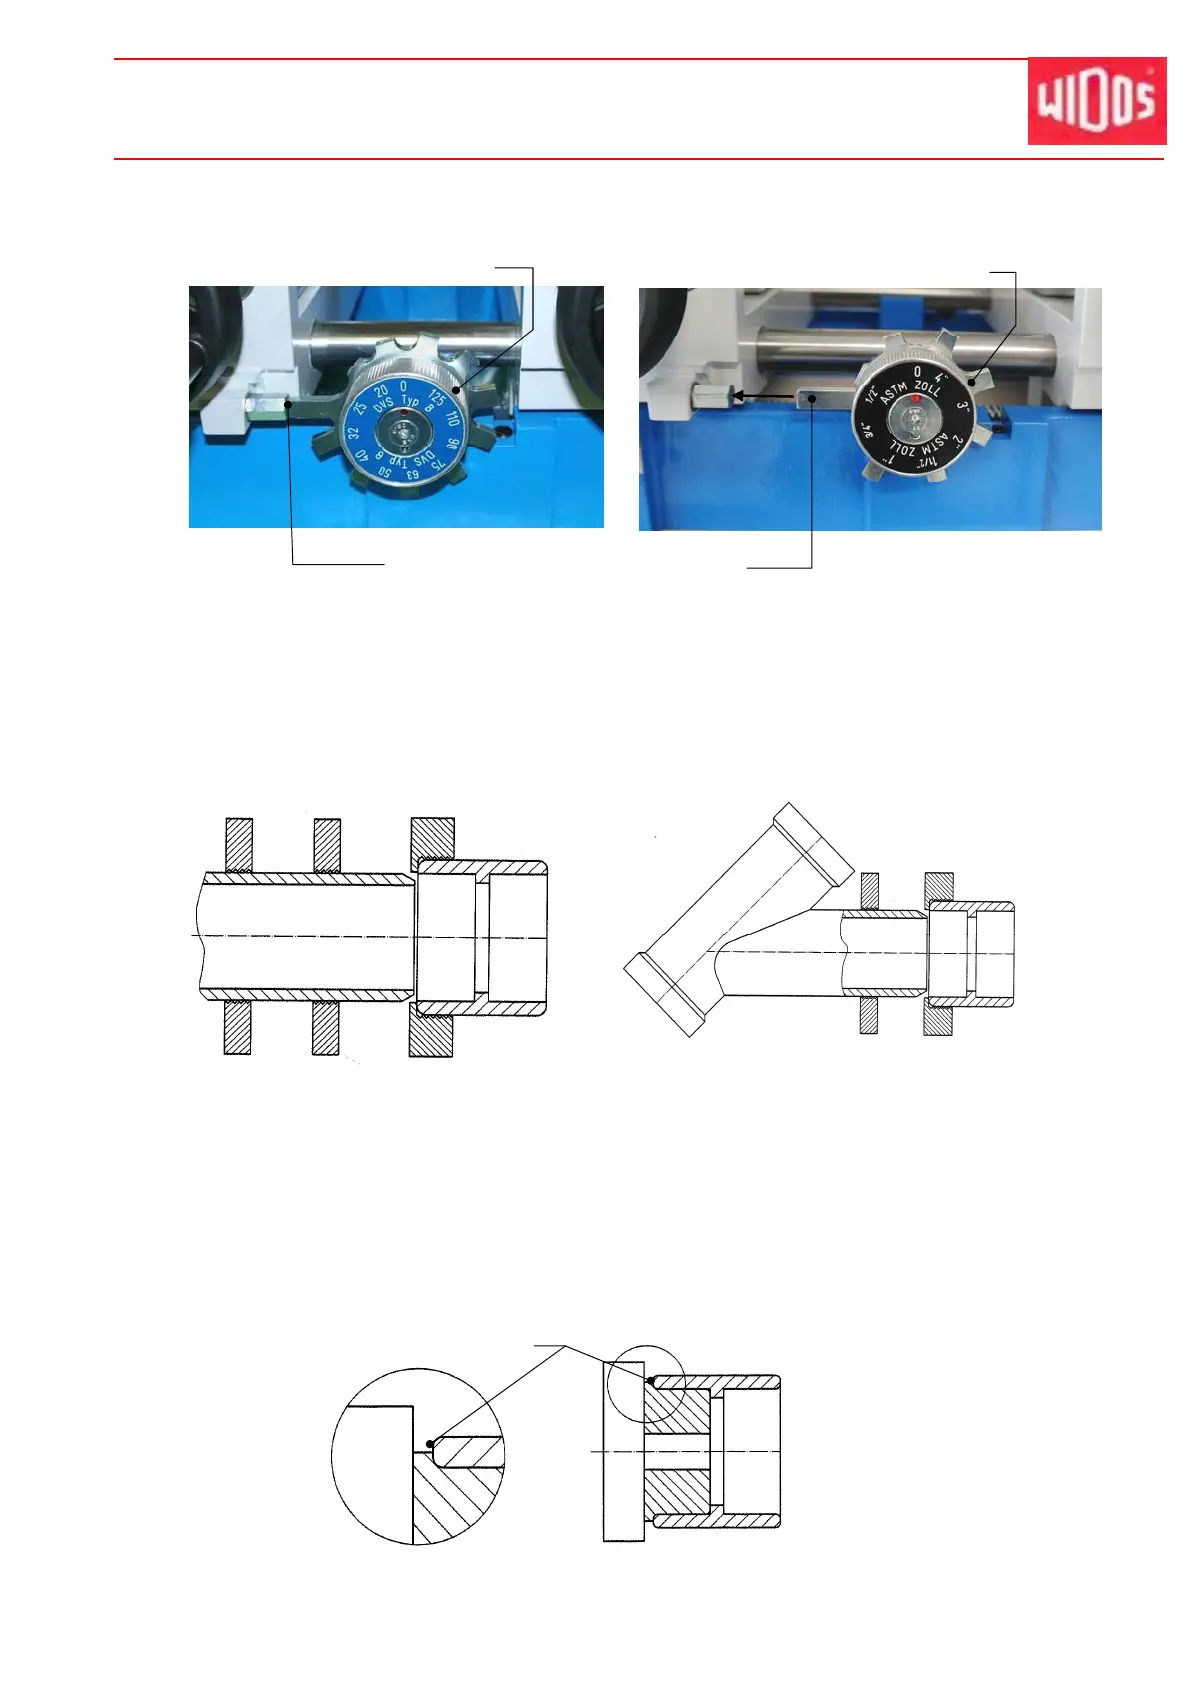
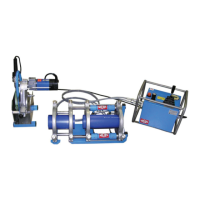
Turn the dial until the position “0” locks over the red spot.
Shut the machine until the dial rest against the stop bolt (upper left image) and fix this
position with the clamping lever (8).
Insert the chamfered pipe so that the end face is adjacent to the fitting.
Close the pipe clamping tool and clamp the pipe by handle.
Positioning of different pipes towards the fitting:
Shut the left clamping tool by handle and clamp the pipe tightly.
Release the clamping lever (8) and open the tables.
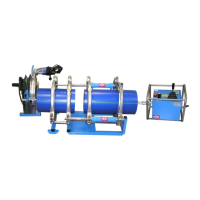
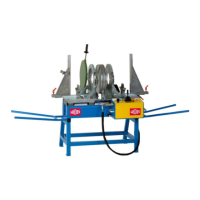
Swivel the heating element into the machine. The heating element must be immersed into
the recess on the frame in front.
Drive the slides together and the workpieces with minor force onto the heating socket resp.
against the limit stop of the heating spigot (pipe and fitting must touch the socket / spigot at
the same time.)
Limit stop at the spigot
Dial for metric pipes
Dial for inch pipes
Upon resetting and joining drive the
machine with the dial at stop bolt.