16
2. For the Installer
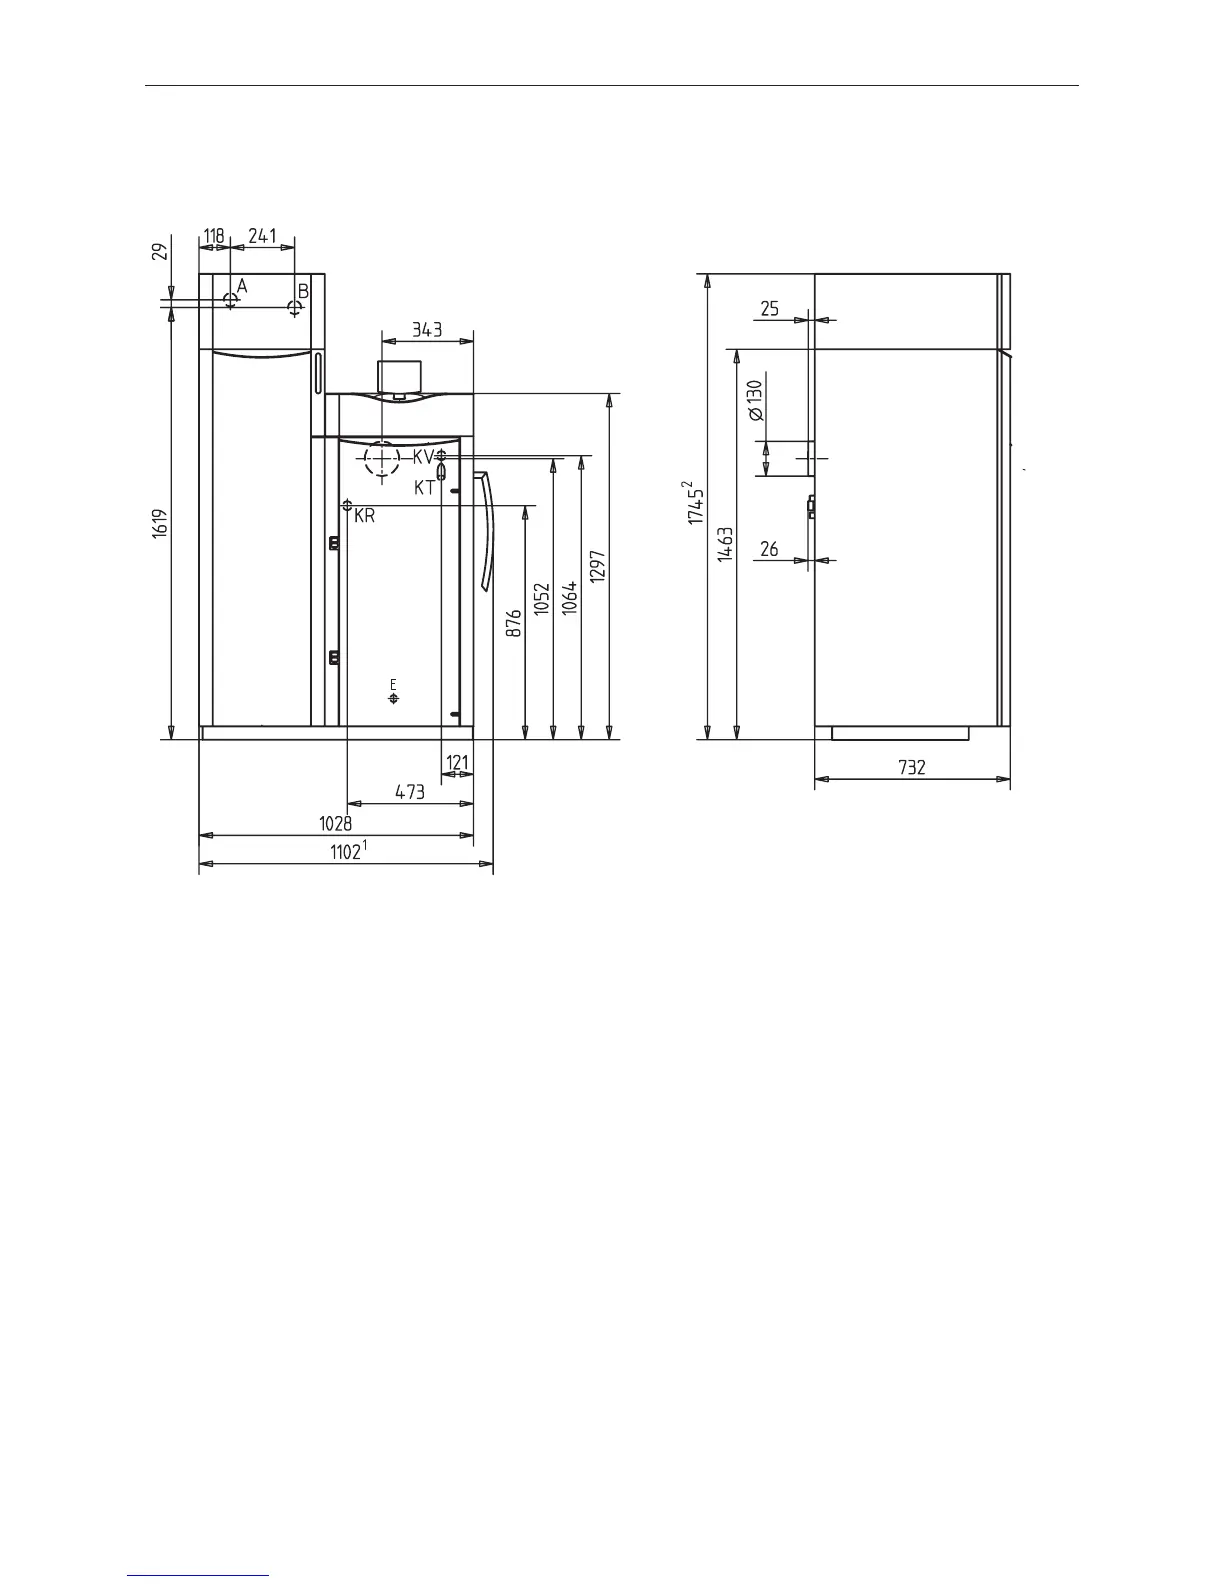
2.6 Dimensional sketches
All dimensions in mm:
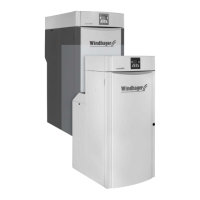
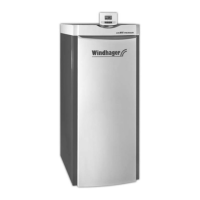
Fig. 36 BioWIN pellet boiler 100–260 – Front view
KV ........Boiler feed (1” tube)
KR ........ Boiler return (1” tube)
E ..........Discharge
A ..........Pellet feed (50 mm Ø pipe)
B ..........Reverse air flow (50 mm Ø pipe)
KT ........Boiler temperature sensor
Z ..........Intake air for operating independently of the room air
1
Premium/Klassik types only
2
Exklusiv/Premium types only
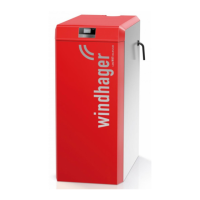
Fig. 37 BioWIN pellet boiler 100–260 – Side view
2.7 Installation sequence
a) Transport boiler to installation site and remove crate see – section 2.8.
b) Fit reserve supply container cover (BioWIN Klassik only) – see section 2.9.
c) Fit cleaning lever (BioWIN Klassik and Premium only) – see section 2.10.
d) Install the exhaust pipe – see 2.11.
e) Fit cleaning tools – see section 2.12.
f) Fit feed unit on reserve supply container (BioWIN Premium and Exklusiv only) – see section 2.13.
g) Initial start-up and operating instructions – see section 2.14.