12| P a g e
halfway under the two 18” cleats at the forward edge). Ensure that the
floorboard is pressed all the way to the transom and sits snuggly in the battens.
Wing Tip: Spraying the groove between MBT, cleats, boat bottom,
and along the surface of the keel, with soapy water (from a spray
bottle or damp rag not provided) reduces friction and allows for
easier installation of floorboards.
Wing Tip: Sit inside the boat and evenly press the board with your
feet towards the transom.
Wing Tip: Have a partner(s) help pull the partially inflated MBTs
slightly outward to help with floorboard install. If you are installing
the deck alone, pushing against the MBT on one side with your back
and the opposite side with your feet can also help.
6. Install aluminum gusset joiners.
Attach aluminum joiner gussets to both sides of floorboard, pressed tight against
each edge of the board, straight section outboard/curved inboard. Wing Tip: if the
fit is overly tight between the joiner gussets and the board, it can be easier to install
the gussets to the board prior to installing the board into the boat.
7. Install aluminum joiner.
Center and attach one long aluminum joiner (P5.3 & P5.8 have wider joiners) to
the leading edge of the aft floorboard.
8. Install 2nd floorboard.
Using a similar technique as in Step 5, slide the next floorboard section into
position, making sure it fits under the floor retention cleats, and is firmly seated in
the joiner. Wing Tip: ensure that each main board slides all the way to the rear,
and the gaps between boards-joiners-gussets are reduced as much as possible to
minimize “stacking” errors (i.e. cumulative gaps) in the final assembly. To aid with
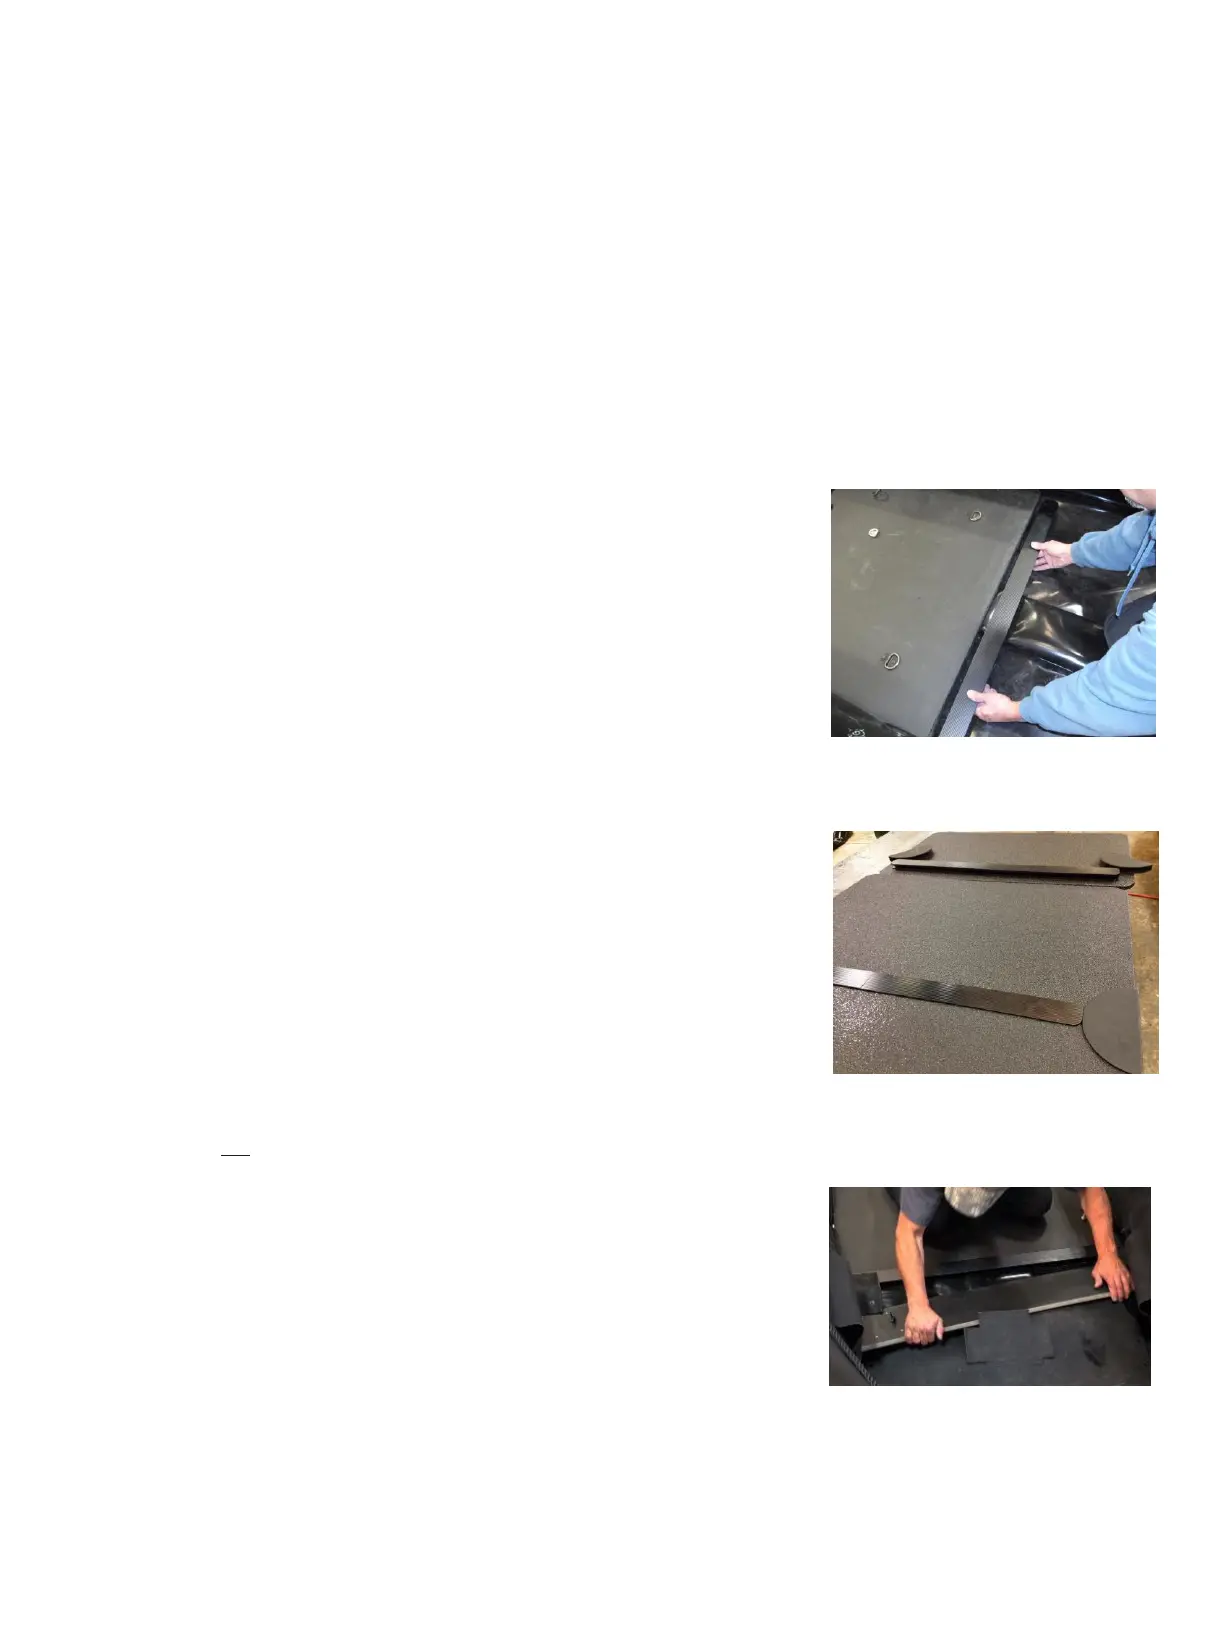
this, webbing or cord can be used to pull the floorboard rearward, using the pad
eyes on the floorboards.
9. Repeat steps 5 through 7 for main floorboards 3 and 4 up to thrustboard.
Joiner gussets are not used between the fourth main floorboard and the thrustboard.
10. Slide the thrustboard into place.
Insert thrustboard (longest length aft) into the most forward main floorboard joiner
as shown, and pull rearwards into the joiner. Align the outboard attachment holes
in the thrustboard with holes in the fabric attachment flap. Do not yet install the
bolts through the thrustboard flaps. The thrustboard bolts will be attached later
(Step 15) after the entire floorboard system is installed and the MBT’s and keel are
inflated. For now, simply ensure that the holes for the hardware in the thrustboard
approximately line up with those in the thrustboard flap.
 Loading...