14| P a g e
5. Tighten Thrustboard bolts. Using ½” wrench or crescent wrench, tighten bolts firmly.
Be careful not to over tighten.
6. Close all cross-over valves and keel inflation hose valve.
Hard Deck Disassembly
1. Deflate keel.
Deflate keel by removing inflate/deflate valve cap, depress yellow valve stem to deflate (depress yellow valve stem and
rotate clockwise to lock the valve in the open position, depress and rotate valve stem back again to close). Push on keel
until air is evacuated.
2. Partially deflate one side of MBT.
Deflate one side of MBT to approximately 50% by removing inflate/deflate valve cap, depress the yellow valve stem to
deflate. Depress the yellow valve stem and rotate clockwise to lock the valve in the open position, depress and rotate
valve stem back again to close. Release more air if necessary.
3. Fully deflate opposite side.
Deflate other side of MBT to the point where most of the air has been released (same process as Step 2).
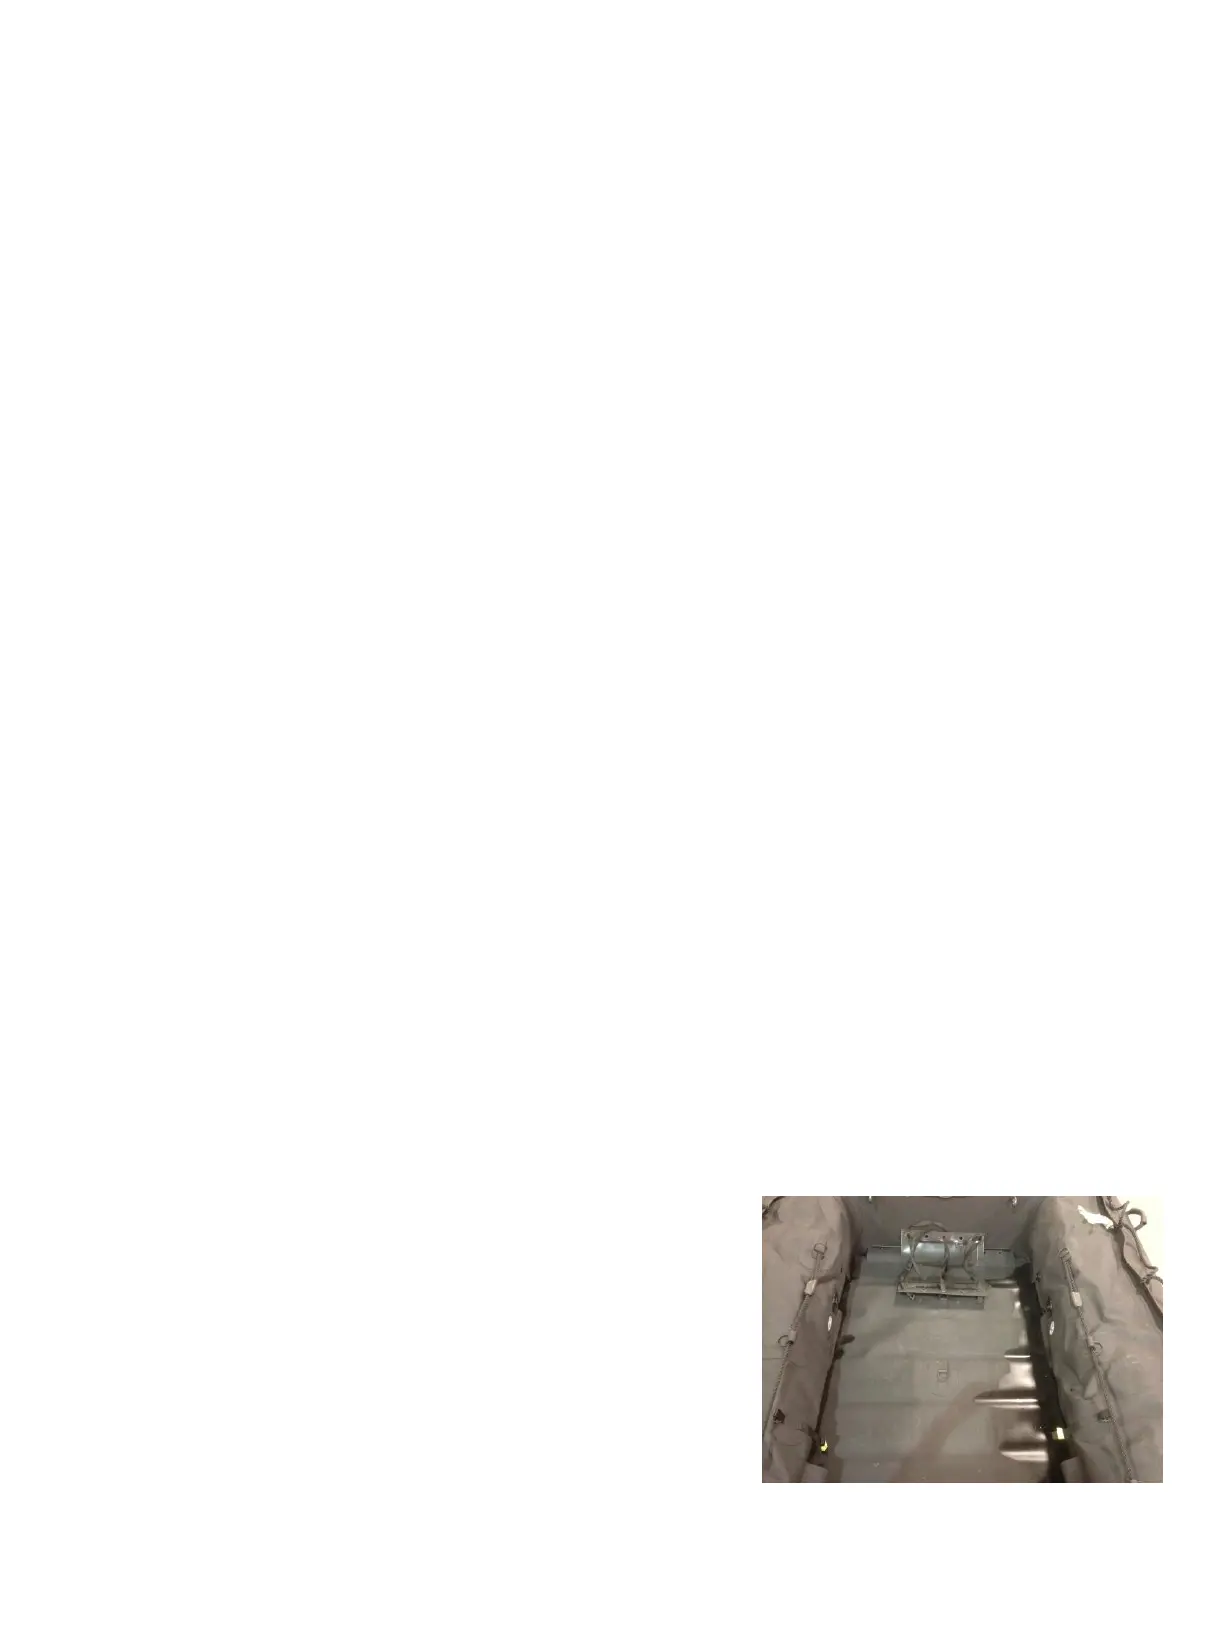
4. Remove thrustboard.
Remove thrustboard by unscrewing attachment bolts. Use ½” wrench. Unscrew the 4 bolts attaching the thrustboard to
the thrustboard attachment flaps (2 per side), lift thrustboard flap, and reinsert bolts and washers into the threaded inserts.
5. Remove forward joiner and floorboard sections.
Remove forward joiner and floorboard section. Repeat process until all floorboards are removed. Make sure all parts,
tools and hardware are accounted for.
6. Deflate boat completely.
Deflate boat completely. Using a Shop Vac (if available) speeds up this process.
Assembling the Roll-up Floor
The Wing P-Series crafts (P4.2, P4.7 & P5.3) come with optional slatted
roll-up floors. The aft end of the floor is secured at the transom by a
grommet and lace system. The front end is secured at the main thrustboard
by means of a threaded bolt and washer. A forward thrustboard is installed
for additional bow support. A bow skirt is provided to cover the bow area.
The bow skirt is secured to the main thrustboard and to a grommet and lace
system in the bow.
 Loading...