15| P a g e
1. Open crossover valves and partially inflate boat from the stern.
Partially inflate both sides of the boat, until the tubes take shape (no more than 50%).
2. Insert main and forward thrustboards.
The forward thrustboard and hardware comes only in the roll-up floor kit. If you
are installing the hardware for the first time, the hardware installation will take
place after inflating the MBT.
Note: In using the Wing Roll-up floor system, the three bow boards of the hard
deck assembly (certain models only) are typically not used, but may be if desired,
and replace the forward thrustboard.
3. Spread tubes.
Have your partner pull the partially inflated tubes out to expose the floor retention
cleats.
4. Insert floor.
With a partner, lift the roll-up floor and place it into the boat. Make sure the floor
is oriented correctly – aft end has the grommet strip and inflation cylinder
attachment system.
Wing Tip: Spraying soapy water along the groove between tube and boat
bottom, along the underside surface of the roll deck and on the top of the keel,
reduces friction and allows for easier installation of floorboards. An alternate
method is to use cloth soaked in soapy water solution.
Wing Tip: Have a partner(s) help pull the partially inflated MBTs slightly outward to help with floorboard install. If
you are installing the deck alone, pushing against the MBT on one side with your back and the opposite side with your
feet can also help.
5. Position roll-up floor.
Pull roll-up floor aft until it is seated firmly in the stern. Ensure floor is positioned under all of the floor retention cleats.
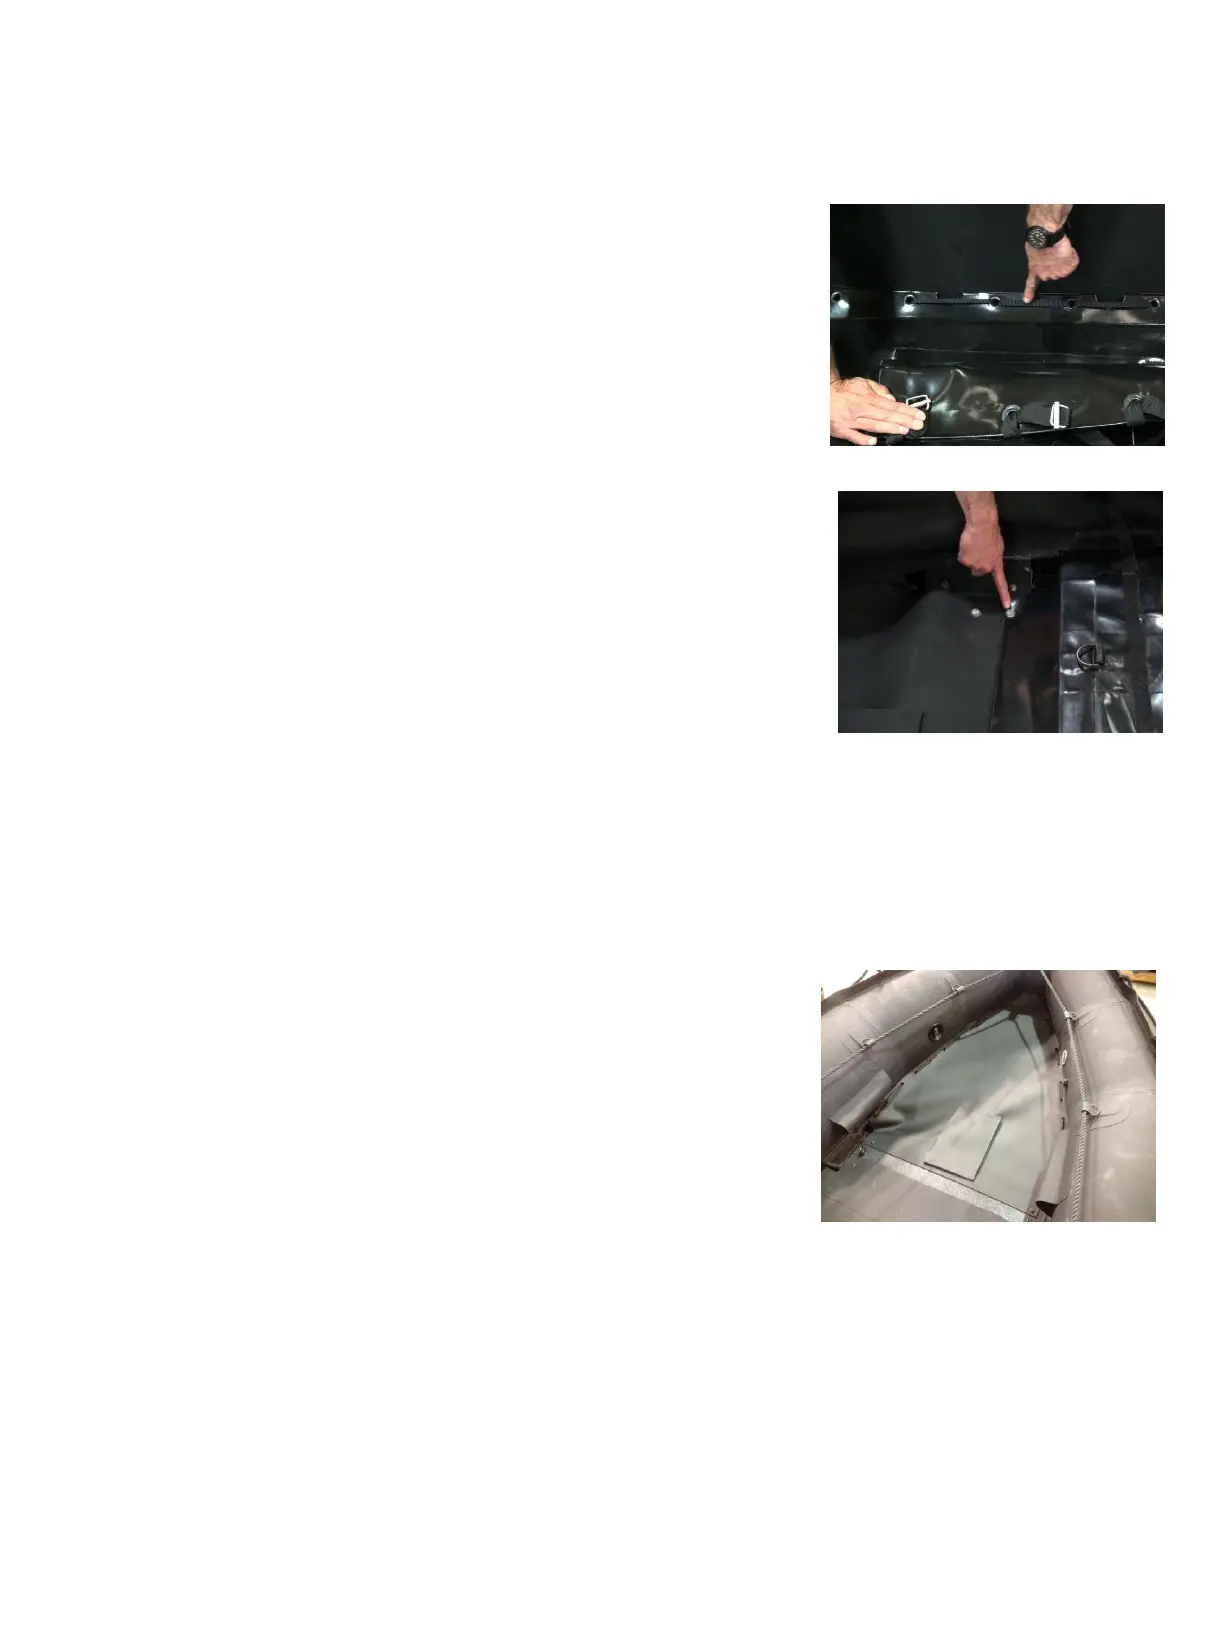
6. Attach floor to transom.
Align grommets with holes in transom batten. Attach floor to transom batten by
lacing it through the holes. Tie a knot to complete the process. Tie a knot, such as
a bowline, to complete the process.
7. Insert inflation hose and inflate using “Inflating the Boat” steps.
Insert the inflation hose fitting into the valve stem in stern chambers.
8. Attach floor to main thrustboard.
Align attachment holes in attachment flap with corresponding holes on the thrustboard. Place washer over attachment
hole and insert bolt into threaded hole on the thrustboard. Hand tighten bolt. Using ½” wrench, tighten bolt. Avoid
over-tightening. Repeat process with the other side. The main fabric floor attaches using the two aft inboard bolts of the
main thrustboard. The bow fabric floor attaches to the two forward inboard bolts
9. Attach bow skirt.
Place washer over attachment holes and insert bolt into threaded hole on the thrustboard. Hand tighten bolt. Using ½”
wrench, tighten bolt. Align holes in bow, lace through the holes. There are several ways to lace the floor down, with the
simplest being to run the lacing through alternately over the top, underneath, then back up over the top, etc. Tie a knot
to complete the process.
 Loading...