36| P a g e
Bonding Patches to Polyurethane Fabric
Caution: Before using a putty knife or any flat-bladed tool on any
inflatable product, ensure that there are no sharp edges or corners on
blade to prevent further damage to material.
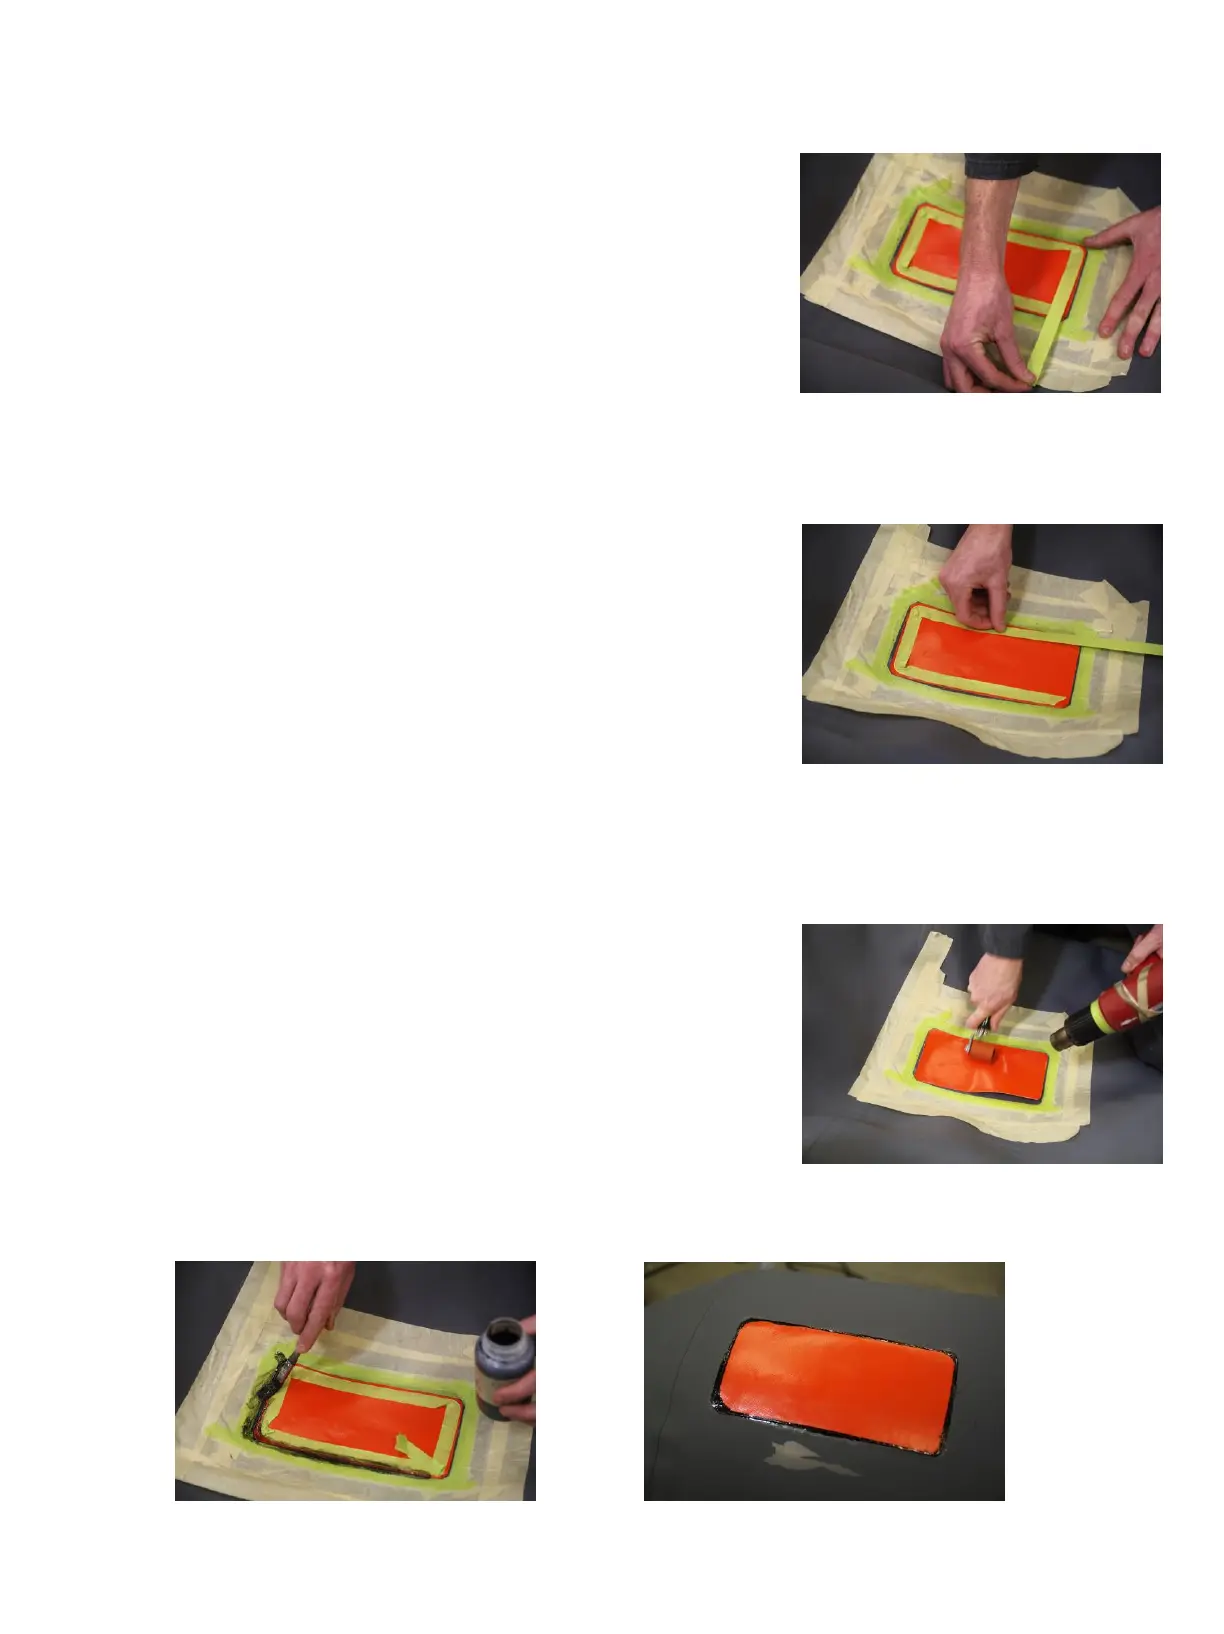
1. Round patch corners to prevent “snagging” when the
boat is back in use.
Line up patch to the taped off area.
2. Starting at one edge, utilize a hair dryer or heat gun to warm both surfaces and apply pressure using putty
knife or hand roller.
The heat activates the adhesive.
NOTE: Do not overheat; the fabric should be warm to the touch, no more!
3. Applying pressure with a putty knife or hand roller, work the patch
down from one edge so as to avoid trapping air bubbles under the patch.
If bonding over seams, take extra care to assure bond between fabric and
patch.
4. If adhesive is warm, patch edges may pull up. Allow adhesive and
patch to cool.
Once cool, lightly run a putty knife around the edges. If an
edge has not adhered, apply more heat and apply pressure. If having problems
with adhesion, see troubleshooting guide at end of section.
IMPORTANT NOTE REGARDING SEALING EXPOSED EDGES OF
FABRIC:
We recommend utilizing either Clifton one-or two-part adhesive or
Goop to seal the exposed edges of fabric patches against water intrusion and
air loss through patch edges.
5. Tape off the repair area to original sanding lines to hide all repaired
areas (Goop and adhesive WILL NOT STICK if applied outside sanded
areas).
6. Use a brush to apply adhesive or Goop carefully around patch edges.
IMPORTANT NOTE: If using adhesive, let the solvent flash-off.
7. If using Goop, apply immediately after solvent.
 Loading...