11| P a g e
Inflation Specifications
The Wing CRRC Main Buoyancy Tube is rated for normal operating pressure of 4.4 psi with ability to run up to 5.0 psi
with heavier loads. Each chamber is equipped with a Pressure Relief Valve (PRV) to ensure over-inflation does not
occur. However, over-inflation can occur if the PRV fails or is intentionally blocked. Use the supplied pressure gauge
to ensure each air chamber is properly inflated. Operating the boat below the designed working pressure of 4.4 psi or
above the PRV reseat pressure of 5.0 psi can cause performance issues and may damage the boat or pose a safety risk to
passengers. To avoid risk, always operate the boat with the MBT in the normal operating pressure range.
Minimum inflation pressure:
CAUTION: DO NOT UNDER-INFLATE!
Assembly and Disassembly – Hard Deck
Floorboard and Thrustboard Installation
1. Unpack the boat.
Roll it out on a clean, flat surface.
2. Remove and inventory components.
A first “dry-run” assembly, with all parts in order, will quickly familiarize you with
your parts and greatly facilitate placing the items into your CRRC. Remove floorboards
(main floorboards; optional bow boards if ordered , step #11), thrustboard (s), joiners,
joiner gussets, and all hardware from the box. Lay out, alongside the boat, all
floorboards and assembly parts on a tarp or clean flat surface next to the boat, in the
proper order. Ref Drawings on page 8, 9, 10 &11.
3. Open cross-over valves and partially inflate the boat from the stern.
Partially inflate both sides of the boat, until the tube takes shape, but no more than
approximately 50%.
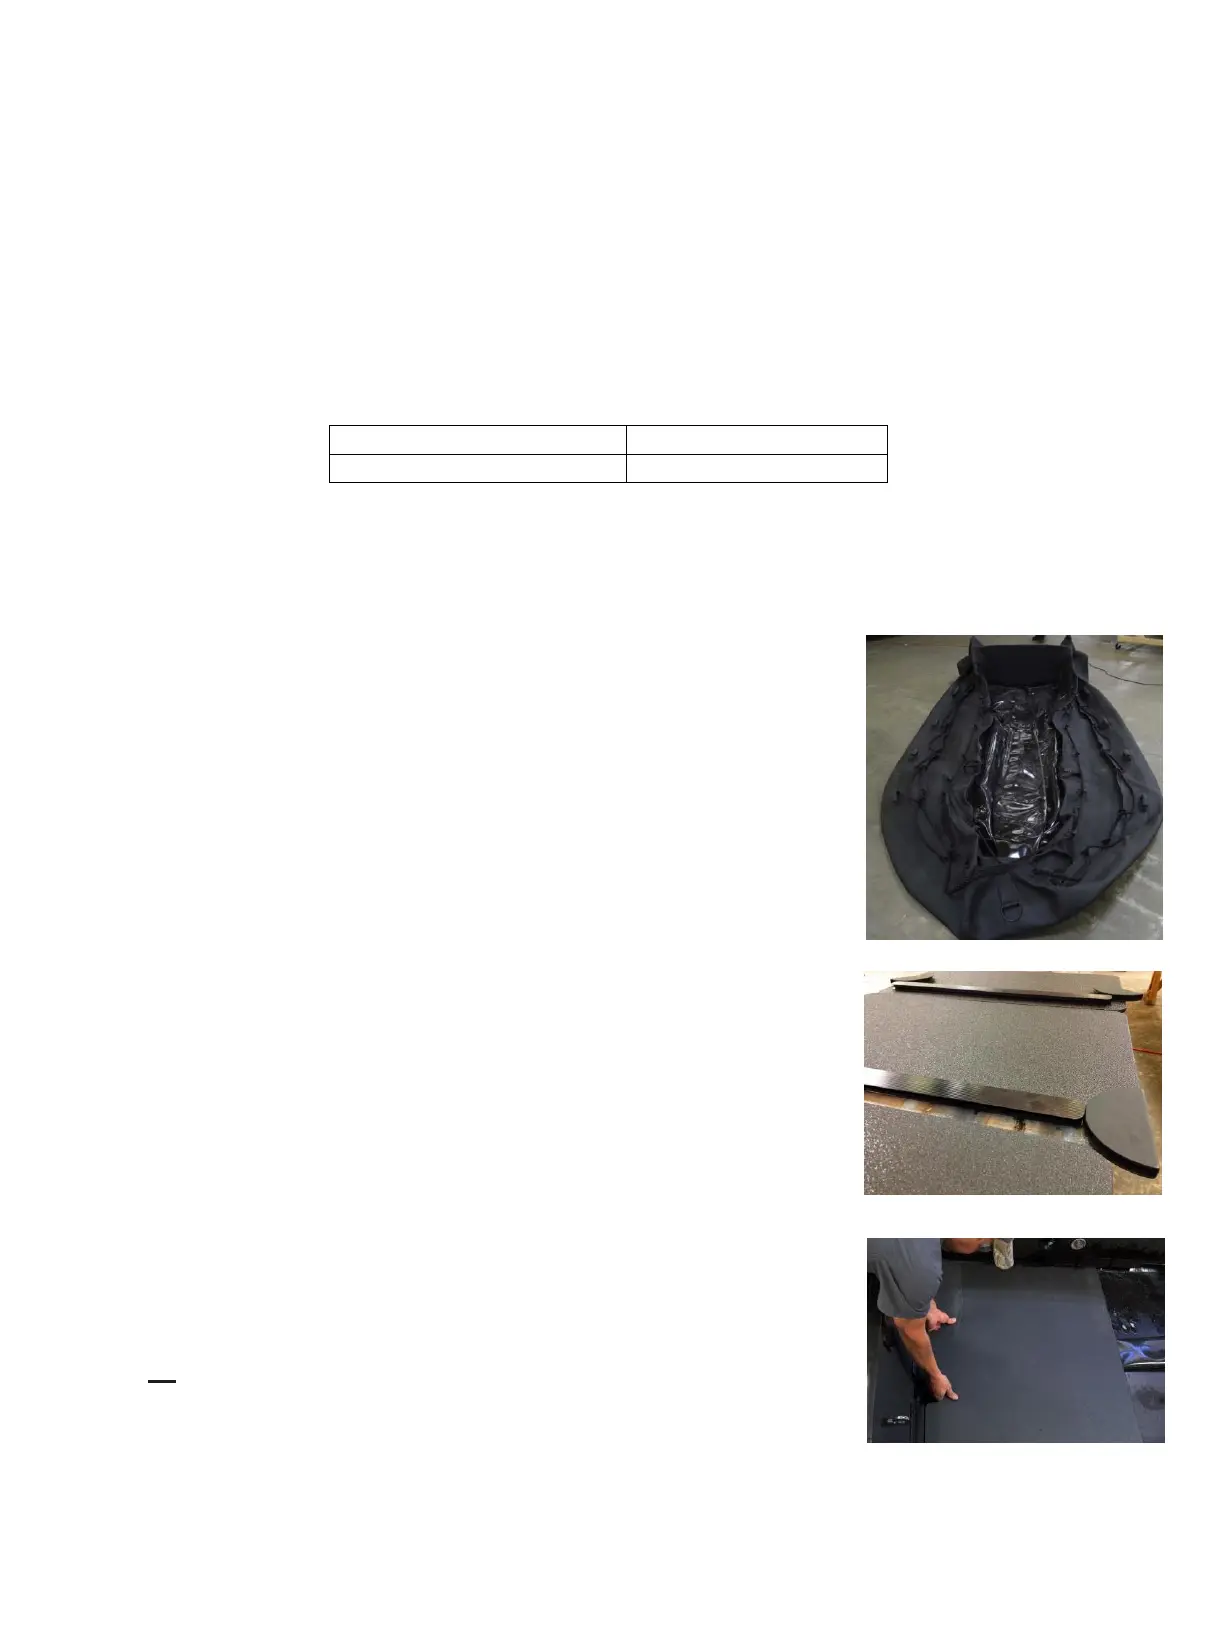
4. Ensure that the keel is properly positioned.
With the keel uninflated, center the keel Velcro with the floor Velcro, and that the keel
is fully inserted into the ends of the stern and bow keel pockets, and that the keel
retaining straps are loosely tightened around the keel. It’s important not to constrict the
keel with the lacing straps, once inflated. If in doubt, inflate the keel to verify position
and tightness of straps, then deflate the keel before the floorboard installation.
5. Insert aft floorboard section into transom batten.
Slide the aft floorboard (with cut outs placed facing transom) under the rear
floor cleats and into the floor battens on the transom. Press down on the floor
(either with your hands or by standing on the board) to ensure the floorboard
is underneath the floor retention cleats (Under the two aft 6” cleats and
 Loading...