14
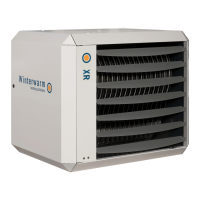
Figure 18 - Condensate drain
5.4 Installation of the fl ue terminal
There are fl ue terminals available for installation through a
roof or through a wall.
NOTICE The fl ue terminal must be installed according to
local and national regulations.
NOTICE Do not combine components or materials from
di erent manufacturers.
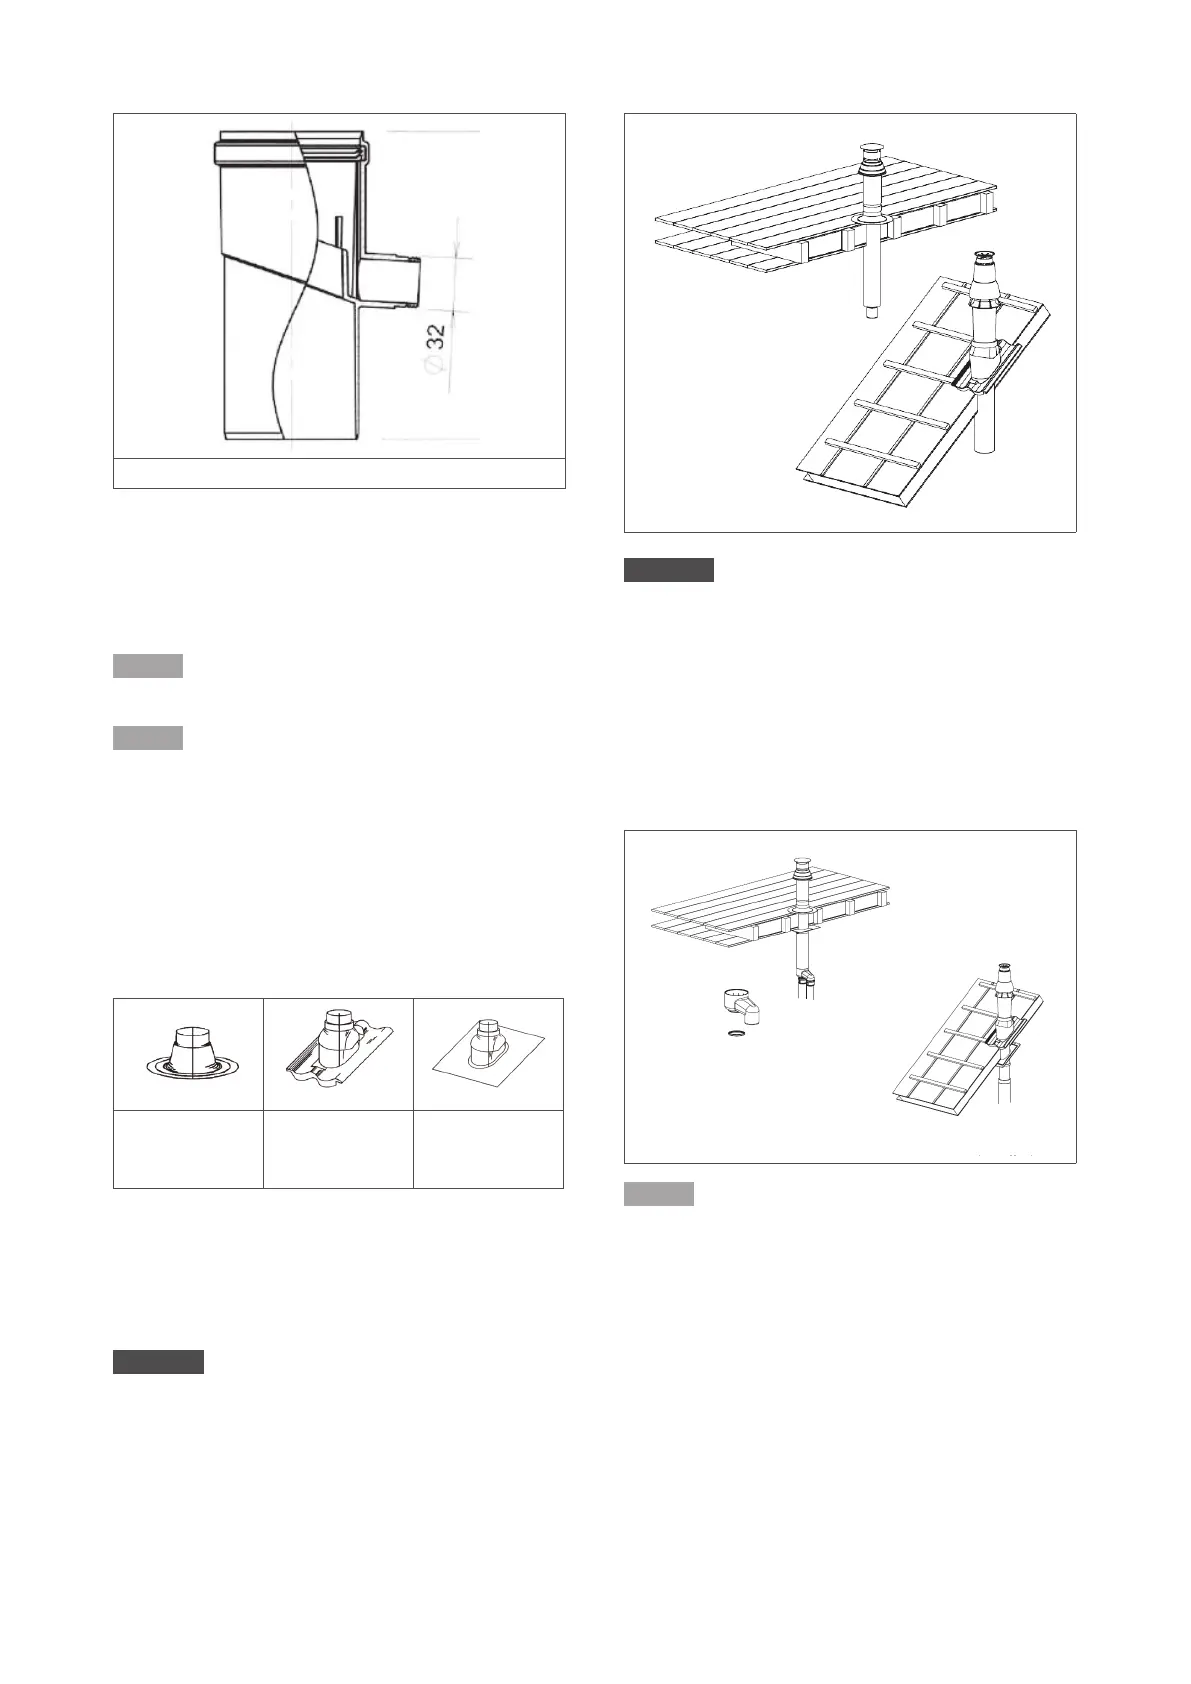
5.4.1 Installation - Roof terminal
To install the fl ue terminal in the roof, do the following:
5.4.1.1 Preparation
1. Check all components for possible damage.
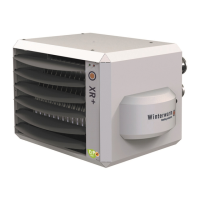
2. Determine the roofi ng type:
Flat roof fl ashing Synthetic tile
Universal
pitched roof
fl ashing.
3. Determine where the fl ue terminal will be
positioned.
5.4.1.2 Installation
1. Create a hole from the outside of the roof.
CAUTION! Make sure no debris or dust gets into the air
heater.
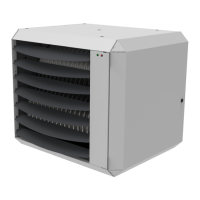
2. Install the weather collar.
3. Carefully insert the fl ue terminal from the outside.
CAUTION! Do not rotate the cap.
4. Put the fl ue terminal into a vertical position. Use a
level.
5. OPTIONAL - If desired, fi t cover plates. These are
supplied separately.
6. Place the supplied wall clamp around the fl ue
terminal and fi t it to the roof construction. Do not
tighten the clamp yet.
7. Connect the gasket and the twin-tube connection.
Make sure that the gasket is not damaged.
NOTICE Make sure the fl ue tube and the air inlet tube are
not mixed up. The fl ue tube should be in the centre of the
fl ue terminal.
8. Tighten the roof wall clamp.
9. Check if all steps have been carried out correctly.
5.4.2 Installation - Wall terminal
To install the fl ue terminal in a wall, do the following:
5.4.2.1 Preparation
1. Check all components for possible damage.
2. Determine where the fl ue terminal will be
positioned.