RapidMatch
™
XI Spectrophotometer
12
4. When ready, press the Measure button or tap the Calibrate icon in the
screen. Do not touch the instrument throughout the measurement
sequence.
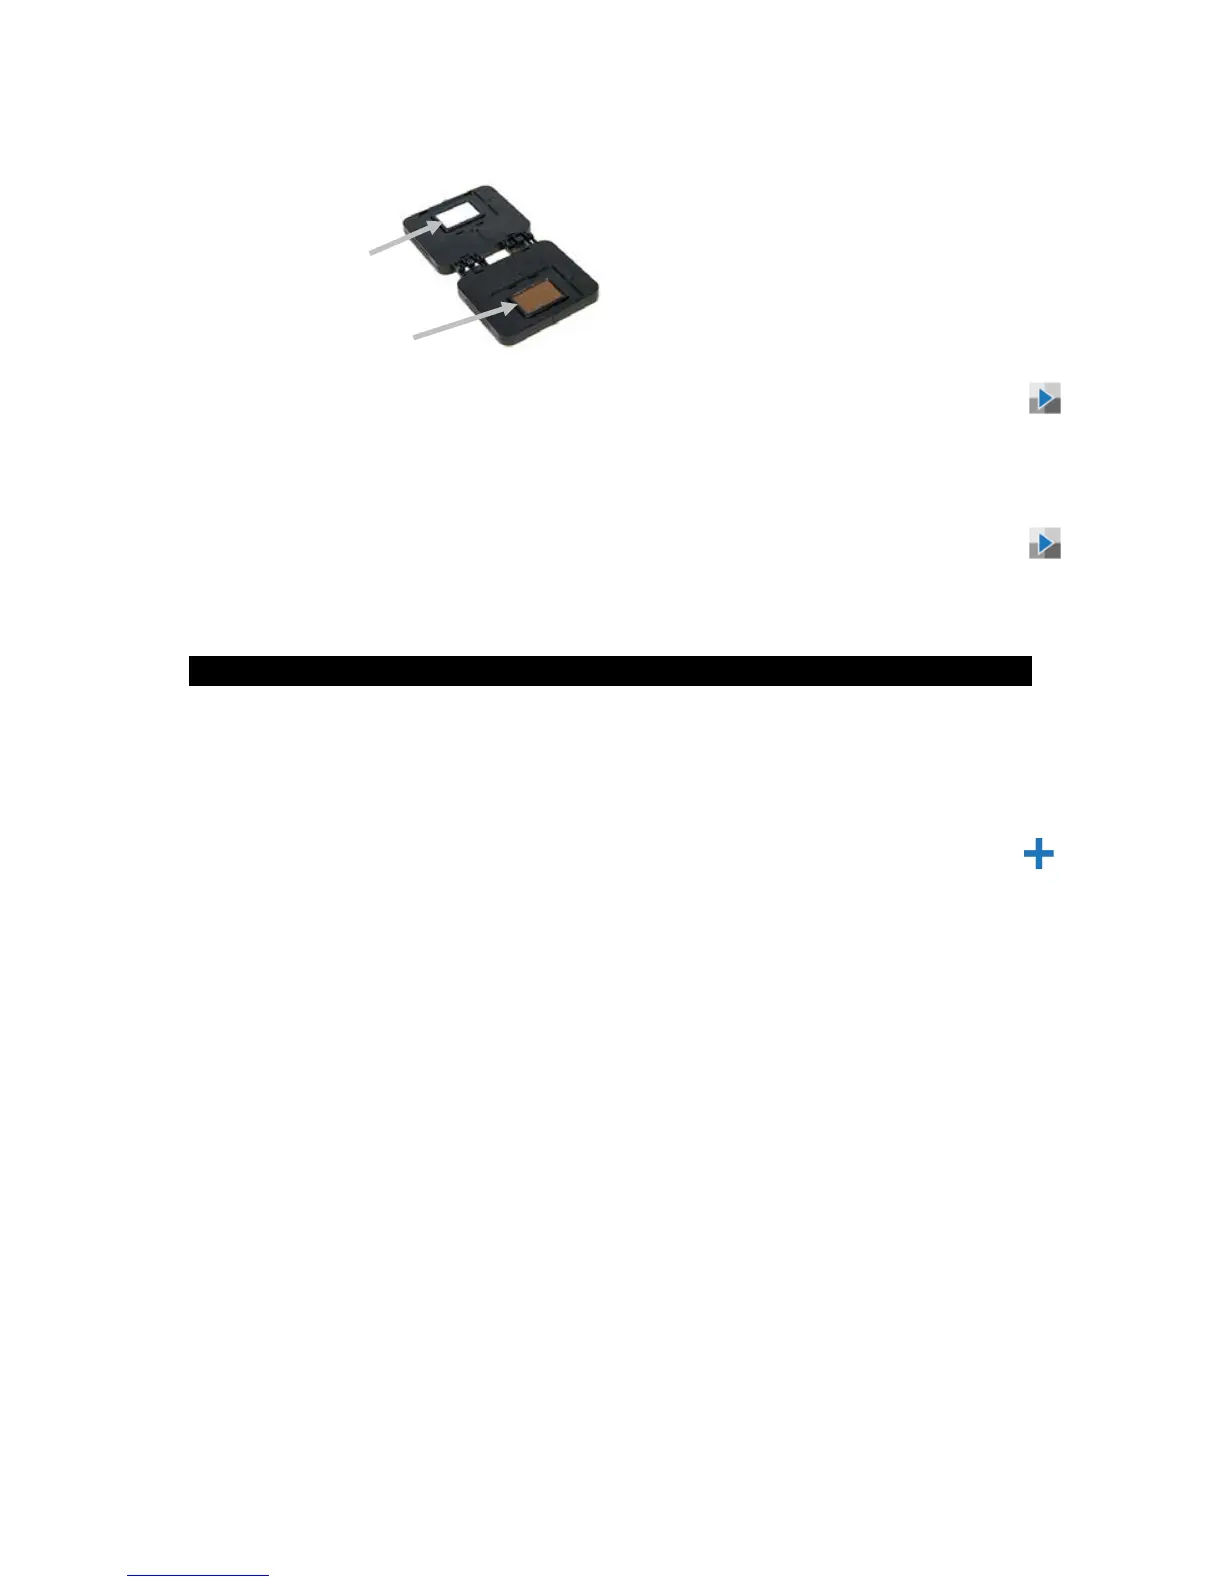
5. After calibration is completed, remove the instrument from the
white tile and position the measurement port over the effect tile
(2) in the calibration reference. Press the Measure button or tap
the Calibrate icon in the screen. Do not touch the instrument
throughout the reference verification sequence.
14. Measurement
The Job mode is used to measure, view and delete sample data. The
following is a general job measurement procedure.
1. Search for a check area near the repair spot that is as flat as possible
and clean the area.
2. From the Main screen, select a downloaded job from the Open list or
tap the new job icon at the top of the screen to start a new job. The
instrument goes into targeting mode.
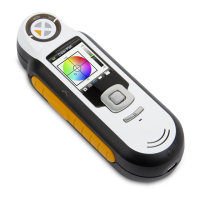
3. Using both hands, rotate the instrument to a vertically aligned position
with the top Measure button (1) up. Locate the measurement port in the
bottom of the instrument over the first measurement area while viewing
the screen (2). The large alignment arrow in the center of the screen
should turn green and be aligned with the small green arrow at the top
of the screen (3).
4. Gently rock the instrument until all three positioning indicators (4) in the
screen turn green. This indicates that all three pressure sensors are
activated.
 Loading...