Basic Installation Procedures
28 Freedom XC PRO Owner's Guide
WARNING
ELECTRIC SHOCK HAZARD
Use a screwdriver to loosen the captive nut panel screw.
Failure to follow these instructions can result in death, serious
injury, or equipment damage.
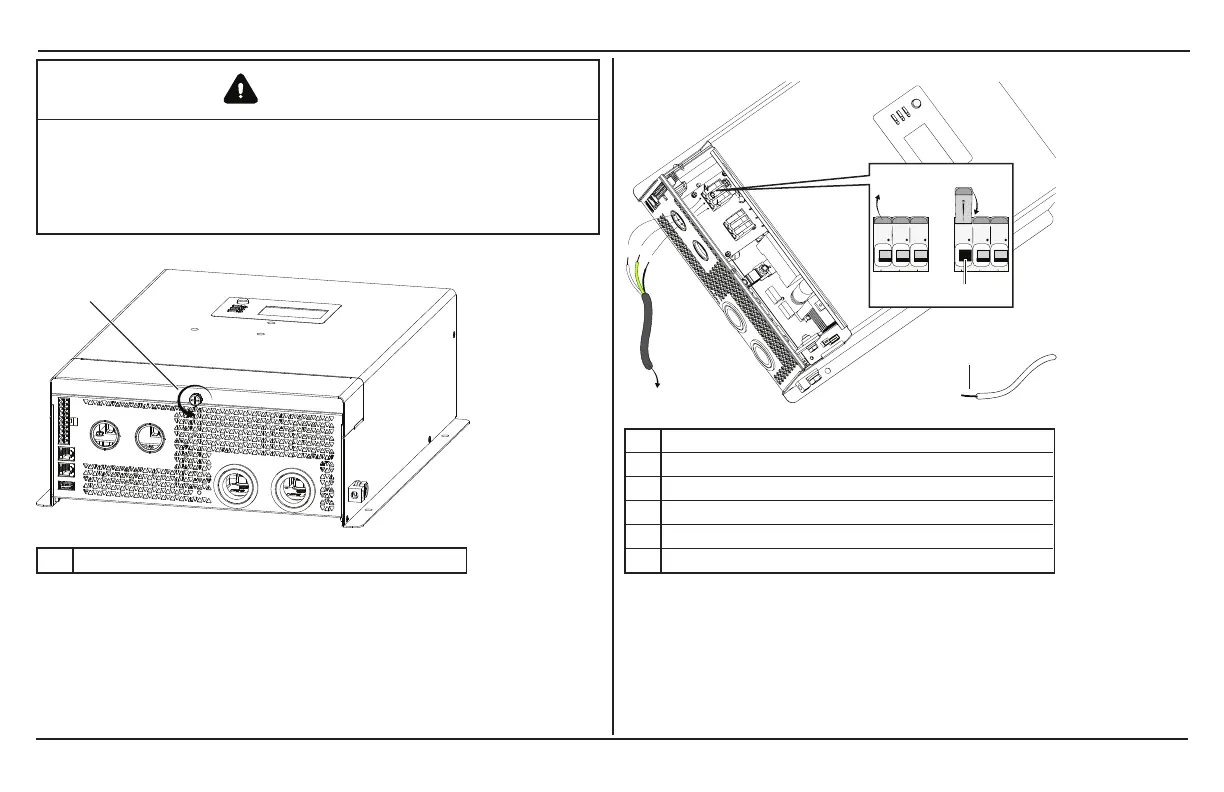
Figure 8 Loosening the captive nut panel screw
1 Captive nut panel screw
4. Strip a single AC input wire, as appropriate. Strip 10 mm off
the ends of each of the three the wires (tin the exposed
copper wire with lead-free solder using a soldering iron).
5. Install a ½" (or ¾") strain relief clamp on the AC input hole.
6. Route the wires through the strain relief clamp (not shown in
the figure).
Figure 9 Routing the wires
1 step 8a
2 step 8b
3 step 8c
4 10mm
5 to circuit breaker
NOTE: AC input hole - install a strain relief clamp (not shown).
7. Locate the Neutral, Ground and Line terminals on the AC
input terminal labeled as N, G, and L respectively.
 Loading...