TWAIN Scanning Guide Using the Preview Window
8 User’s Guide
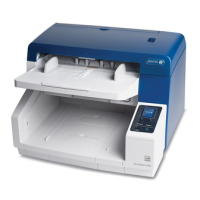
5. Move or resize region 1 until the sample image area you want is within the scan region.
Resize the region by clicking on one edge of the region outline and dragging the mouse. Move
the region by clicking in the region then dragging the mouse. Please refer to “Move, Resize, or
Delete Regions” for detailed instructions.
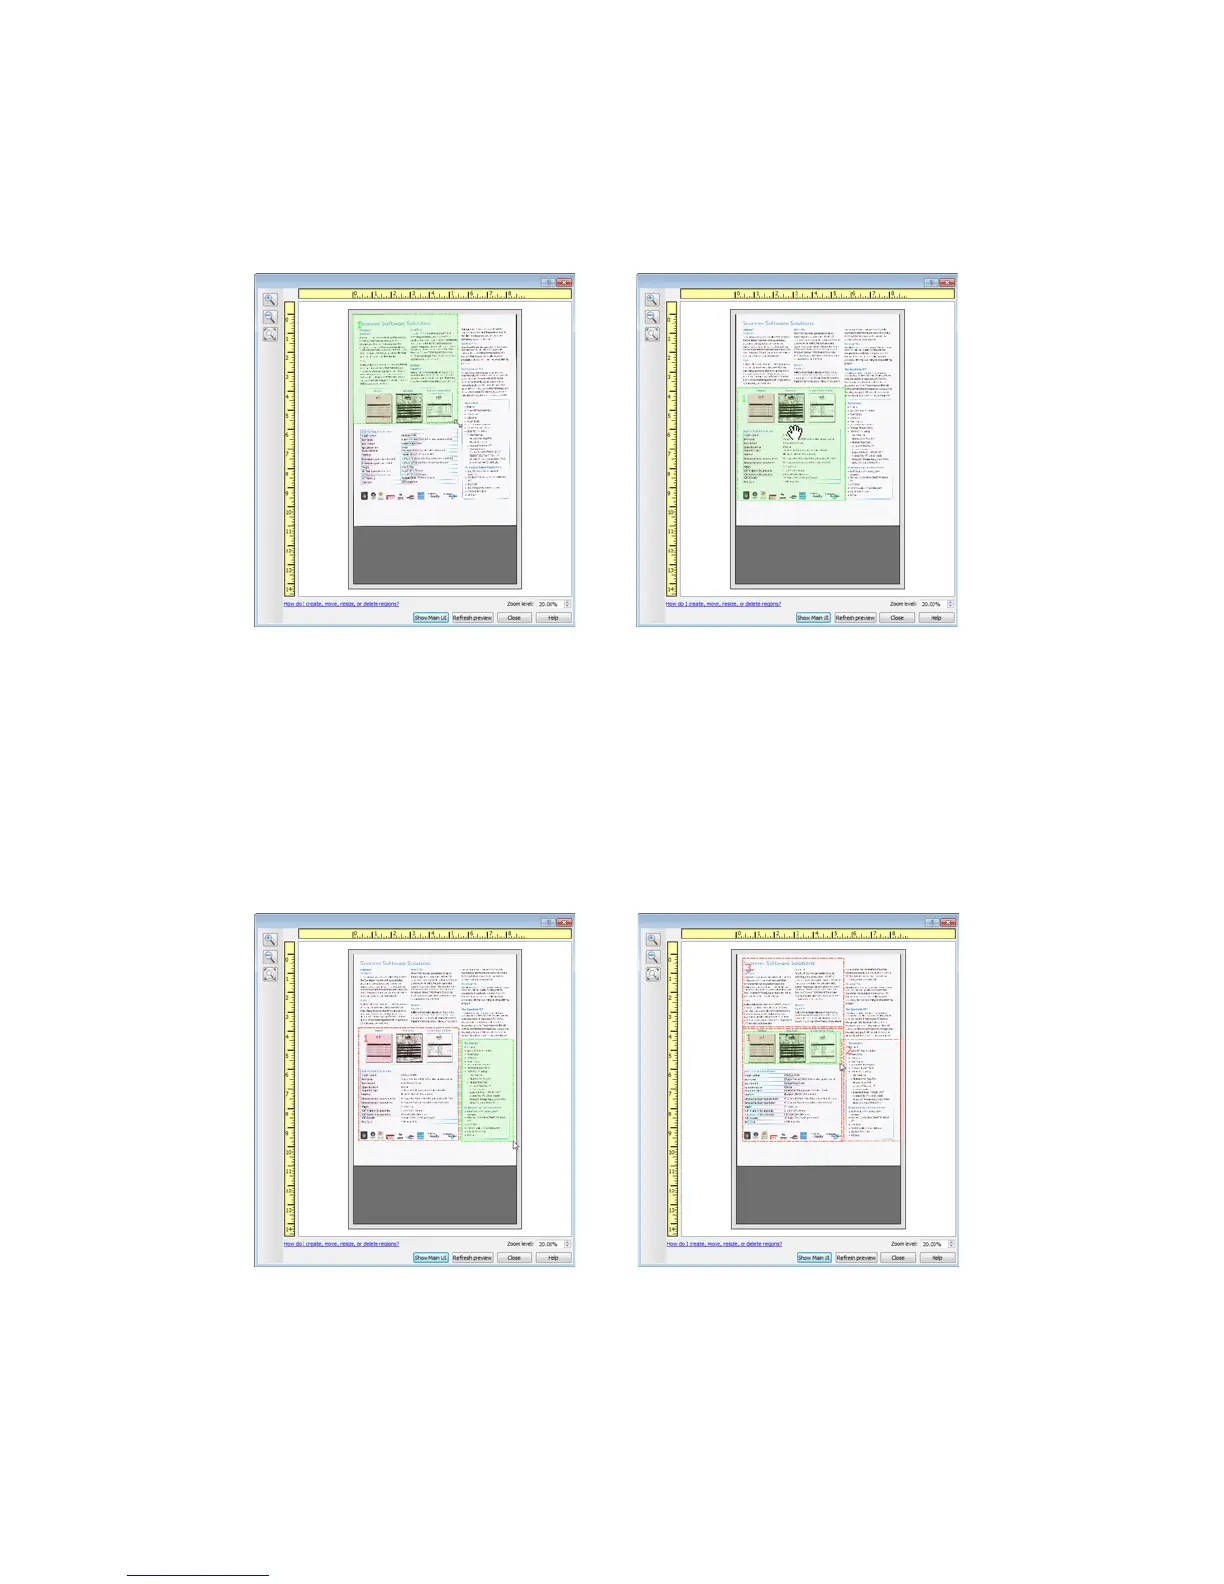
6. Create additional scan regions as needed by clicking anywhere in the sample image, hold
your mouse button down, and then drag your mouse to create a scan region. Release the
mouse button when the area you want is within the rectangle.
If you want to create a region that overlaps another region, hold the Ctrl (control) key on the
keyboard while you click and drag the mouse to create the region. You can release the Ctrl key
after you start creating the overlapping region. You only need to hold down the Ctrl key if the
starting point of the overlapping region is over another region. If you do not hold down the
Ctrl key, when you click on the area that has already been set as a region you will move the
existing region.
7. Click Close when you are done creating scan regions.
 Loading...