EasyManua.ls Logo

Xerox WorkCentre M118 User Manual

Xerox WorkCentre M118
14 pages
To Next Page IconTo Next Page
Page #1 background imageLoading...
Page #1 background image
XEROX
®
WORKCENTRE M118 128
DRUM CARTRIDGE REMANUFACTURING INSTRUCTIONS
XEROX
®
WORKCENTRE M118 DRUM CARTRIDGE
© 2010 UniNet Imaging Inc. All trademark names and artwork are property of their respective owners. Product brand names mentioned are intended to show compatibility only.
UniNet Imaging does not warrant downloaded information. Unauthorized sale, reproduction or distribution of this article is prohibited. For additional support, please contact techsupport@uninetimaging.com
www.uninetimaging.com

Other manuals for Xerox WorkCentre M118

Question and Answer IconNeed help?

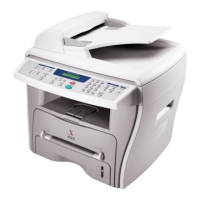
Do you have a question about the Xerox WorkCentre M118 and is the answer not in the manual?

Xerox WorkCentre M118 Specifications

General IconGeneral
BrandXerox
ModelWorkCentre M118
CategoryAll in One Printer
LanguageEnglish

Summary

Xerox WorkCentre M118/128 Drum Cartridge Remanufacturing

Initial End Cap Removal

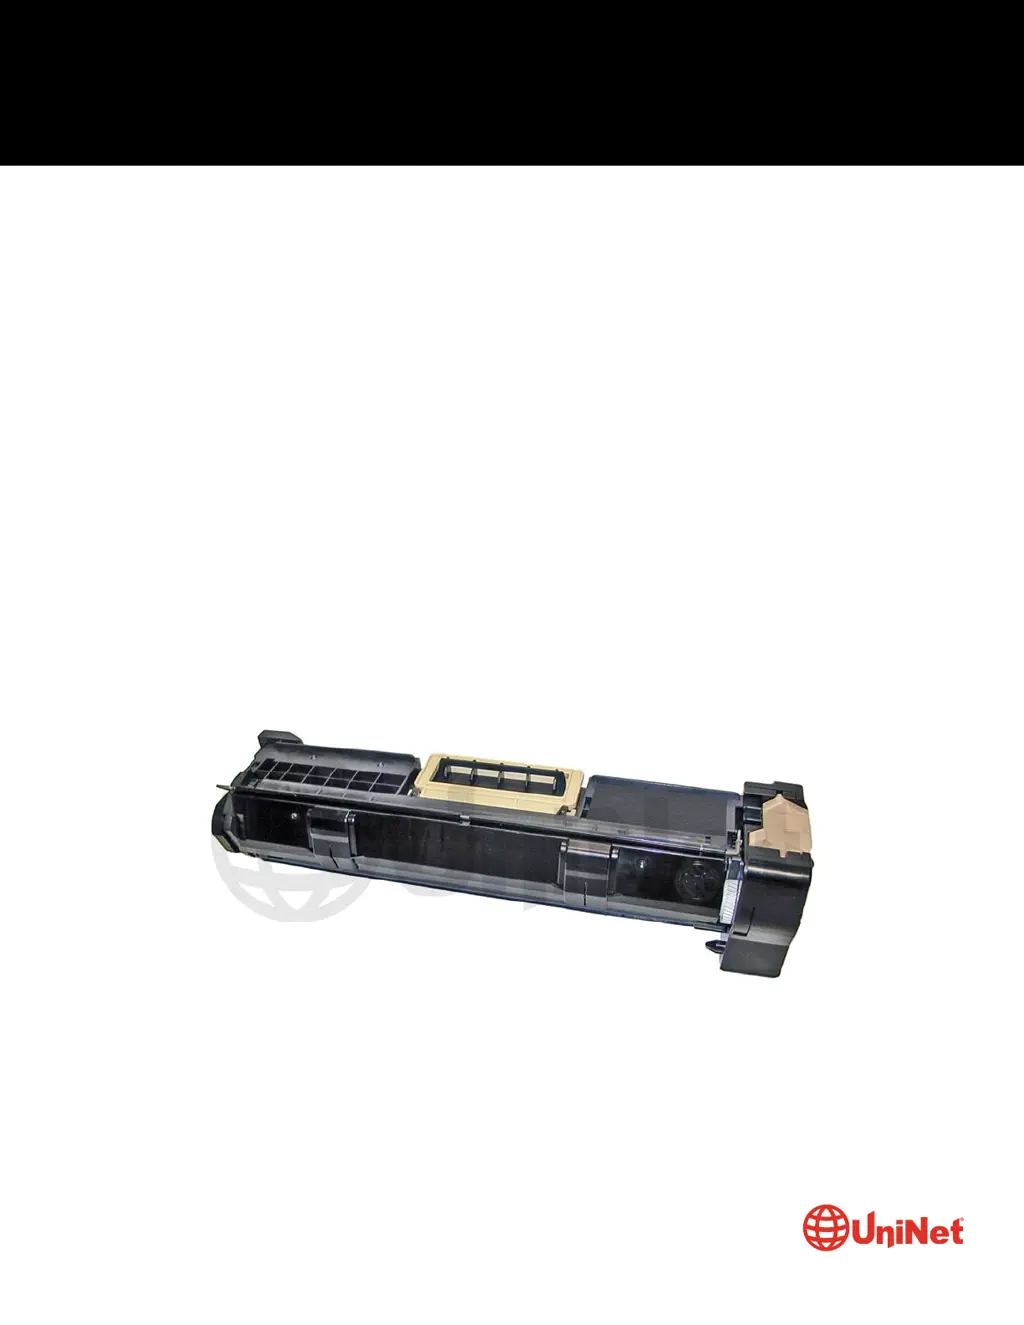
Remove the handle side end cap from the drum cartridge.

Inner End Cap and Sensor Removal

Remove the inner end cap, detach the sensor, and cover the hole with tape.

Gear Side Component Removal

Remove the end cap, metal plate, and drum bushing from the gear side.

Drum and Housing Separation

Remove bushings from the opposite side, separate the cartridge halves, and remove the drum.

Wiper Blade and Hopper Cleaning

Remove the PCR, wiper blade, and clean the toner hopper and auger post.

PCR Installation and Developer Preparation

Install the new wiper blade, clean the PCR, place the drum, and remove developer springs.

Small Component Removal

Remove the plastic spring arm, contact plate screw, and pry up plastic tabs.

Chip Replacement and Developer Loading

Locate and replace the chip, remove old developer, and pour in new developer.

Reassembly of Covers and Arms

Snap the cover back, install screws, plastic spring arm, and metal contact.

Springs and Bushing Installation

Install springs on the metal cover and the drum bushings.

Gear and End Cap Installation

Install the double bushing, white gear, and the non-gear side end cap.

Final Internal Component Installation

Install the inner handle end cap, screws, and snap the sensor back into place.

Final Outer End Cap Installation

Install the outer end cap onto the gear side and secure with screws.

Related product manuals