11
Rev. 1.0 31/01/2020
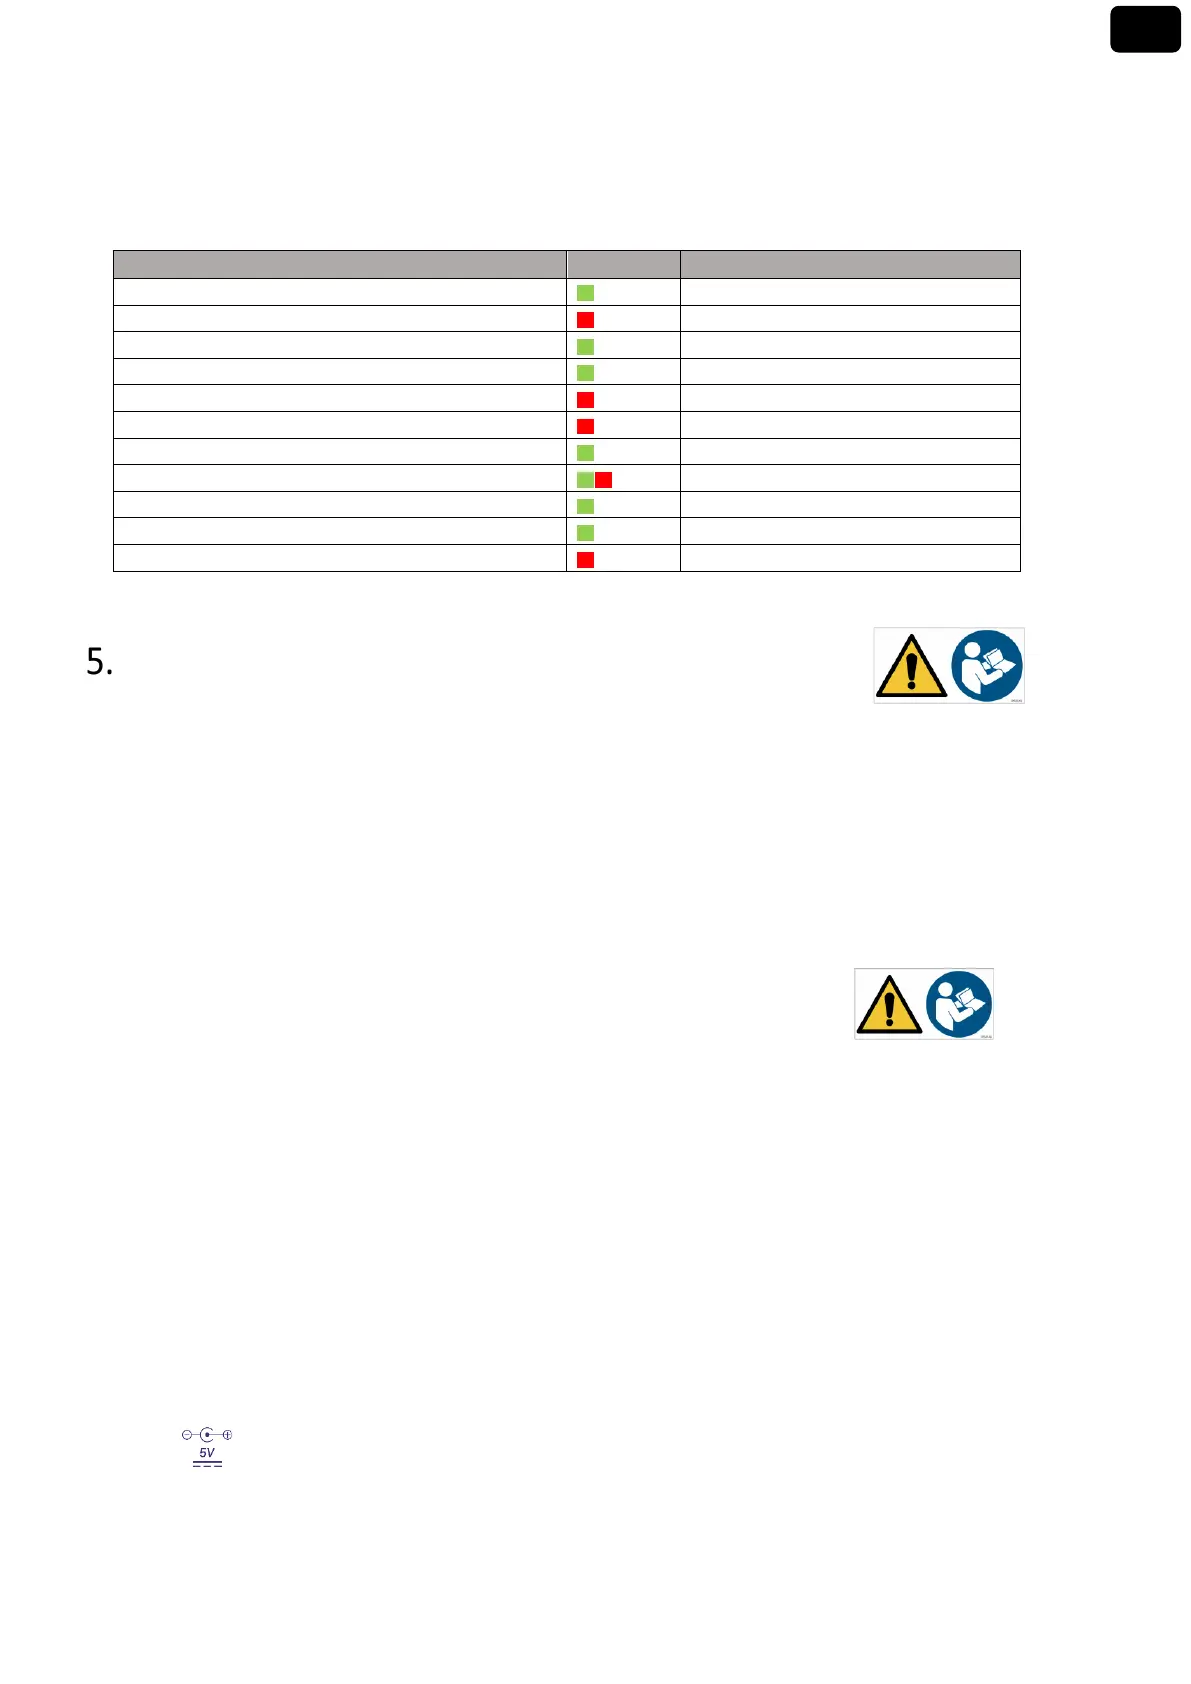
• LED
All the instruments are equipped with a two-colours LED (red and green) which provides the user with
important information on the status of the system:
Errors during calibration
Errors during measurement
On / Off in rapid succession
Alternate green and red, pause 5 s
Installation
• Supplied components
The instrument is always supplied with all the accessories necessary for being put into service; the
version without sensor is always supplied with:
Instrument complete with multi-socket adapter, 1m S7 / BNC connection cable, NT55 temperature probe,
buffer solutions in single-dose bottle and / or sachet, electrode holder stand, multilingual user manual and
test report.
There are versions with the sensor(s) already included. Contact your local distributor to be updated on the
correct composition of the sales kit.
• Start-Up
• Place the instrument on a flat, stable laboratory table with appropriate front and side accessibility. It is
recommended to place the instrument at not less than 20 cm from overlying and surrounding parts.
Positioning the device in this way, there is no more residual risk of possible minor damage caused by manual
handling of loads.
• Make sure that the instrument and the surrounding environment are correctly illuminated.
• Connection of the power supply
• Check that the electrical standards of the line on which the instrumentation is to be installed comply
with the voltage and operating frequency of the instrument.
• Use the original power supply only.
• Connect the power supply plug to the connector on the rear panel of the instrument indicated with the
icon .
• Connect the power supply to an electric socket easy to reach.
 Loading...