25
Rev. 1.0 31/01/2020
• ORP Parameter Setup
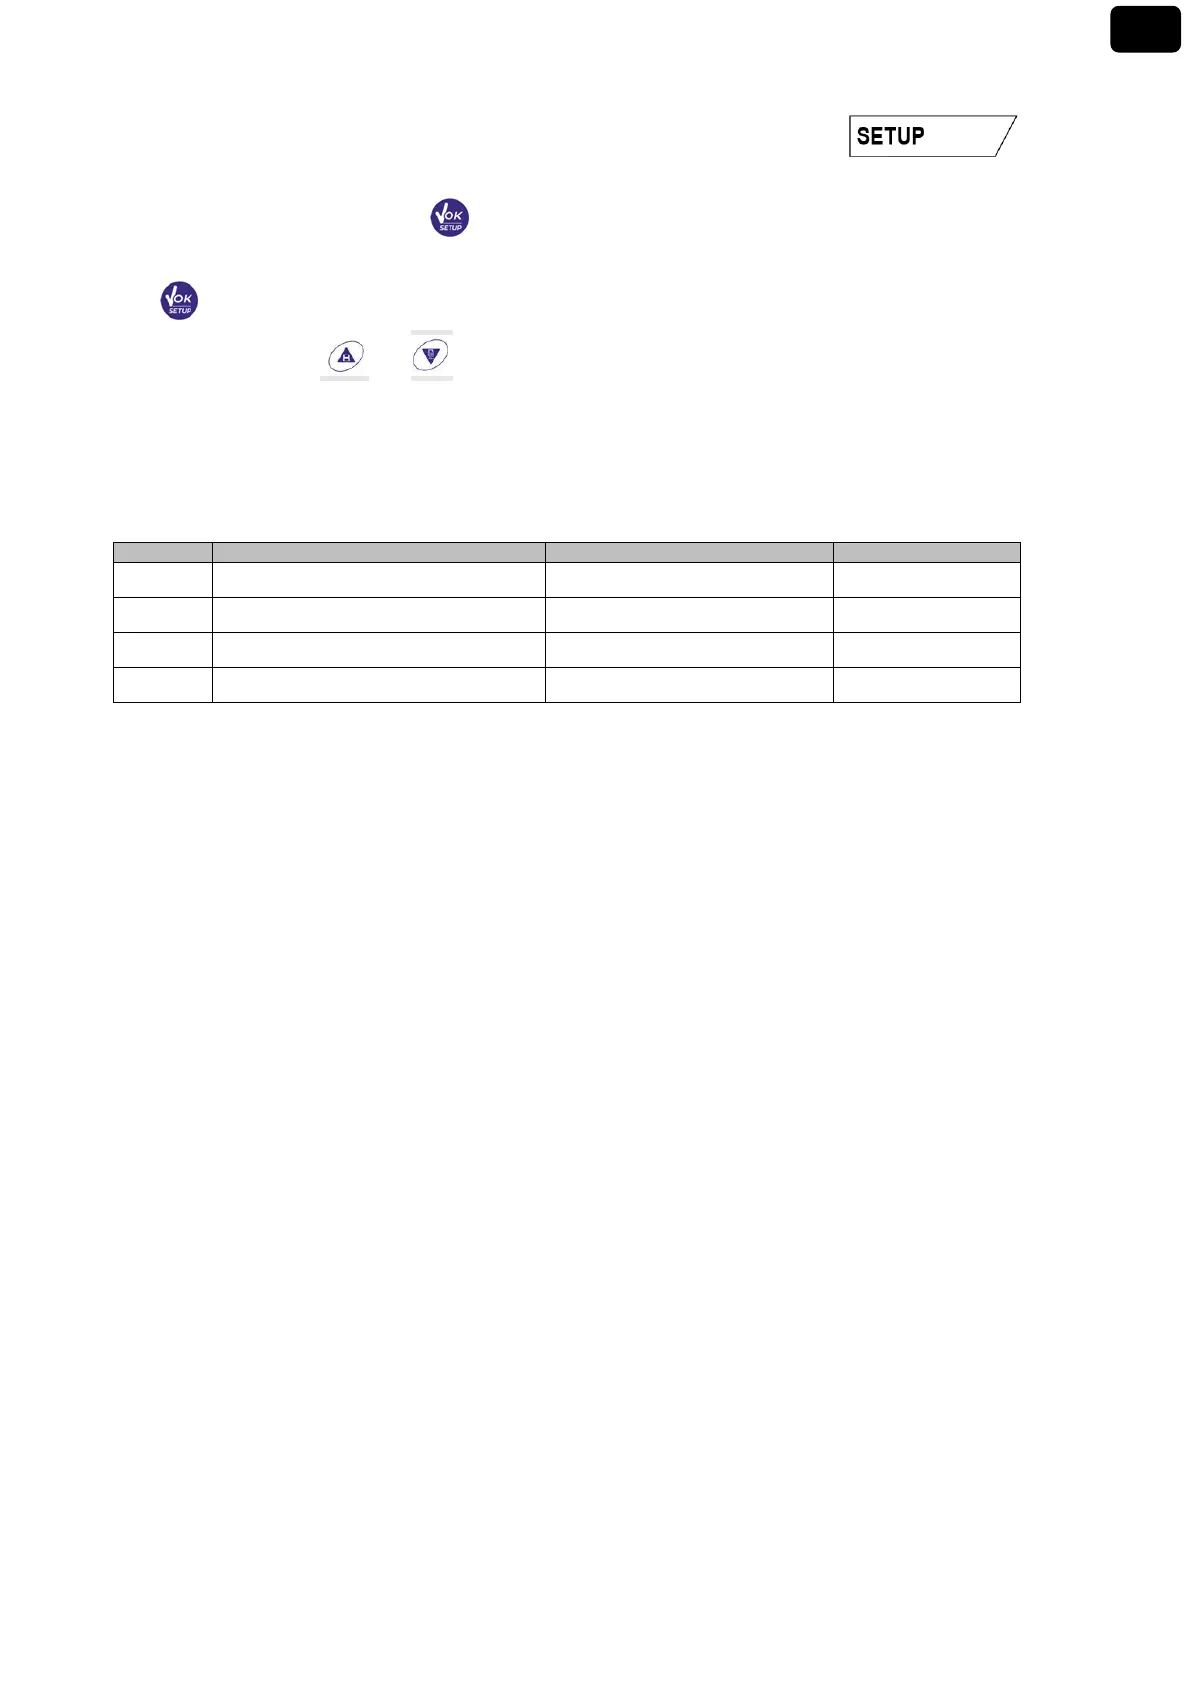
• In measure mode press the key to access the SETUP menu.
• Use the directional keys to move to ORP SETTINGS P2.0 and access the menu by pressing the key
.
• Move with the keys and to select the program to access.
The table below shows the Setup menu structure for the ORP parameter; for each program there are the
options that the user can choose and the default value:
• Composition of the setup menu for the ORP parameter
P2.6 Calibration Data
Access this menu to view (select “VIEW”) or print (select “PRINT”) information on the last calibration
performed:
• VIEW: The following screens will scroll automatically on the display:
• First screen: CALIBRATION DATE and TIME.
• Second screen: OFFSET value of the electrode expressed in mV.
• Third screen: TEMPERATURE at which the calibration was performed.
• PRINT: The following information are printed:
• Model and Serial Number of the instrument.
• Calibration Date and Time
• OFFSET value expressed in mV
• Calibration TEMPERATURE
IMPORTANT: Make sure that the printer is connected, turned on and that the paper roll and cartridge are correctly
positioned. For more information, refer to the printer user manual.
NOTE: Use the original printer indicated by the manufacturer only. For information, contact your local distributor.
P2.7 ORP calibration deadline
Access this menu to set a calibration deadline; this option is fundamental in GLP protocols.
 Loading...