8
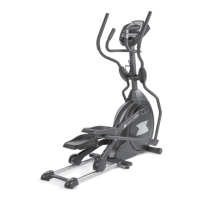
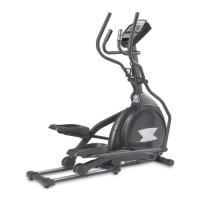
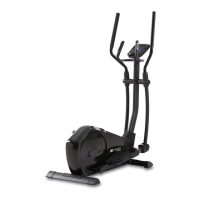
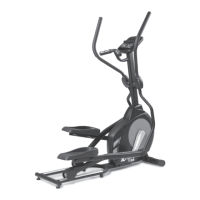
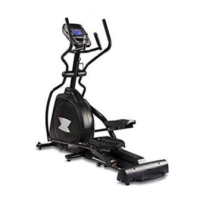
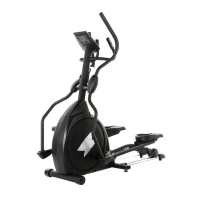
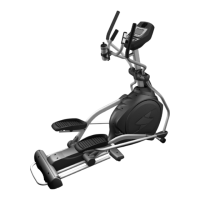
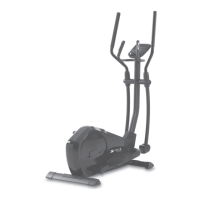
FS4.0e Elliptical
#70. 5/16” x 15mm
Hex Head Bolt (2 pcs)
#75. 5/16” x 15mm
Button Head Socket
Bolt (6 pcs)
#97. 5/16” x 23 x 1.5T
Flat Washer (2 pcs)
#101. 17mm
Wave Washer (2 pcs)
2
Hardware Step 2
1. Make sure the axle cover is in place on the swing arm axle on the
console mast. Slide the Wave Washer (101) onto the right swing arm
axle. Slide the Lower Right Swing Arm (5) onto the axle. Secure the arm
to the axle with a Flat Washer (97) and a Hex Head Bolt (70). Tighten
with the Wrench (110).
2. Slide the Upper Right Swing Arm (14) into the top bracket of the Lower
Right Swing Arm (5). Secure in place with three Button Head Socket
Bolts (75). Tighten with the M5 Allen Wrench/Phllips Head Screw Driver
(108).
3. Repeat the previous steps with the swing arms on the left side.
Swing Arms
 Loading...