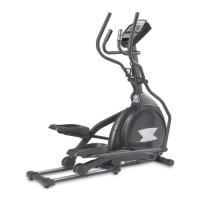
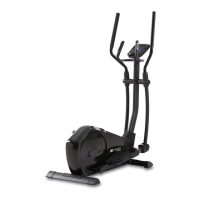
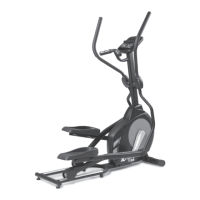
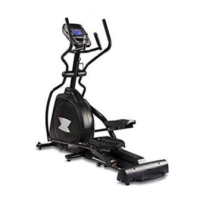
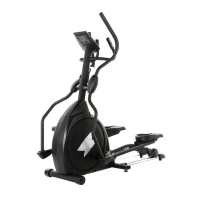
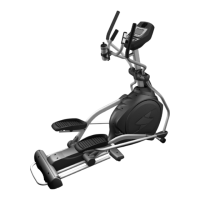
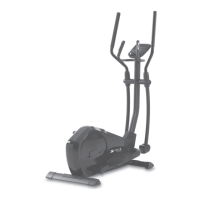
FS4.0e Elliptical
9
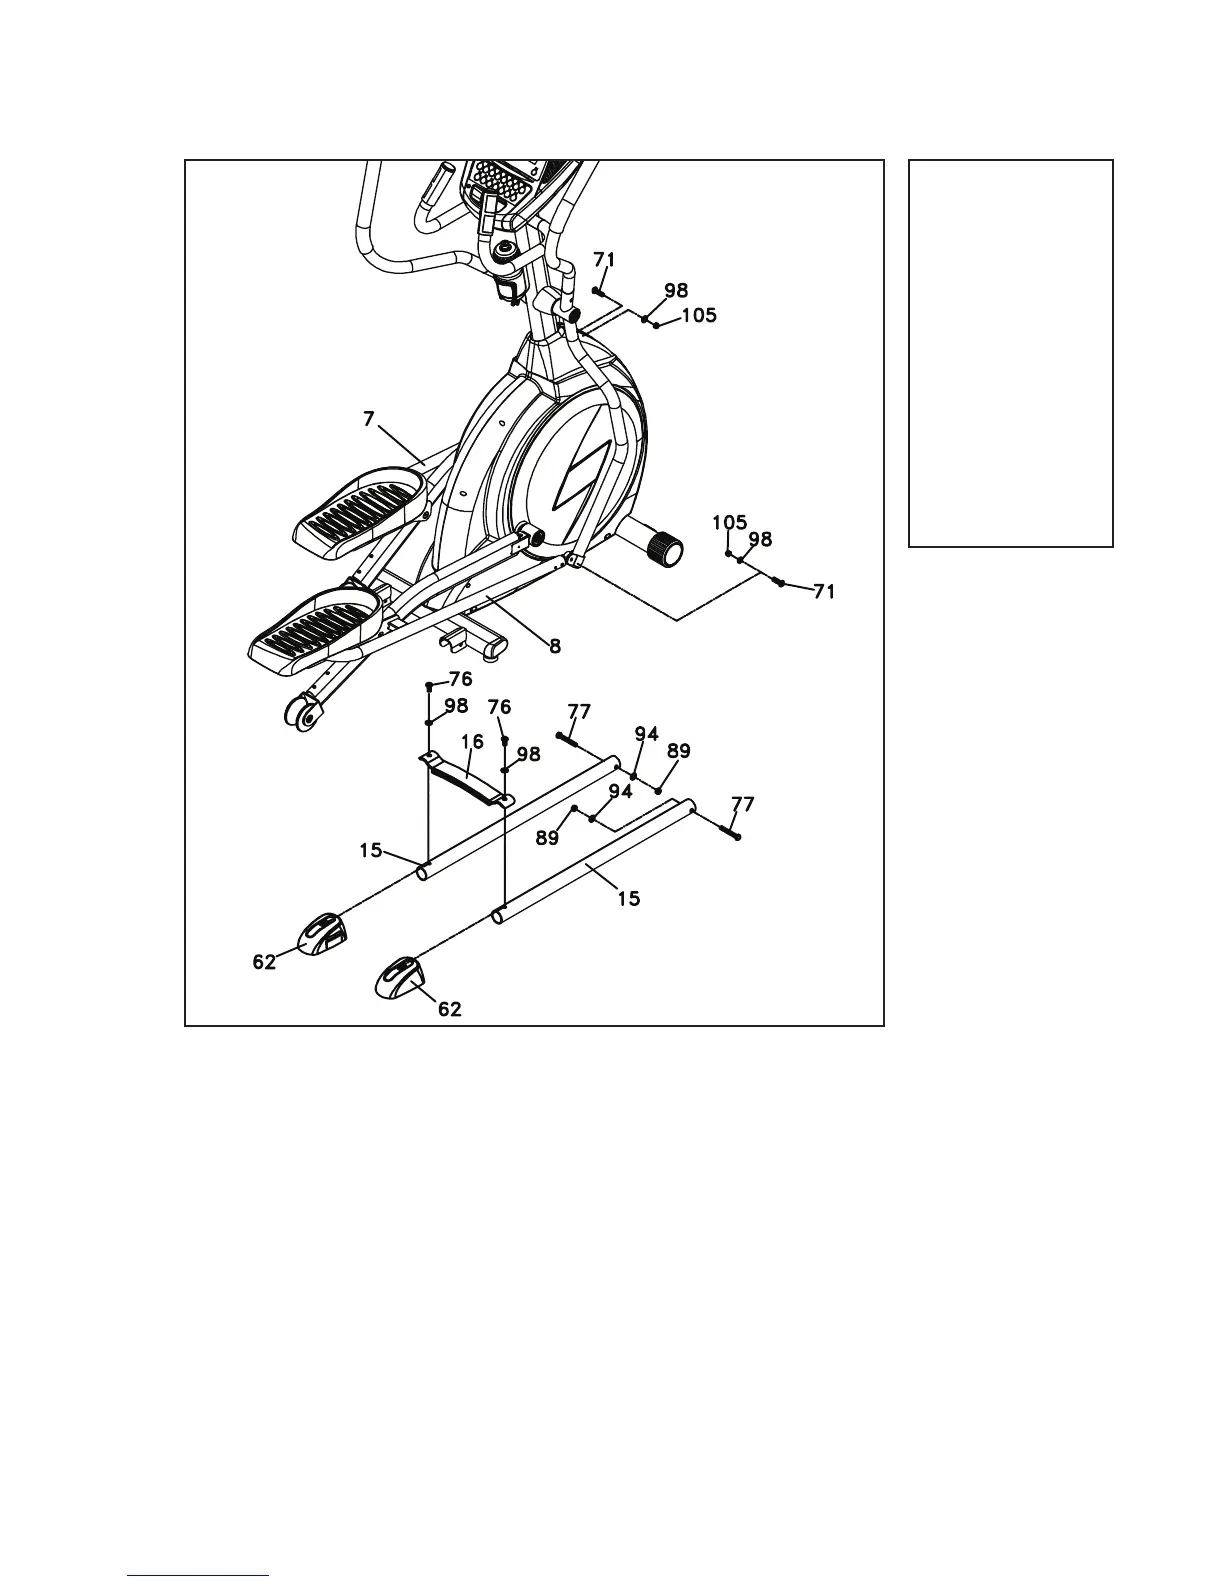
#71. 5/16” x 32mm
Hex Head Bolt (2 pcs)
#76. 5/16” x 3/4”
Button Head Socket
Bolt (2 pcs)
#77. 3/8” x 2-1/4”
Button Head Socket
Bolt (2 pcs)
#89. 3/8” x 7T
Nyloc Nut (2 pcs)
#94. 3/8” x 19 x 1.5T
Flat Washer (2 pcs)
#98. 5/16” x 20 x 1.5T
Flat Washer (4 pcs)
#105. 5/16” x 7T
Nyloc Nut (2 pcs)
3
Hardware Step 3
1. Insert the Rail Tubes (15) into the bracket on the back side of the main
frame. Secure each tube in place with a Button Head Socket Bolt (77),
a Flat Washer (94), and a Nyloc Nut (89). Tighten with the M5 Allen
Wrench/Phllips Head Screw Driver (108) and the Wrench (111). Insert
the curved ends of the Rear Handle (16) into the slot on each of the
Rear Rail Stabilizers (62). Set in place on the rear of the Rail Tubes (15).
Secure with two Button Head Socket Bolts and two Flat Washers (98).
Tighten with the M5 Allen Wrench/Phllips Head Screw Driver (108).
2. Remove the wire tie that holds the spacer into the rod end of the Right
Connecting Arm (8). Connect the Lower Right Swing Arm (5) to the
Connecting Arm (8) by sliding the Hex Head Bolt (71) through the
bracket on the lower swing arm and the spacer in the rod end of the
connecting arm. Secure in place with the Flat Washer (98) and the Nyloc
Nut (105). Tighten with the Wrenches (110 & 111).
3. Repeat the previous step on the left side.
Connecting Arms & Rear Rails
 Loading...